When sizing up a brand new four wheel drive truck, a few questions can arise. Should it be lifted? How high? It seems natural to add few inches of altitude to a truck that already has the capability to drive over just about anything that a concrete jungle has to offer. When raised up, say 7 inches, most obstacles become little more than speed bumps when teamed up with the right lift kit.
The right lift kit also then has to be assessed. Does the company have a solid reputation for making high quality kits that were designed specifically for your truck? Does the kit look like it’s constructed of top quality steel making for a rock solid platform that will give years of reliability and confidence when out in the wild having fun with a newly lifted rig? We got a hold of a new ‘15 Ford F-150 XLT Crew Cab and went to ReadyLIFT to get those questions answered.
We wanted to take this untouched ’15 and give it a larger presence out on the road by installing a 7-inch lift kit from ReadyLIFT at their Southern California headquarters and R&D garage. Their capable garage crew was able to install this kit in the recommended time, without even breaking a sweat. It helps to have the guys who designed the kit to be right there bolting it up which really made this install a breeze.
While this kit does add a significant amount of lift, it is designed to maintain the factory ride, factory suspension setup and steering geometry. A no-weld design, this kit is a direct bolt-on instillation that includes beefy cast iron nodular steering knuckles, a patent pending rack and pinion steering drop correction system, and an integrated differential drop bracket system to insure correct CV axle angles. Most importantly this kit is designed to keep the stock tie-rod ends and have no problem aligning the truck in the future. Plus there is no need to shorten the steering rods, which keeps the stock steering radius. Included in the kit is a set of ReadyLIFT SST3000 rear shocks to really make it all inclusive.
Before the lift, this factory fresh F-150 drove just fine, but felt a little lacking in the attitude department. Once we had it properly raised up we had a noticeable increase in driver enjoyment, a general feeling of height envy from every other stock-height truck that crossed our path, and a feeling that no obstacle could stand in our way.
Watch as we install this ReadyLIFT 7-inch lift kit on our ’15 Ford F-150 and install a set of 37/12.5R20 Nitto Trial Grapplers mounted to a 20x12.5 BMF SOTA wheels.
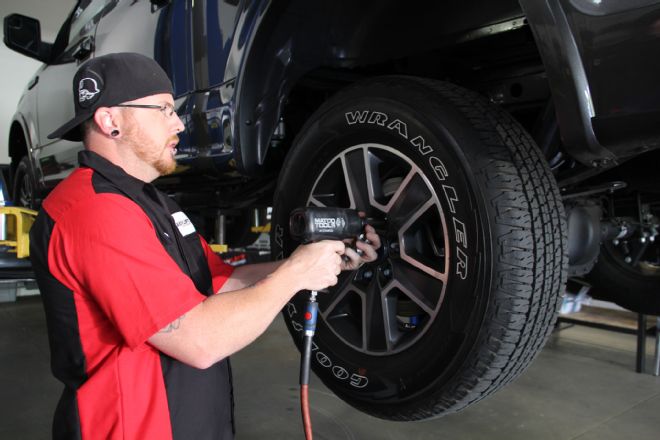
| First off we removed all four wheels as we would be working in and around those areas as we attacked the front and rear suspension. We also disconnected the battery, not because we were doing anything electrical but it’s always a good idea to do that.
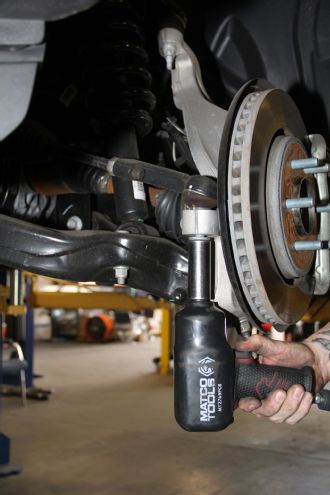
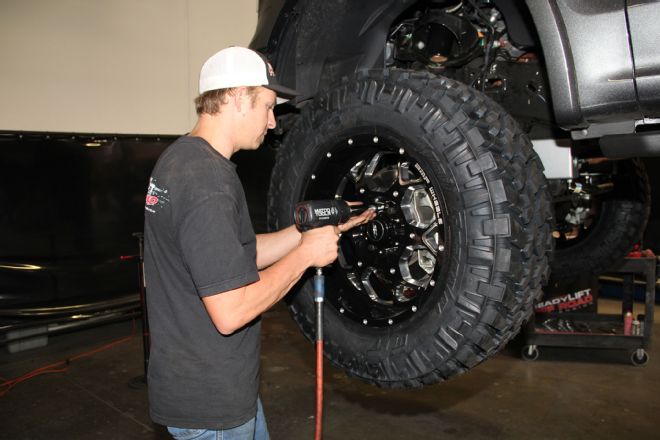
| It’s was then time to remove the tie-rod ends which we buzzed out with our larger air powered impact wrench using a 21mm socket. After the nut was removed, we had to use a dead blow hammer to dislodge it from its home in the knuckle.
| Next we removed the brake caliper by unbolting the anchor bracket bolts using our pneumatic wrench with a 21 mm socket, and then hooked the caliper to the frame. The boys at ReadyLIFT have constructed some heavy duty brake caliper hooks using a leaf spring U-bolt that had been cut and welded back together. Pro Tip: Go get some junk U-bolts and do this, you’ll thank ReadyLIFT later.
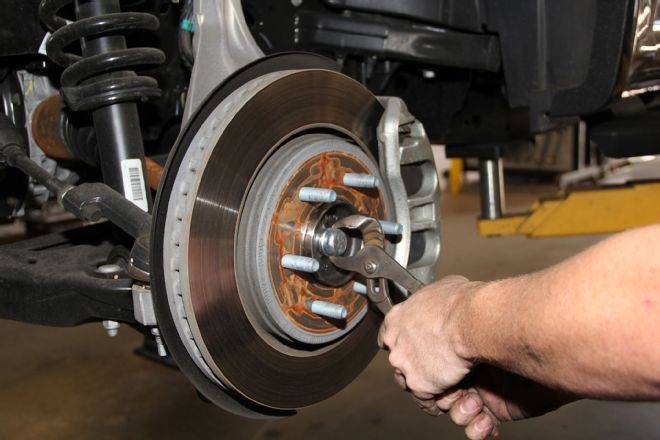
| We continued dismantling the brake system by pulling the center cap that protects the axle nut. Then we removed the brake rotor and set it aside in a safe place as we would be reinstalling them after the lift kit was properly installed. We then unbolted the dustshield using a 15 mm socket.
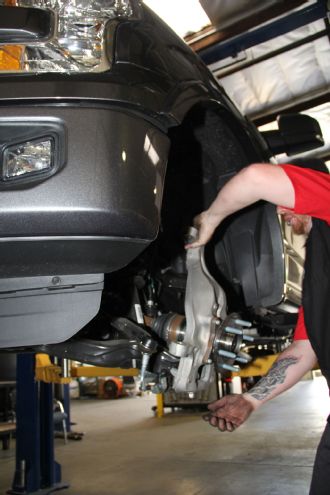
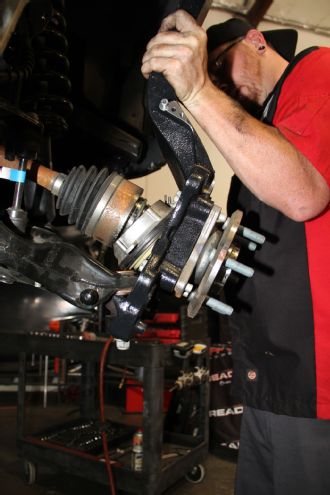
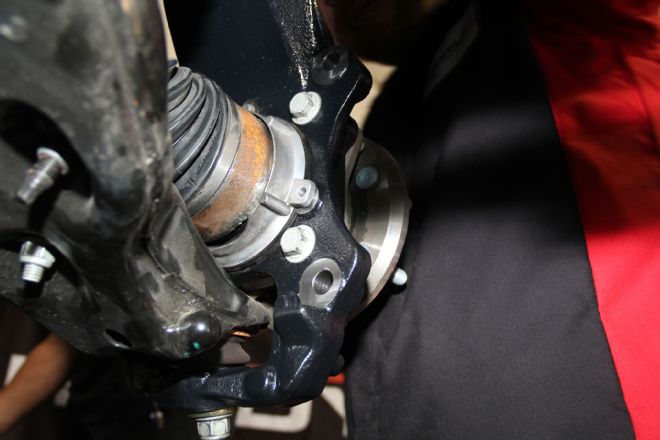
| The upper ball joint was loosened with an 18mm socket, and we gave it a good hit with the aforementioned hammer to dislodge it. We loosened the lower ball joint as well but kept it together so the axle and the vacuum actuator could be slid from the steering knuckle. We were extra, EXTRA careful not to damage the delicate vacuum actuator, and you should be too. After the knuckle was free, we set it aside to be worked on later.

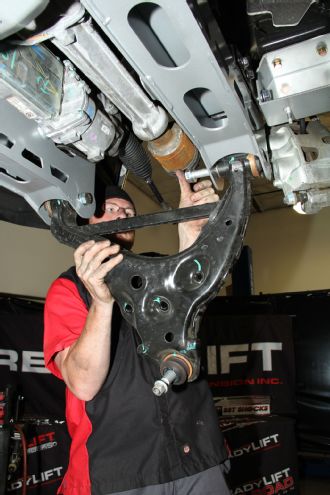
| Turning our attention to removing the lower control arm, we removed the sway bar end link and the sway bar itself, then removed the strut bolts from the lower control arm, and let the arm swing down. Using a 21mm, we removed the control arm and set it aside to be reused.
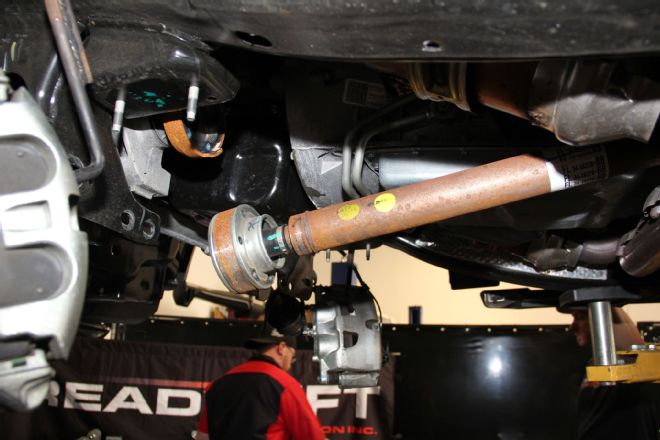
| Next on the list was the driveshaft and we removed all of the mounting bolts until it was free from the differential and it was left to hang down and out of the way.
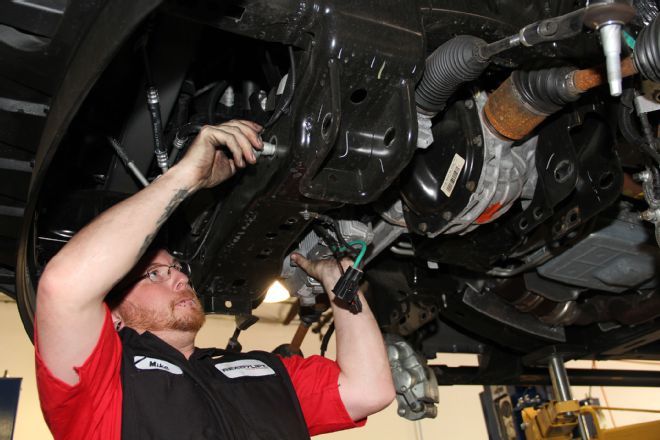
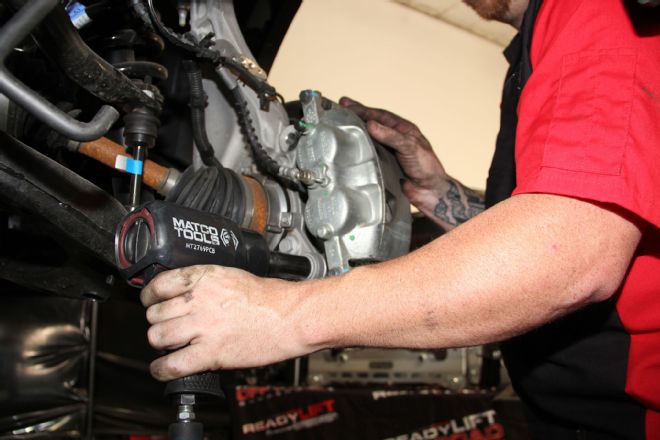
| In order to remove the steering rack, we unbolted the skid plate and disconnected the electrical leads, then we buzzed out the mounting bolts. The steering rack was then removed. In preparation for removing the differential, we quickly removed the rear crossmember and set it aside as we would be installing a new one from the kit. We then removed the diff itself.
| We marked off the rear lower control arm frame pocket with a silver Magic Marker, and got out our some cutting tools. Our installer Mike chose to use a combination of grinding wheel and sawzall to lop off the unneeded metal.
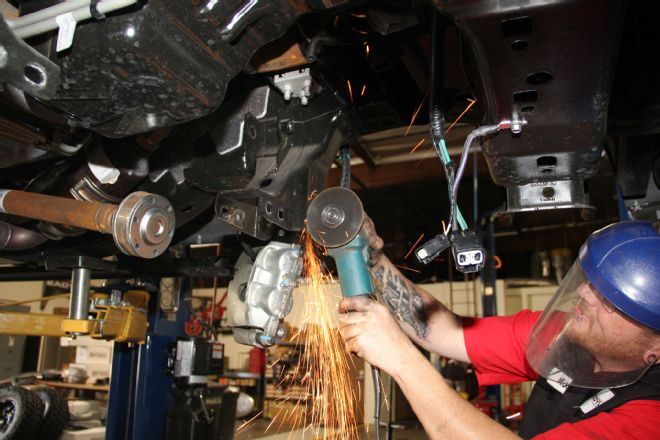
| After the control arms frame pocket has been cut away, a grinding wheel was used to sand down any sharp edges. Make sure to wear eye and face protection as our installer Mike did here. Yours truly was only shielded by a camera and was repeatedly showered with sparks trying to get the perfect shot.
| We decided to do some of the heavy lifting first and installed the front crossmember using the factory bolts that we saved. Installation took the use of another shoulder (not pictured) and is recommended as that sucker is heavy! We left the bolts loose for the time being to be tightened up later.
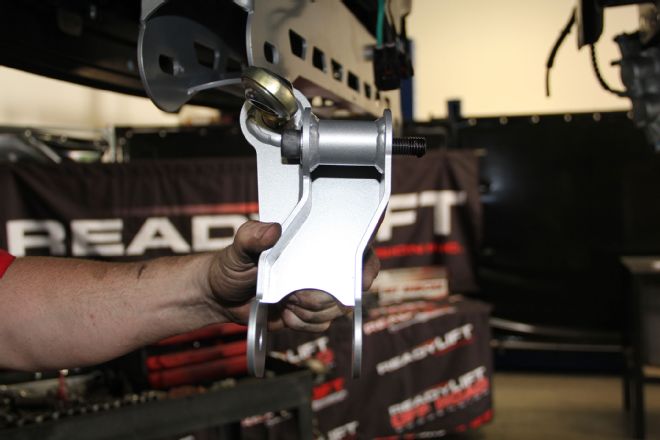
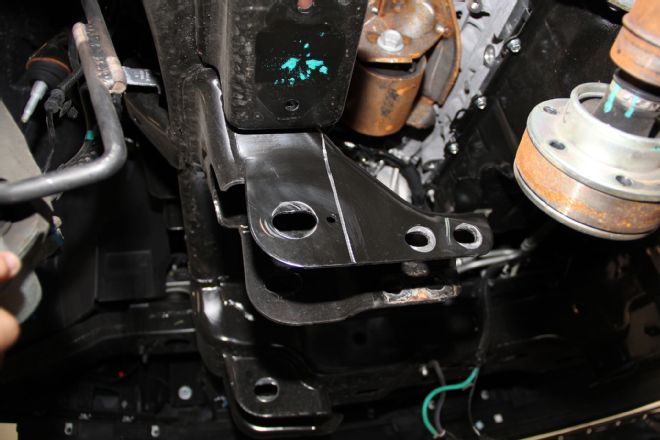
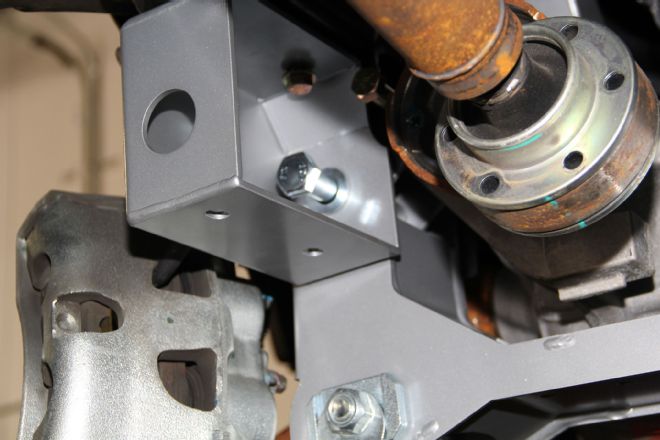
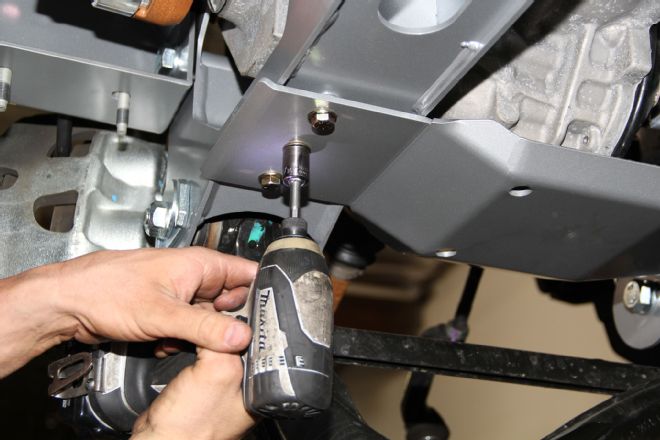
| The driver’s side diff drop bracket was next to be installed, and it has a ¾-inch rod end which then needed to be adjusted to have 1 ¾ inches of clearance and torqued its Allen bolt torqued down to 7.9 lb-ft. It was then time to install the passenger side drop bracket, which looks like a normal bracket with no rod end.
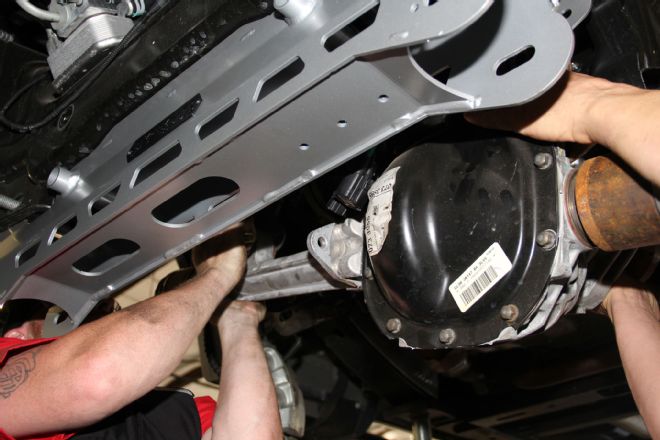
| With the drop brackets securely in place, it was time for the diff to be reinstalled with the supplied hardware from the kit. Two shiny 9/16-inch x 4-inch bolts and washers held the diff to both of the drop brackets and, again, not tightened till the whole kit was installed.
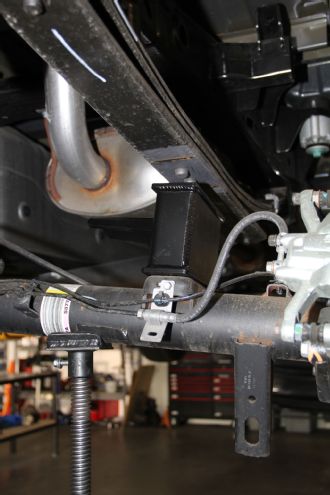
| The sway-bar drop brackets were next to be installed and went in using new 7/16 inch by 1 ¼ inches bolts from the bolt bag. We were careful to note that each side was different and cannot be interchanged. The 45-degree angle goes to the front of the truck.
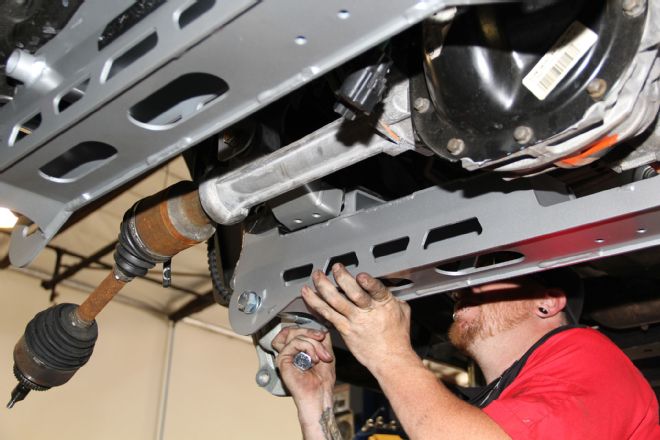
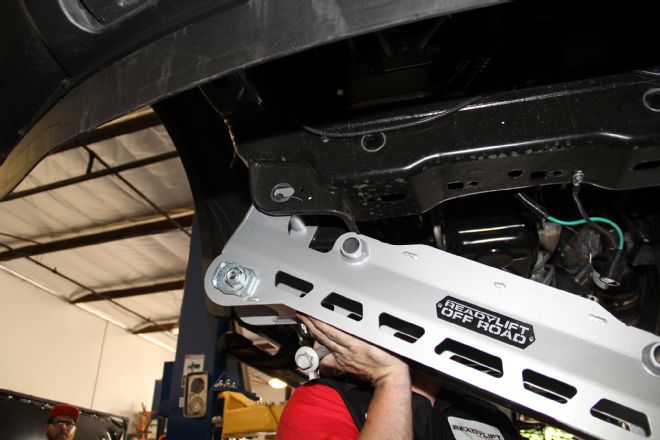
| Once all the support brackets were in place it was time for the rear crossmember to be bolted in, again using the two-man method. We then installed the front crossmember drop bracket that will meet up to the rear crossmember once it gets installed with the supplied hardware from the kit, leaving it loose just like all the others.
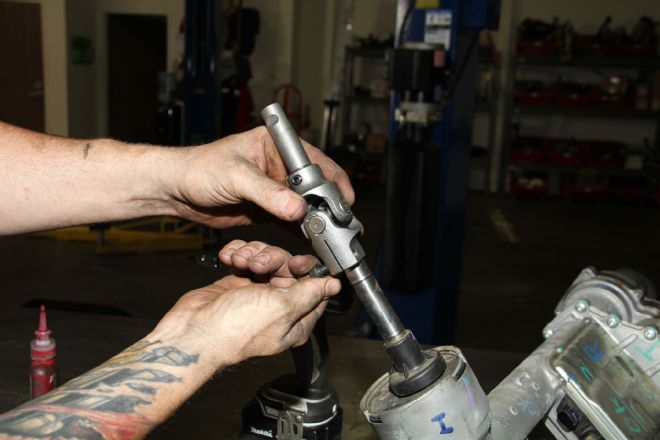
| Turning our attention to the rack and pinion, we needed to install the steering U-joint assembly. We then dabbed the bolt with more tread lock and torqued it down to 13.75 lb-ft. This was far easier to do when the steering rack was outside of the truck.
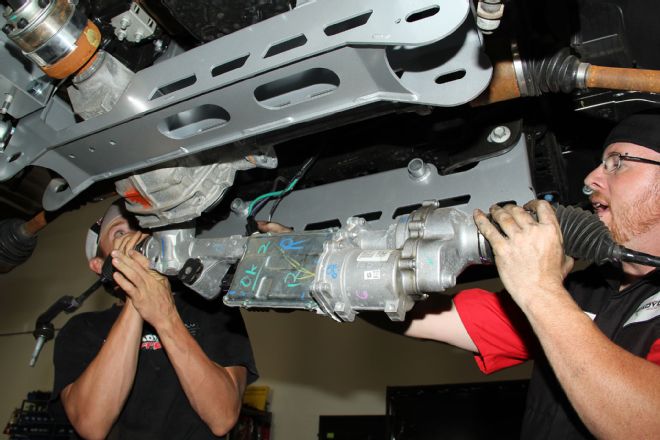
| The electrical connections were plugged back into the steering rack as we reinstalled it. We left the mounting bolts in the front crossmember in preparation to mount the rack so we were not fumbling around to find them. When it was loosely mounted, we reattached the steering extension linkage onto the factory pinch bolt and torqued it down to 13.75 lb-ft.
| With the major lift components in place we started to reassemble the front suspension, starting with the lower control arms which got bolted to their new positions in the new front and rear crossmembers. We left the mounting bolts loose and installed the cam plates on the outside of the crossmember.
| We went through and tightened up all the hardware that we left loose, and torqued them down to the recommended specs. We installed the front skidplate between the front and rear crossmember and buzzed that in good and tight now that the front section of the lift kit was properly bolted down.
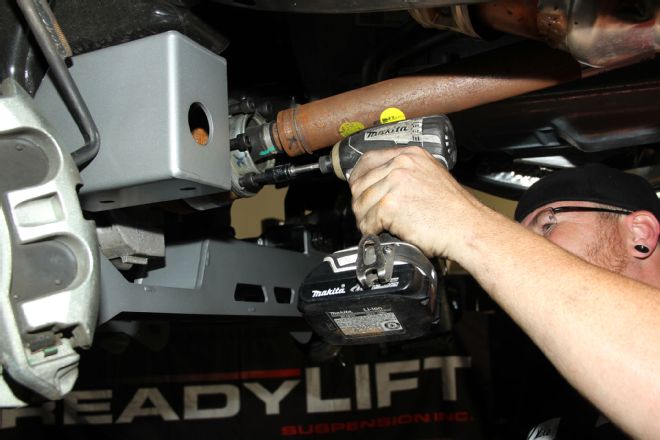
| We prepped the driveshaft to be reinstalled by putting a small amount of tread locking fluid on the driveshaft bolts. A little goes a long way so we only put a dab on each. It was now time to reinstall the driveshaft with its new spacer and get that out of the way so with our thread locked bolts, we buzzed them back in using our electric impact.

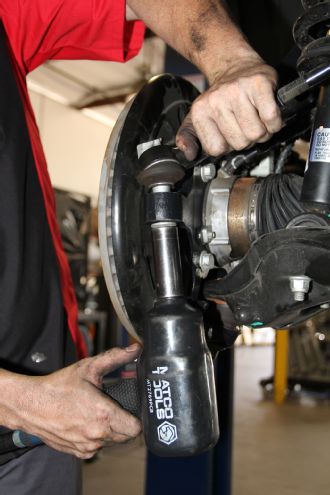
| We continued to reassemble the front suspension and mounted up the new spacers onto the top of the strut using the supplied hardware and a 14mm socket and torqued them down to 35 lb-ft. The strut spacers are marked Driver and Passenger so there was no guesswork involved.
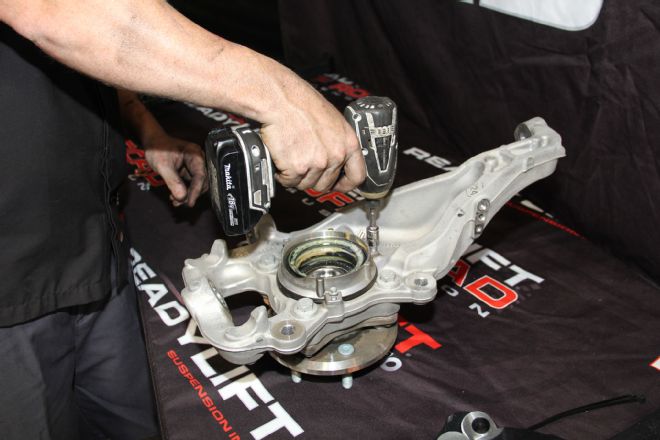
| Before the new steering knuckle can be installed, the old one had to be stripped of the factory hub assembly. We gave it a visual inspection, but since this F-150 was so new, there was little to see. We torqued the hub to the new knuckle using the factory hardware we just removed and torqued them down to 148 lb-ft.
| We slipped the new steering knuckle onto the lower ball joint using the factory nut, running it tight but not torqueing down until we had the whole assembly together. Then we prepared to install the upper ball joint and the vacuum actuator. Pay close attention to the next two steps, because if you don’t ReadyLIFT will not even answer your call.
| We raised the knuckle and guided the axle shaft into the hub assembly as we guided the upped ball joint into the knuckle. We moved the actuator to the knuckle mounting surface making sure it engage the splined inner ring, and that the vacuum ports are pointing to the top of the knuckle. Once we made sure everything was seated correctly, we tightened up the upper and lower nuts. Be very careful and precise as the vacuum actuator is easily damaged in this step.
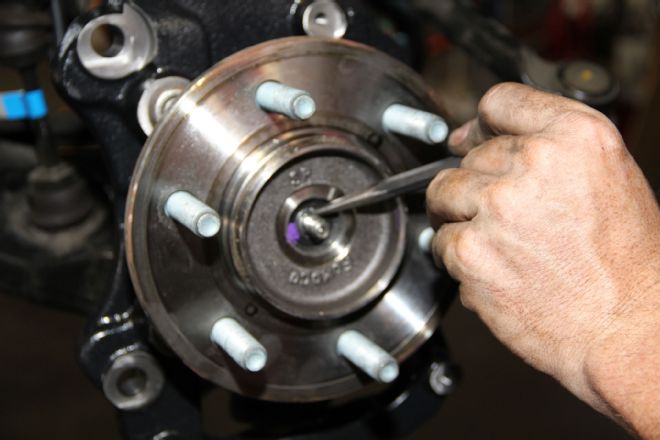
| Next we took great care to properly tighten down the axle nut. Pro Tip: You should too! We chose to tighten the axle nut with a manual ratchet instead of a powered one as the axle is thinner than it should be and can easily be broken off at the end. Once the shoulder was protruding 2mm, we knew we had it in far enough and checked by rotating the axle and the hub rotated with it. Then the bolts on the vacuum actuator can be tightened down.
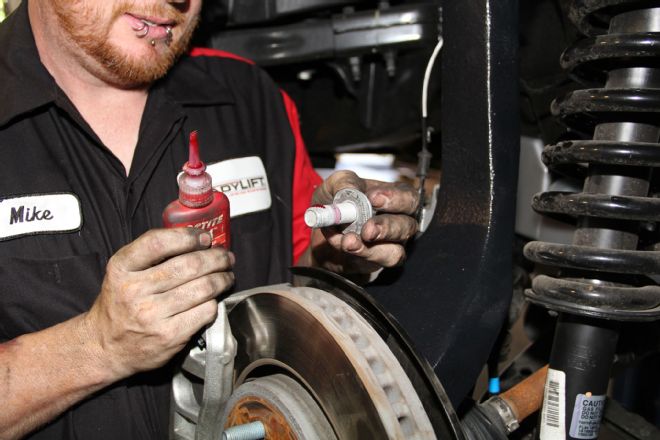
| Now that were through with the axle and hub assembly, we reinstalled the dust shield on the hub, put the rotor back on and bolted up the brake caliper using another little dab of thread lock to keep everything nice and tight.
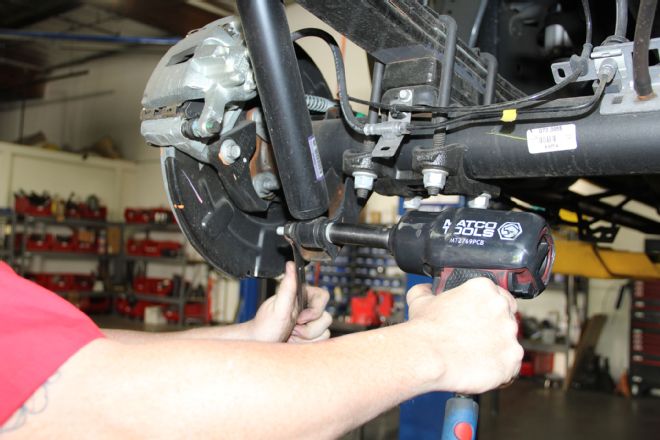
| With the hub all squared away, we reinstalled the sway bar into its new position and reconnected the tie rod ends to the knuckle using the factory hardware, and torqued them down to 110 lb-ft. We also torqued the upper and lower ball joints to 85 lb-ft.
| With the front ready to go, we moved on to the rear suspension. We removed the e-brake cable bracket from the frame and in preparation to receive the drop bracket. Then, using a set of jacks supporting the rear axle we loosened and removed the rear shocks and threw them into the growing pile of parts that we would not be reusing.
| In order to remove the factory lift blocks, we had to loosen and remove the U-bolts. Then we could take out the factory blocks and lower the axle far enough to take them out. With the old block out of the way, we installed the much larger lift blocks in their place making sure that the tapered end of the block points to the front and tightened the U-bolts down to properly alignment the center pins.
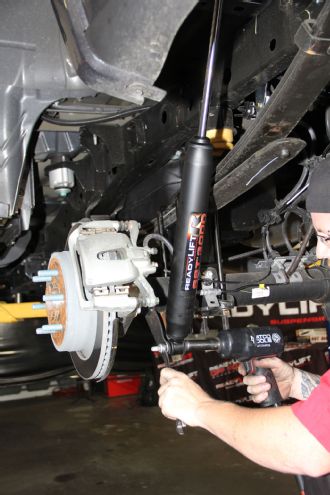
| Now that the blocks were in place we could see the light at the end of the tunnel and installed the new SST 3000 shocks that came with the kit. They went in with no problems and we reused the factory mounting hardware, torqueing down to 60 lb-ft. All that was left for our lift kit was to install the brake line drop bracket to the frame using the factory hardware as well as the e-brake line bracket and we were home free!
| With our 7-inch lift kit all dialed in, we decided to cap it all off with a new set of wheels and tires. A set of 37/12.5R20 Nitto Train Grappler tires were mounted to a set of 20x10 S.O.T.A BMF wheels.
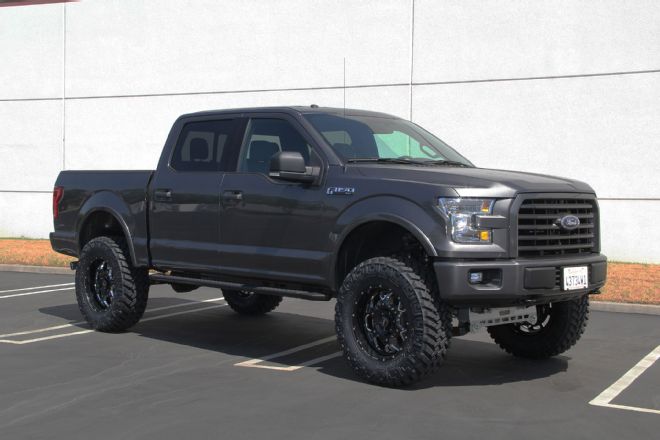
| Our ’15 Ford F-150 now had the right look and height to it. The 7-inch lift had given us a commanding presence on the road with the ability to really drive over anything that we could think of, and it really made an impression out on the road. After installing this kit, the ReadyLIFT crew took the F-150 out for spin around town and we received plenty of looks from passing drivers. But we were up too high to really see them. With a kit like this it really gave us the confidence to drive up a few curbs and drive over a few parking blocks when we were testing it out.