Chevy Luv Junkyard Jewel, Part 6: Four-Link
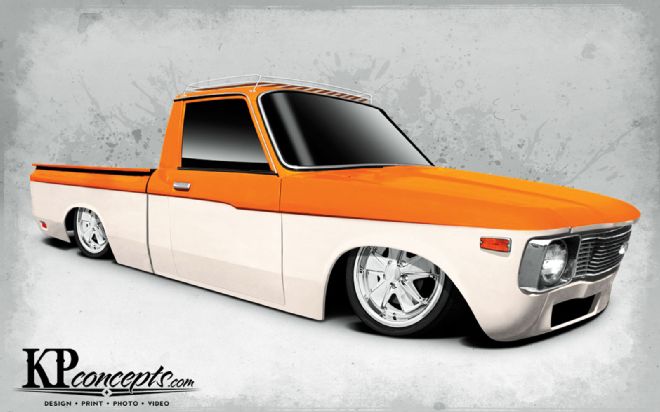
| 1302mt 01 Chevy Luv Four Link Render
In the last installment, we showed you what it took to scratch-build a set of link bars, and expanded a bit on how to be smart about where you spent valuable time and money. Now it's time to get our four-link installed and set up.
With our frame once again straight and sitting flat on the ground, we started off by laying out our axle centerline on the floor—this would be our starting point for laying out our lower link bar mounting points. Now at this point in time we also required some link bar tabs to allow us to actually mount the bars to the frame and the differential. Although we could've just ordered affordable professional laser-cut tabs, we opted to build some from scratch to give you more tips to help brush up your own fab skills. Also, the extra work helped in keeping the project from coming to a standstill while waiting for brackets and tabs to be shipped and received.
We set the adjustable portion on our link bars to the halfway point of the threaded shaft. This is generally a good starting point, as once the brackets are welded into place you will still be able to increase or decrease the length of the bars without running out of adjustment. Some 2x3-inch tubing was used to fashion our front link bar mounting points, and the differential was set under the 'rails and carefully centered. Take your time and measure twice because this is one of those times when eyeballing it just doesn't cut it!
Using an angle gauge, we set the pinion angle to 0-degree (basically the flange is 90 degrees to the floor), centered our link bars and tabs on the diff, and burned 'em into place. Similar to our lower link bar tabs, we fashioned some upper mounts out of some 2x2 square tubing, and set the upper link bar adjusters to the halfway point. To help us with set up, we raised the frame until our lower link bars were sitting at 0 degrees. The upper bars were mocked into position with some blocks, and also set to 0. The upper bars were also angled so that the front bushings were in line with the lower bar's front bushings, and the rear bushings were in line with the lower bar's rear bushings. Remember, we called this the effective length of the bars. Similarly to how we built our notches, a mounting crossmember for the upper bars was crafted and burned into position. With the upper and lower link bars both set at 0 degrees, the pinion angle set to 0-degree working angle (90 degrees to the floor). The last thing to do before burning the upper brackets into place was to level the upper bar bushings—this is key in order to prevent any binding as the bars swing through their range of movement.
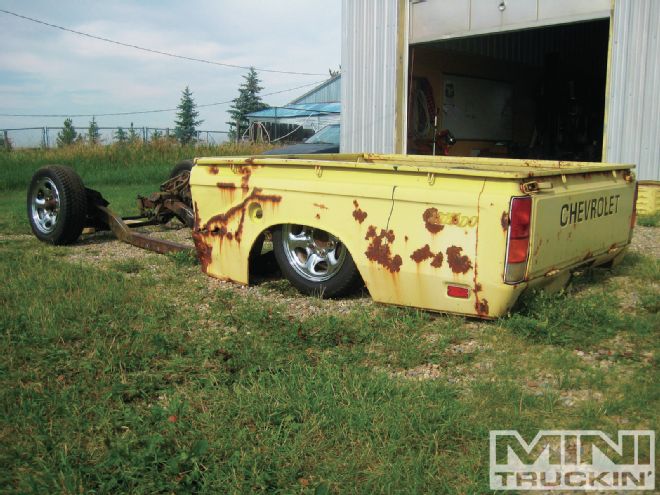
Now that we finally have a rolling chassis again, we could hardly wait to lower the bed mounts, cut out the floor, drop the bed into position, and roll the thing out into the sunlight to have a proper look at what kind of tuckage this Luv's gonna have!
| 19. Next, we tackle the cab and mounts! Stay tuned.


