Chevy LUV Bed and Interior Bench Seat Replacement - Junkyard Jewel
With our Chevrolet LUV project rolling along nicely, we stepped back for a minute to look at what tasks were outstanding. Although our original intent for this first stage of the build was to leave the exterior of the truck as original as possible, the further along we got into the project, the worse that LH bed side looked. Over and above the big dent and rust was just how bent and twisted the bed rail and front bed panel actually were. Thankfully right about this time we got a message from our ol’ friend Dario saying that he had come across a Chevy LUV that had just come up for sale, as quick as we could call the dude and strike up a deal we were on our way to pick up our new-to-us parts truck. After close inspection, the decision was made to replace only the left hand bed side and front header panels, the floor and the rest of the donor bed really wasn’t as good as ol’yeller’s, plus we had already invested time and efforts in our bed’s floor structure. The pieces in question were cut off each of the beds by our resident bodyman Sean, but as much of the original bed was left intact. The donor panels were cleaned up, fitted, and plug welded into place just as they were from the factory. Only a small amount of bodywork was needed to make the bedside fit like it belonged. We took a piece of sheetmetal off the truck and had the faded yellow matched up and put into some rattle cans to finish off the “new” bedside.
Other areas that needed addressing were the LUV's seat and door panels. Lucky for us, our lady Tammy paid attention in home economics class. To start off, we broke down the seat to see what needed to be done to our seat frame to retain its original mounting position. We stole a trick from our friends over at Billy Bob Customs and used an old set of BMX handlebars to match the contour of where the transmission/driveshaft tunnel now resides to essentially notch our seat frame. Being the bargain shopper that she is, Tam went on the hunt and found a great deal on some cool plaid print at the local fabric store. The plan of attack was to retain the original vinyl and replace only the frayed and worn out cloth pieces. A different approach was taken with the door panels as the original cloth inserts were essentially melted to the vinyl, so sewing in new inserts wasn’t an option. The solution was to use some upholstery spray glue to secure the matching plaid inserts, and add some tan rope string to bridge the transition from vinyl to the cloth. The revived seat covers were pulled over the original seat foams and hog ringed into place, some satin rattle can paint was used to clean up the seat brackets before it was all bolted back together. A total investment of about $80 was all that was spent to freshen up our bench and door panels, money well spent!
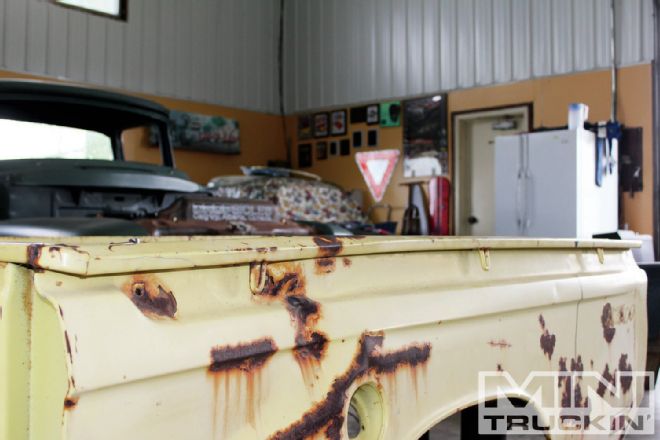
| 1. The collision damage the bed had taken years ago was a lot more substantial than originally anticipated.

| 10. A small amount of bodywork was done before spraying the faded yellow paint we had put into spray cans.


