Satellite TV service is a popular choice within the RV community. Although cable TV works fine at home, you can’t take it with you and local off-air channels aren’t always available at your camping location. Many RVs come equipped with roof-mounted dishes or domes. However, for those RV owners who don’t have rooftop units, or those who do but can’t acquire a clear signal due to obstructions like trees, an external tripod-mounted dish is the best choice.
External dishes must be precisely aimed to lock in on the satellite. They also should be steady and not move around in the wind, which requires a rock-solid tripod and mounting system. I recently ordered a complete tripod system from the TV4RV.com website featuring products designed by RVers for RVers. The tripod has all of the tweaks and components useful in a portable dish. The tripod itself is an aluminum surveyor’s tripod -- extremely rigid, yet lightweight. It comes with a ground auger and anchoring device to steady it in heavy winds, various wing-nut-style knobs for easy wrench-free adjustments during set-up, a solid-aluminum mounting mast for the dish, a lensatic compass to align the dish, and a signal-strength meter. All of this fits nicely into a nylon storage bag for travel. I also ordered the optional folding LNB arm. I can fold the arm flat against the dish, rather than have it sticking out, which makes it much easier to store while travelling.
Set-Up
I began my installation by removing the original arm from the dish and removing the base mounting bracket by drilling out the rivets. I replaced it with the hinged bracket and remounted the arm to the dish. Next, I removed the seven nuts from the dish, which locked in the elevation and skew adjustments, and replaced them with the new wrench-free T-knobs I had ordered along with the kit.
To set up the dish, I found a place with a clear view of the southern sky and set the tripod there, using the compass to find the correct azimuth and align the tripod. I inserted the mast into the tripod and tightened the hand knob to secure it. I placed the bubble level on the top of the mast and adjusted the tripod legs to ensure nothing was out of level. The auger was then twisted into the ground beneath the tripod and connected with a bungee cord to hold the tripod steady. Next, the dish was placed onto the mast and locked down with the T-knobs. The elevation of the dish was dialed in, as was the skew. Azimuth, elevation, and skew change from location to location, but you can find it easily by entering the zip code into your receiver, using a smartphone app, or going online. Once all these rough settings were made, I connected the dish to the signal-strength meter and began to finetune them to achieve maximum signal strength.
You can also use the signal-strength meter in your receiver but that requires running back and forth to the RV. A portable meter is much easier to use. Normally, the dish is powered by its receiver. You must connect the dish to the receiver and place the signal meter inline to ensure the LNB is powered up. If this is your only dish and you are using SWM, you’ll also need to add a power inserter and SWM-capable splitter. The meter has both an in and out port, which makes connecting a short piece of coaxial cable to the dish much easier. If you have one of the newer SWM dishes, you can use DirecTV’s advanced set-up meter to power the dish. Using the advanced meter is easier, but it is somewhat expensive.
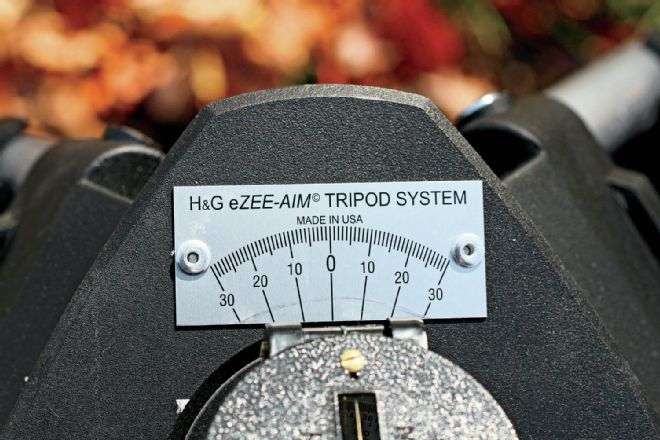
| The tripod head is calibrated in degrees to make it easier to align the dish.
Alignment Help
Another handy item for RVers is the Align-a-Site, which I purchased from the RVupgrades.com website. This handy tool consists of a 90-degree sighting prism with a set of leveling vials and a compass. Use it as a hand-held tool to scope out a prospective tripod location and scout for any obstructions or tree cover. The Align-a-Site also has a mounting bracket that will allow it to be attached to your dish, but the steel dish does tend to throw off the compass. I don’t recommend permanently mounting it.
TV4RV offers an optional eZEE-AIM dish-aiming scope that works well with their heavy-duty tripod system. This aiming scope rests on the top of the tripod, and you can use the tripod’s aiming marks to properly orient the azimuth. Dial the scope to the desired elevation and then look through the prismatic scope to see exactly where your satellite dish will be aimed. This eliminates wasting time monitoring signal levels and making frequent adjustments to the dish, only to discover trees in the way. The combination of TV4RV’s Heavy Duty Tripod Package and the eZEE-AIM dish-aiming scope makes it easy to set up a tripod-mounted satellite TV dish that can be used to provide satellite TV programming for any RV owner.


