Editor's Note
DIY is intended to offer advice only. If you don't have the skills or tools to perform the kind of mechanics shown, be sure to find a qualified technician in your area before getting started.
| Not enough 12v power sockets for your electronics? It's easy to fix.
Welcome to the DIY Garage. If you have workbench and a set of common tools, you're in the right place. DIY Garage was created to make you a more proficient and mechanically smarter do-it-yourselfer. In the process, if we can save you money and increase your knowledge of the products available to the RVer, consider it a bonus.
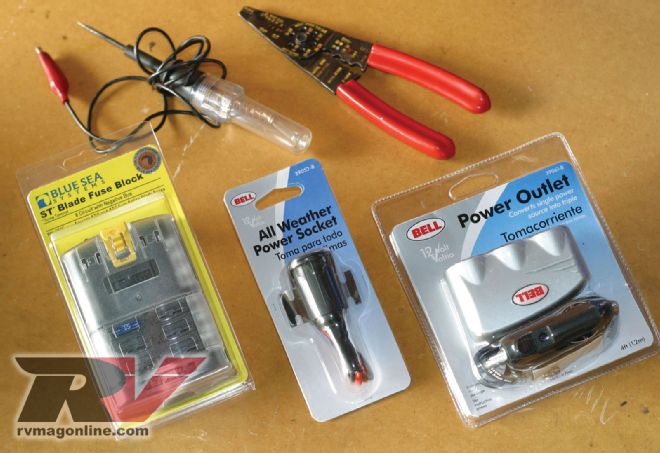
| You can find everything you need to do the job at your auto parts store, or your home improvement or marine store.
Gadgets & Gizmos
We all have an affinity for gadgets of
every shape and size. In today's high-tech world, many of our "toys"
are electronic. The power adapters for our cell phones, iPods, GPS
units, laptops, and video game consoles all must fight for plug time in
a limited number of power outlets. While 12V to 110V inverters have
their place, there's never enough 12V power plug sockets when you need
them most.
In this issue, we're going to do three things:
1. Show you how to wire in more 12V power ports.
2.
Add an auxiliary fuse block so you'll have a convenient and safe power
source to drive your devices without tapping into your vehicle's
complex electric system.
3. Show you an inexpensive solar panel to keep those accessories going without draining your primary battery.
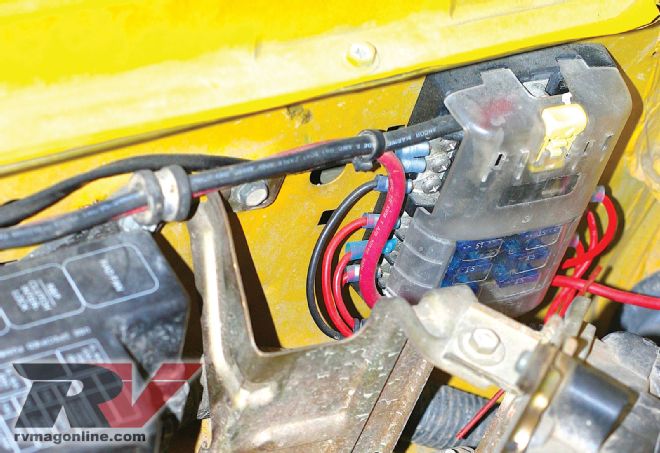
| Fuse blocks are available in different configurations, depending on the application.
Auxiliary Fuse Block
Given the complexity of electrical systems in vehicles today, it's a good idea not to splice into a factory harness because you can unknowingly cause problems in other areas of the system. That's where an auxiliary fuse block comes in handy.
Because we wanted to add driving lights, an improved horn, and a CB/HAM radio later on, we mounted an auxiliary fuse block under the hood of our light-duty tow vehicle to provide a safe source of constant power. The unit we used is readily available online and at marine parts stores for under $60 and incorporates standard blade fuses and stainless steel components. It features six power and ground points.
Depending on your setup, you'll need to find a good spot to mount the unit before doing anything. It must be mounted away from all moving parts but still relatively close to a battery. In this case, our unit was installed on an SUV used for towing a small camper. We located a spot out of harm's way just above and behind the fenderwell, though using this location meant unbolting the cruise control assembly.
With the cruise control swiveled out of the way, we had room to drill four small mounting holes for the No. 8 sheetmetal screws. Wherever you mount the fuse block, be sure to check behind the area where you plan to drill so that you don't damage any wiring and so on. Using a Sharpie to mark our sites, we drilled the holes and screwed the unit in place. We popped the cruise control back into position and then got ready to wire our unit.
Yes, if you want, you can mount the fuse block inside the motorhome and not in the engine compartment.
Wiring
Before you start cutting any wires, keep in mind the age-old adage "measure twice, cut once." We were not going to be adding accessories that had heavy-duty loads (like winches, which must be wired directly to the battery), so we used 8-gauge wire that could handle modest loads. We don't recommend any wire less robust.
With the fuse block mounted under the hood, we mocked up the length of each strand of wire for our positive and negative connections. The red wire attached to the positive side of the battery terminal, and the black wire was grounded to the engine block.
The 8-gauge wire is thick, so be sure your wire crimpers can handle it or use a heavy-duty cutter. After mocking up the red and black wires, we cut them to length and used a bench vise to attach a crimp ring connector on the ends.
One at a time, we secured the red and black wires to the battery and engine block and their respective positive and negative mounting studs on the new fuse block. No matter what fuse block you use, it is important to pay attention to how much power the unit can handle. In our case, the fuse block was rated at 30 amps. Do not wire any accessories that exceed the rating of your new fuse block, and always use wire of a suitable gauge and correspondingly rated fuses. If unsure, just ask a professional for advice on what gauge to use, informing him of how long the wires will be and what you plan to power up, as that determines what you need.
Adding Auxiliary Power Plugs
Now that we had a safe power source without tapping into the factory wiring, it was time to address how many new power ports we needed. In this case, we were going to add a three-port unit and would be mounting it out of sight under the dash. You can choose to mount your port wherever it is convenient and safe.
While there are adapters that will convert one power plug into three, we opted for a more permanent solution, a cleaner way to power multiple accessories simultaneously. You can find these at auto parts stores, typically for less than $25. Some are more robust and weather-resistant than others and handle higher amperage.
With the fuse block mounted, we ran a black wire and a red wire from the fuse block through a rubber grommet in the firewall and into the area under the dash. This eliminated any drilling. (If you drill a hole to do this, be sure to check both sides of the firewall before starting, then install a rubber grommet to protect the wires from chafing, and seal the opening with silicone.)
We used 14-gauge wire for this purpose, which called for the addition of a 15-amp fuse in the fuse block. Check your work with a simple test-light before moving onto the next step. Clip the negative end to a piece of metal under the dash, and put the probe into your new outlet. If it lights up, you're good. The choice of where to mount your multiport is yours. Whatever you decide, make sure that the unit and any wires do not interfere with any moving parts, such as the hood release cable or the travel of the brake and clutch pedals.
You can cap off your wiring project by protecting it with a ribbed split wiring loom, available at most home improvement stores. Zip ties will help keep it neatly out of the way too.
We installed the power outlets to be always "hot," meaning that the ignition did not need to be turned on for the power ports to work. Since our accessories weren't permanently plugged in, we didn't have an issue with it. But if you want to make them hot only when the ignition key is on, a relay may be added to the circuit. Doing so requires further steps not covered in this article, though sources may be found across the Internet.
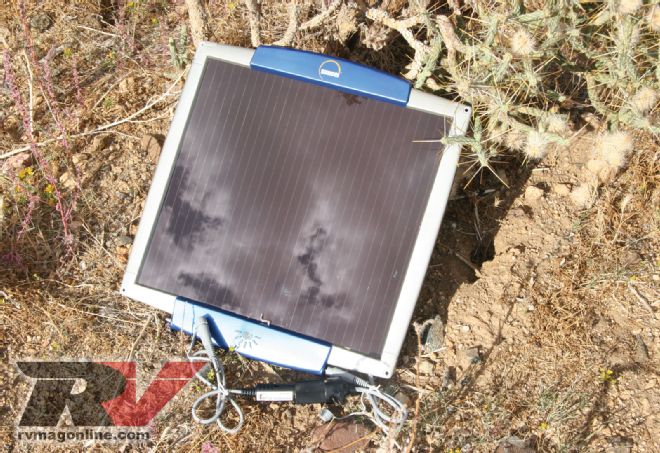
| Solar panels start at under $100 and can help keep your battery charged while dry camping or even during winter storage.
Adding a Solar Panel
Dry camping without shore power can be tricky if you need to constantly use your vehicle's or RV's battery system. Generators are great, but you can't always use them, especially at night. Before you kill your battery power, you might consider a solar panel. They come in various sizes and power outputs. Several manufacturers have introduced products that are well suited for our life on the road, and from what we've discovered, they make a great addition to any rig.
To keep batteries topped off and electronics charged, we looked at several state-of-the-art solar panels specifically designed for RV and marine use. Because of its small size and low cost, we used the ICP Solarcharger SE-400 from JC Whitney (www.jcwhitney.com). This weather-resistant unit was just shy of 15 inches square and put out a healthy 6 watts of power (at 15 volts) and installed in seconds thanks to integrated connectors. You could plug it into a 12V power outlet (hey, we've now got a bunch of those!), put it on the dash, and walk away. It also connected directly to a primary or secondary battery via a pair of battery clamps to trickle-charge the battery-no tools required. The unit can be mounted permanently on the roof, or two units can be wired in tandem if so desired. Other solar panels are also available from JC Whitney.
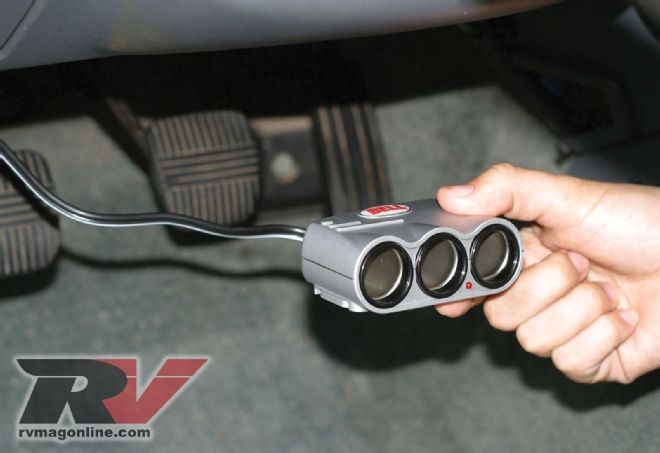
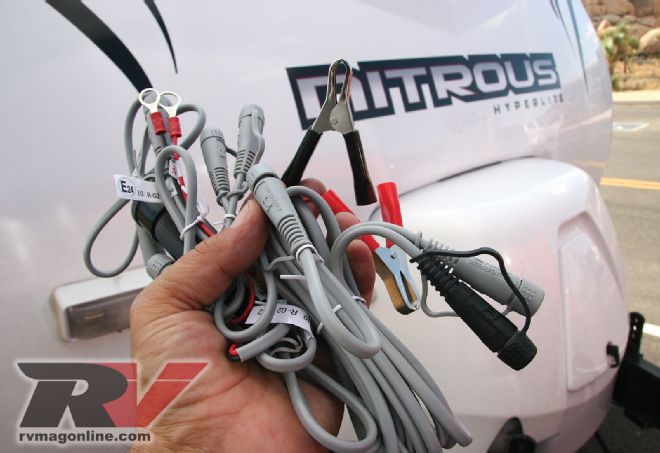
| Here's our permanently wired, three-port socket.
WHAT YOU'LL NEED
You might already have some of these items, but if you don't they are available at your local auto parts store or at a home improvement or marine store.
Fuse block. Blue Sea Systems PN 5025
Auxiliary power plug sockets
8-gauge wire, two sections: one red, one black (length depends on application)
Four 8-gauge, loop-ended wire connectors (3/8 inch opening)
Rubber-bushed clamps
Sheetmetal screws
14-gauge wire, red and black
Split wiring loom
Assorted zip ties
Power drill and bits
Phillips-head
screwdriver
Bench vise
Heavy-duty wire cutters
Wire crimper kit w/ selection of butt connectors
Test light
Sharpie
At a Glance
Labor Hours: 6
Fuse Block: (depending on model) - $47 to $60
Power Plug: (depending on model) - $19
Wiring/Supplies: $45
Solarcharger SE-400: $90