Thomas Smalley had always envisioned a custom heavy-duty front bumper on his ’99 Ford F-250, but spending more than a grand on even a cheap one blew out his college-student budget.
That all changed when the Oakland, Oregon, Super Duty owner discovered MOVE Bumpers and realized he could apply the welding skills he was acquiring by building his own bumper and take advantage of MOVE’s easy-to-do DIY kit.
The day after the bumper kit arrived, Smalley had it built and installed, plus it looked every bit as nice as a pre-assembled custom bumper costing nearly three times as much. That cost savings and simplicity comes from a unique approach MOVE uses, which eliminates the final assembly and finishing process common to other heavy-duty custom bumpers installations.
Lewistown, Montana-based MOVE uses their 3D design technologies, CNC machine, and metal-forming equipment to produce all the pieces for each customer-spec’d kit out of 3/16-inch plate steel. Then the kit is shipped out, leaving the final assembly and finish work to customers like Smalley.
The company’s weld-it-yourself kits come in three basic styles: Standard ($395), Pre-Runner ($495), and Full-Grill ($750). Each includes cutouts for two sets of square light holes in the wings and a 20-inch lightbar in the face. If you need a 30-inch lightbar hole or a single set of square lights, that adds $50. (A winch mount setup is $75, but the bumper face must be modified for the fairlead.)
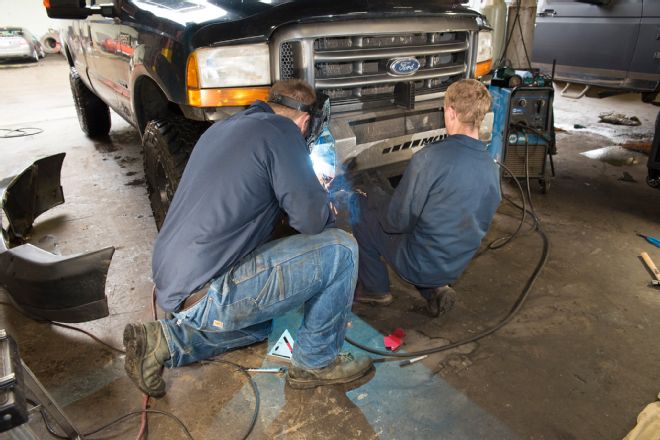
We followed Smalley and friend Josh Hunt as they took the F-250 bumper kit from start to finish in just half a day working in a bay at Mobile Diesel Service in Oakland, Oregon.
After the bumper was assembled, welded, and sanded, they took it to Double R Powder Coating & Fabrication in nearby Sutherlin to have it finished in textured, semi-gloss black. Then it was back to the shop to install the TigerLight LEDs and put the bumper on the truck.
MOVE’s new approach to custom heavy-duty truck bumpers proves sweat equity is worth every minute–especially for Truckin readers who have their sights set on cool upgrades but are hand cuffed with tight budgets.
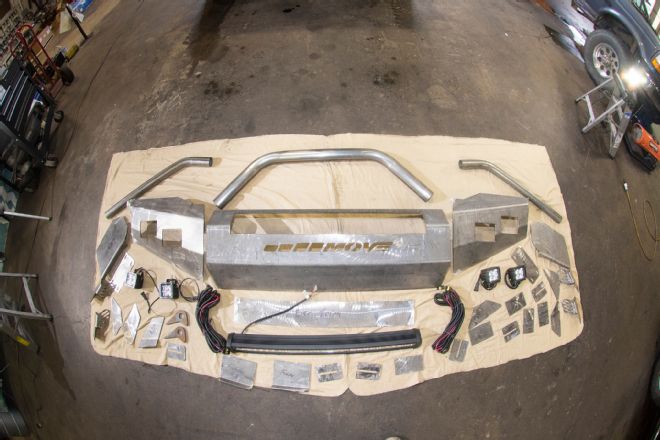
| 02 MOVE Do It Yourself Heavy Duty Bumper Kit
This particular MOVE Bumper kit is the mid-priced Prerunner version with the optional 30-inch lightbar cutout ($50) and three 2 1/2-inch tubes ($75)—total cost $620. Pre-finished bumpers of the same caliber normally cost close to $2,000.
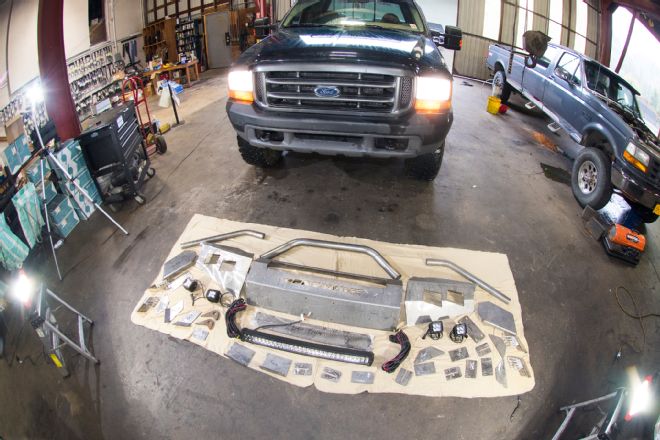
| 03 MOVE Do It Yourself Heavy Duty Bumper Kit
MOVE Bumper kits come in three versions: Standard ($395), Prerunner ($495), and Full Grill ($750). This ’99 F-250 is primed and ready to have a burley MOVE Bumper installed.
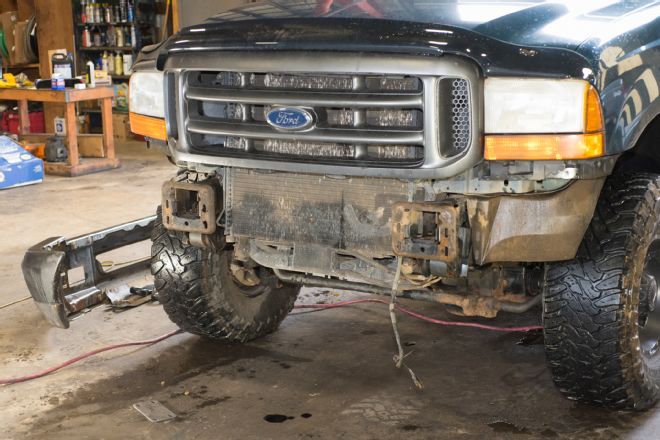
| 04 MOVE Do It Yourself Heavy Duty Bumper Kit
The first step is to disconnect the batteries and remove the stock bumper and tow hooks to make way for the fab work.
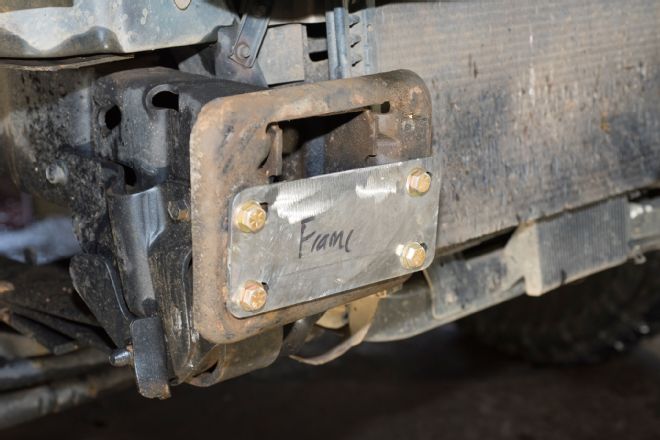
| 05 MOVE Do It Yourself Heavy Duty Bumper Kit
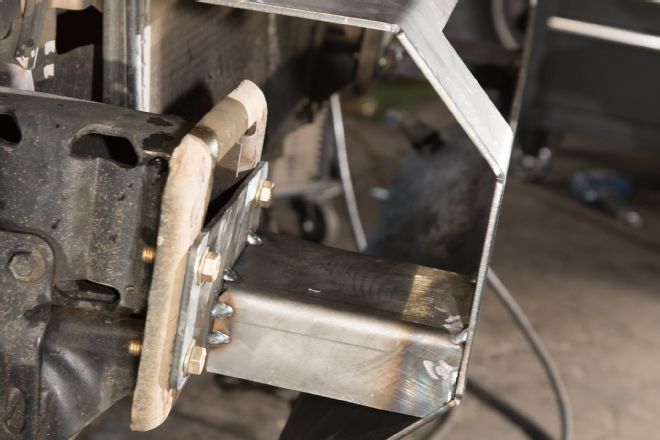
Place the MOVE Bumper frame-horn endplates in position and finger-tighten the factory bolts.
| 06 MOVE Do It Yourself Heavy Duty Bumper Kit
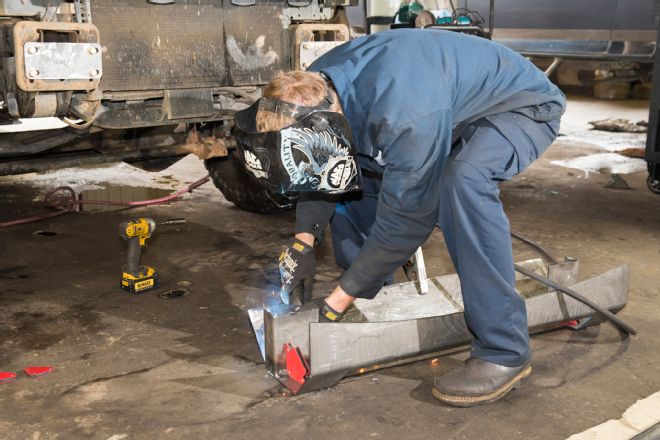
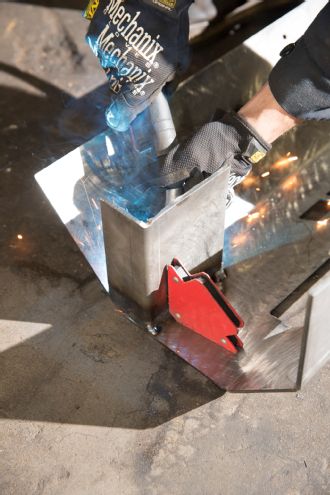
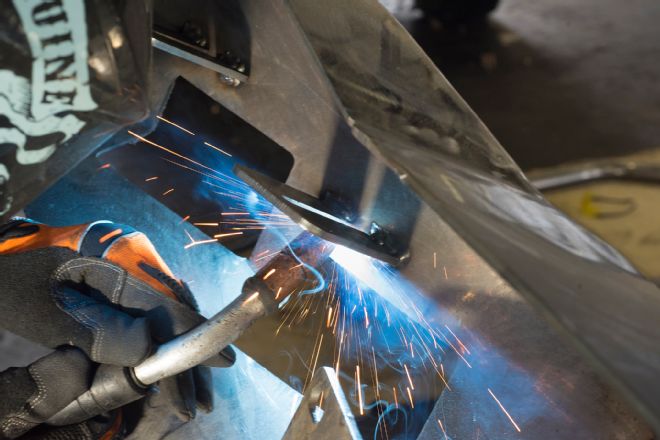
The first of many welds: Here Josh Hunt tack welds the passenger’s side L-bracket to the MOVE center section. This is the most important step as the center section and brackets set the stage for the entire build.
| 07 MOVE Do It Yourself Heavy Duty Bumper Kit
Carefully position the L-brackets with the angled-edge of the bracket’s short leg against the angled bottom of the center section, as shown. Welding magnets are a big help during this build to ensure square placement of brackets and gussets.
| 08 MOVE Do It Yourself Heavy Duty Bumper Kit
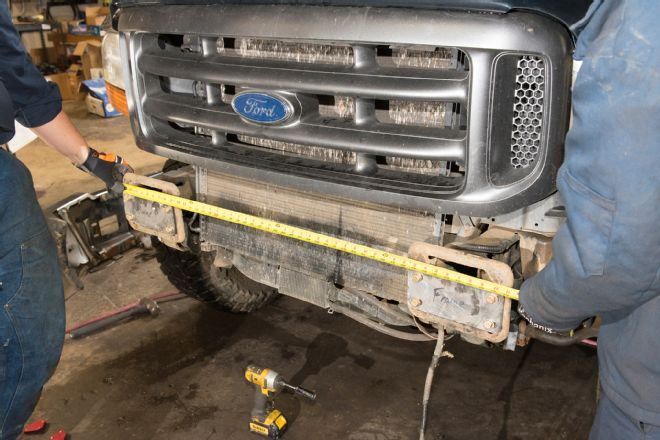
Find and mark the center of the truck’s grille by placing a tape measure on outside edge of each framehorn. Next, mark the center point on the bottom of the grille.
| 09 MOVE Do It Yourself Heavy Duty Bumper Kit
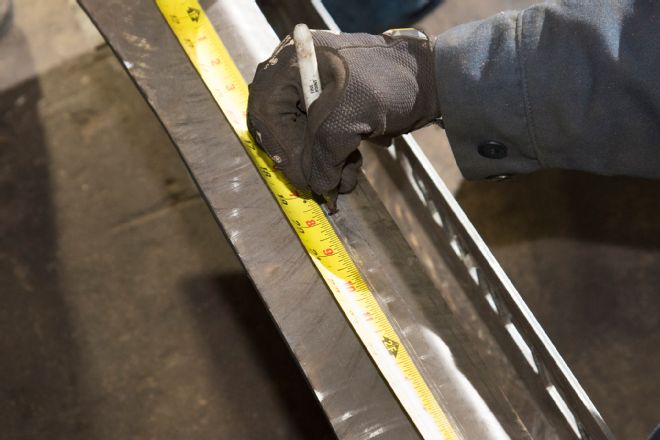
Locate and mark the center on the MOVE bumper center section with a Magic Marker. Use this mark to align the center section with the grille, so the bumper is centered when finished.
| 10 MOVE Do It Yourself Heavy Duty Bumper Kit
Thomas Smalley tack welds the center section L-brackets to the framehorn endplates. Make sure the en-plate bolts are positioned in the center of the slots, so you can adjust the bumper left or right as needed later on.
| 11 MOVE Do It Yourself Heavy Duty Bumper Kit
The L-brackets were tacked in to achieve the proper positioning in relation to the MOVE bumper center section. Tack welds are used until the other side is correctly aligned and positioned.
| 12 MOVE Do It Yourself Heavy Duty Bumper Kit
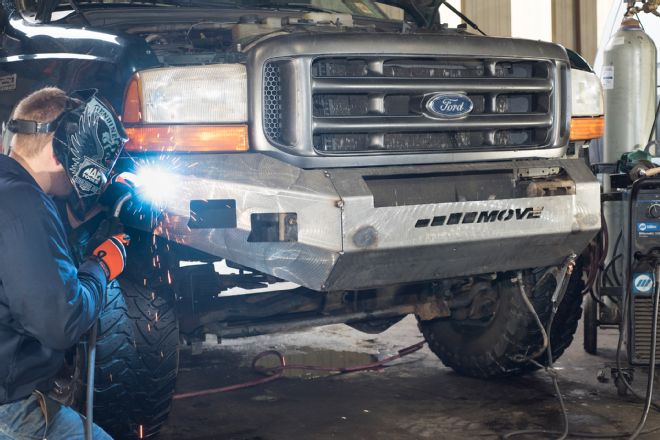
Smalley runs a full bead around each L-bracket. Welds can be smoothed during the final finishing stages.
| 13 MOVE Do It Yourself Heavy Duty Bumper Kit
The center section of the MOVE Bumper is now in place on Smalley’s F-250 and ready to have the wings and endplates welded on.

| 14 MOVE Do It Yourself Heavy Duty Bumper Kit
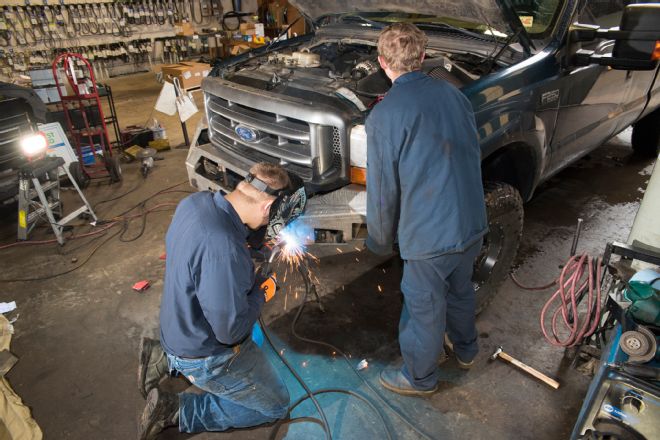
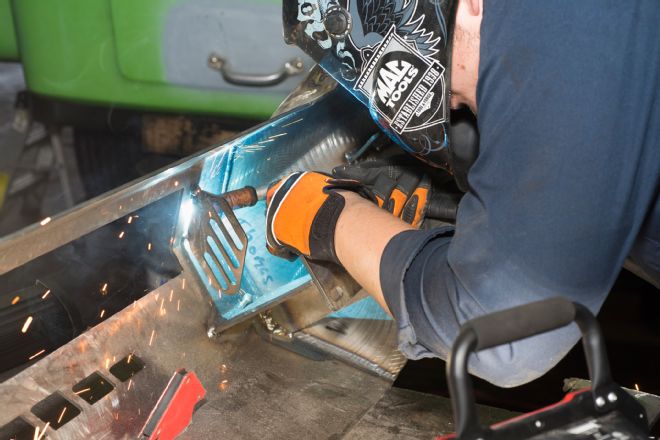
It’s nice to have a helping hand or two during this build. Here, Smalley holds the passenger-side wing in place, ensuring the top is level with the marker light, while Hunt places a few quick tack welds.
| 15 MOVE Do It Yourself Heavy Duty Bumper Kit
The side plate is the last piece to be welded in place on the passenger’s side of the new bumper.
| 16 MOVE Do It Yourself Heavy Duty Bumper Kit
The same process is repeated on the driver’s side, as the bumper wing and side plate are welded in and a full bead run along each seam. Smalley took care to ensure the wing is level with the marker light before making finish welds.
| 17 MOVE Do It Yourself Heavy Duty Bumper Kit
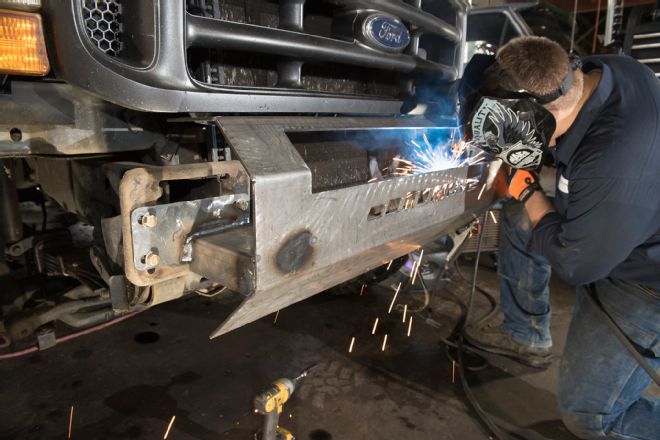
Smalley runs a full bead along the seam where the center section and wing butt together. All welds will be ground smooth later.
| 18 MOVE Do It Yourself Heavy Duty Bumper Kit
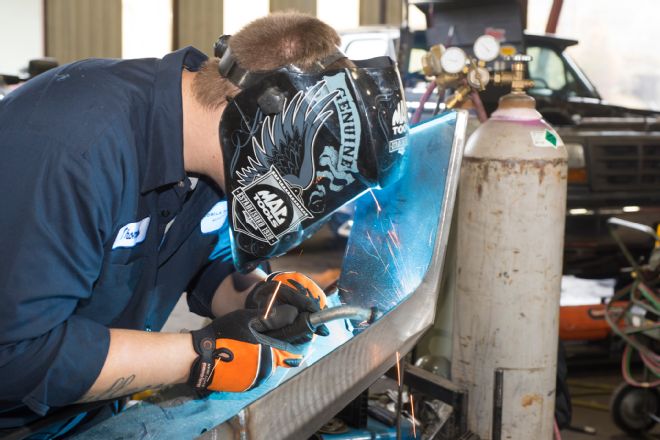
The bumper was removed and set on a table where it was easier to work with. Smalley ran an extra set of 1-inch long beads on the backside of the MOVE Bumper to strengthen the outer welds without having to run full-length beads. He also welded in the supplied gussets as he saw fit.
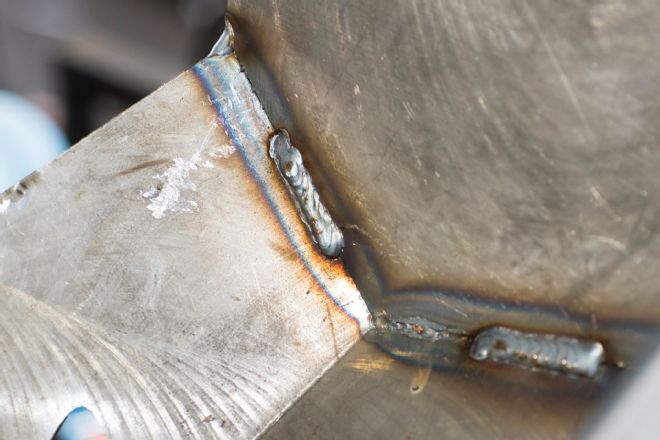
| 19 MOVE Do It Yourself Heavy Duty Bumper Kit
One-inch long welds were performed along the back of the joints where the center, wings, and side plates joined.
| 20 MOVE Do It Yourself Heavy Duty Bumper Kit
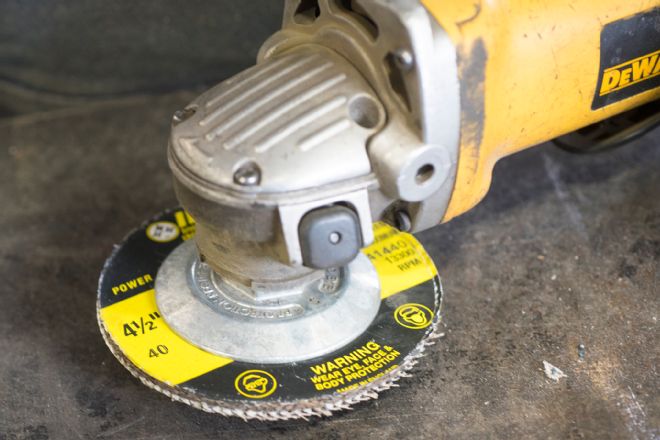
The second most used tool was this angle grinder with a 4 1/2-inch flap disc. These sanding disks are ideal for smoothing the bumper edges.
| 21 MOVE Do It Yourself Heavy Duty Bumper Kit
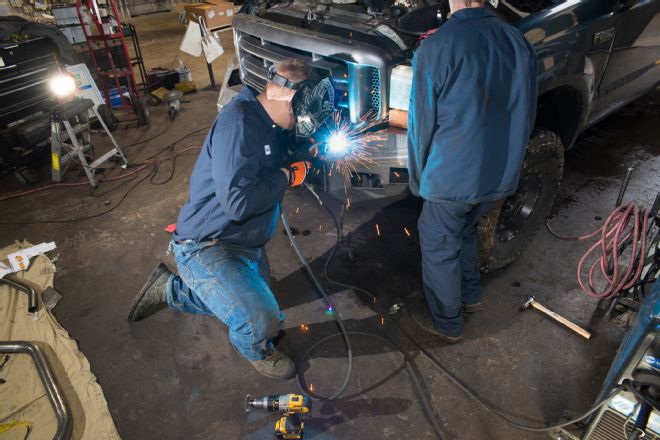
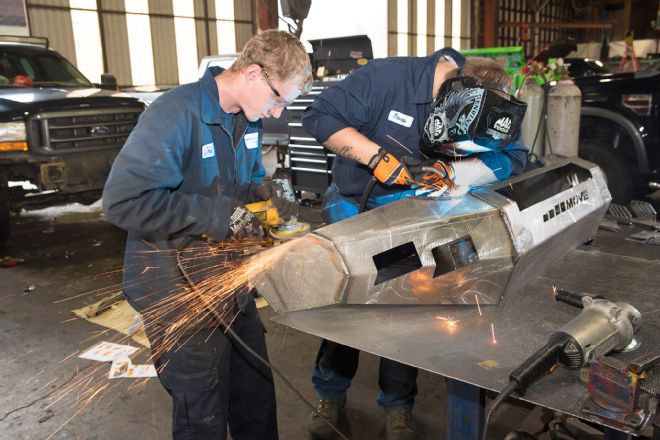
Sweat equity at work: While Smalley continues welding, Hunt grinds the welds and edges smooth. Teamwork really sped up this MOVE Bumper kit build.
| 22 MOVE Do It Yourself Heavy Duty Bumper Kit
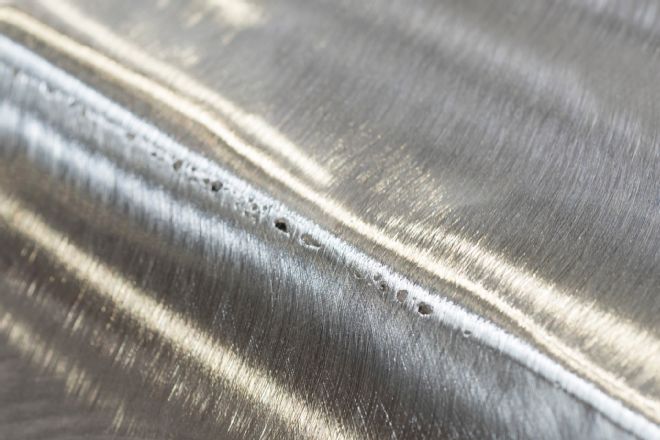
As the welds were smoothed down, a few pinholes began to appear. These areas received a second welding pass to ensure a strong joint, then reground smooth.
| 23 MOVE Do It Yourself Heavy Duty Bumper Kit
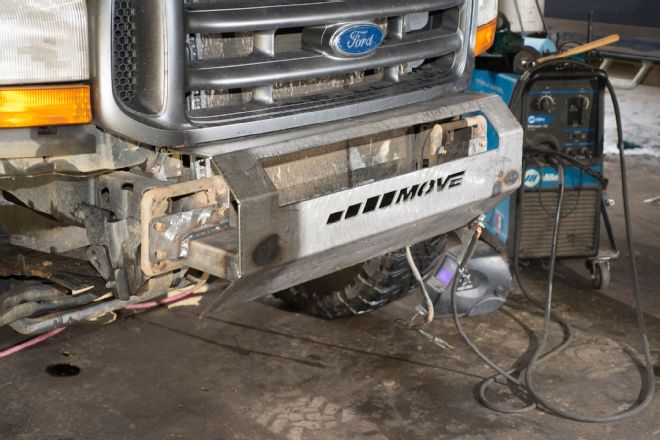
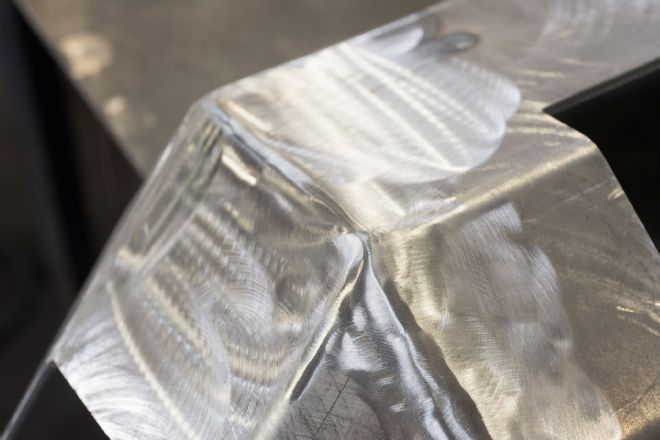
This is what the finished areas of the bumper fabrication looks like after the pinholes were addressed and the final sanding completed.
| 24 MOVE Do It Yourself Heavy Duty Bumper Kit
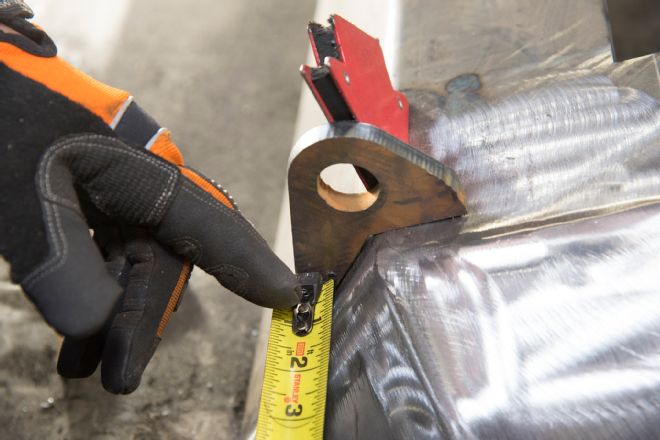
Each bumper comes with tow hook eyes. Smalley places the ones on his custom bumper an inch inward from the wing seam on the center plate. Welding magnets helped get the eyelets square and held them there for tack welding.
| 25 MOVE Do It Yourself Heavy Duty Bumper Kit
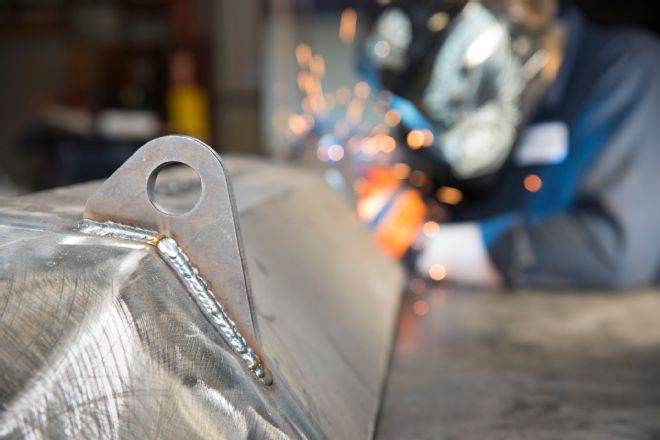
The tow eyes are welded in place, which is the last step on the face of the bumper fabrication.
| 26 MOVE Do It Yourself Heavy Duty Bumper Kit
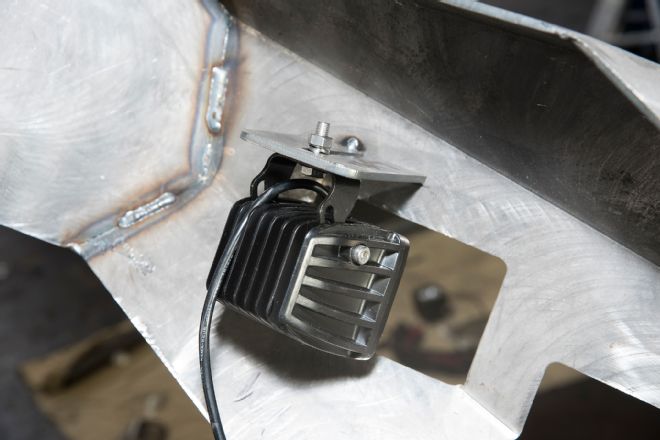
MOVE Bumpers includes adjustable light-mounting brackets with this kit. Smalley positioned the TigerLight Spot Beam driving lights and tack-welded each bracket in place.
| 27 MOVE Do It Yourself Heavy Duty Bumper Kit
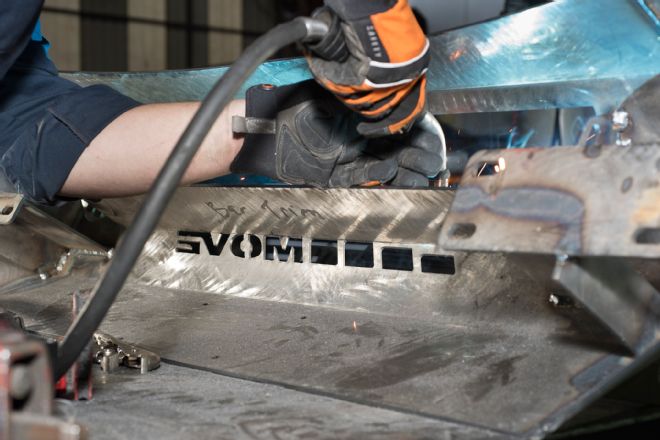
A full weld is run top and bottom after the wing light brackets are tacked in place.
| 28 MOVE Do It Yourself Heavy Duty Bumper Kit
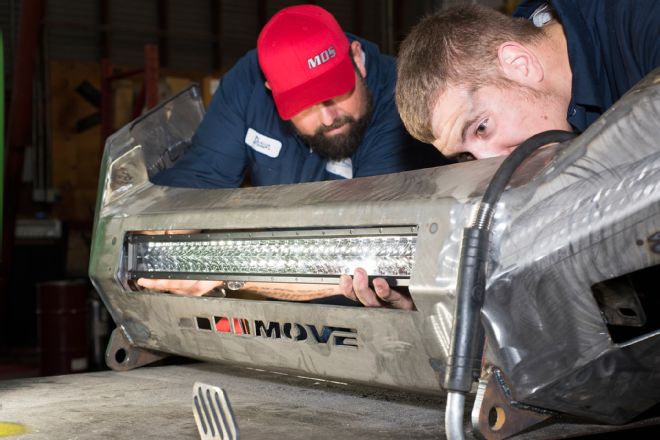
Smalley with help from his dad, Shawn, position a new 30-inch TigerLight Crossffire LED bar in the MOVE Bumper cutout.
| 29 MOVE Do It Yourself Heavy Duty Bumper Kit
MOVE supplies a pair of special lightbar brackets in the kit. Smalley cut off the slotted portion of each. That way, he could keep the TigerLight Crossfire LED lightbar close to the opening, while allowing full adjustability.
| 30 MOVE Do It Yourself Heavy Duty Bumper Kit
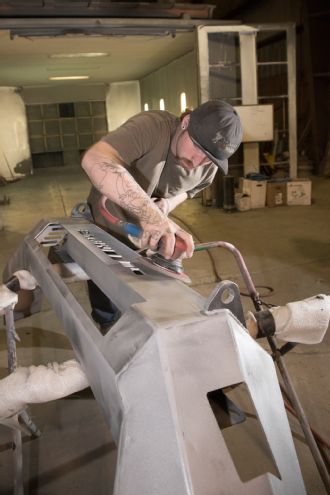
The last item to be welded in is the trim plate under the lightbar. Smalley positioned it to lie along the top of the MOVE logo cutout.
| 31 MOVE Do It Yourself Heavy Duty Bumper Kit
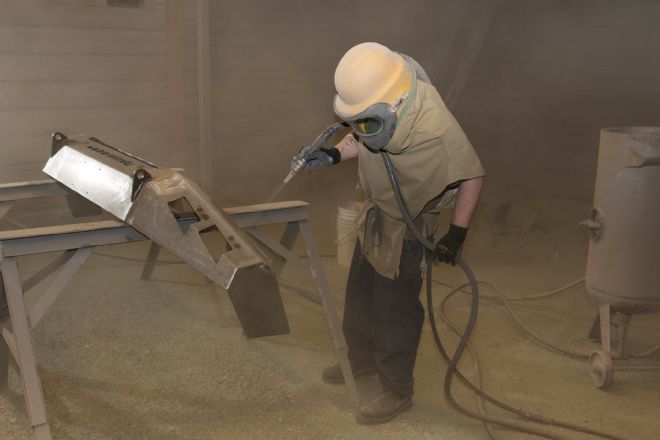
With the welding done, the bumper is taken to Double R Powder Coating & Fabrication.
Dakota VanDoran sandblasted the bumper to remove external contamination before starting the powdercoating process.
| 32 MOVE Do It Yourself Heavy Duty Bumper Kit
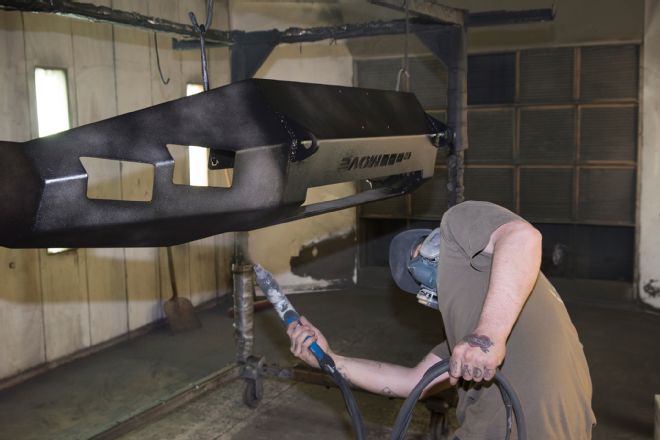
Every bumper VanDoran powdercoats gets a good once-over with a dual action sander before heading into the oven.
| 33 MOVE Do It Yourself Heavy Duty Bumper Kit
Double R Powder Coating & Fabrication uses a two-step process for bumpers, hitting the hard-to-reach areas that could eventually rust with powdercoat while the bumper is still hot from the initial outgassing process. When the bumper is cool, they lay on the traditional powdercoat and cook the bumper again for 30 minutes at 400 degrees to bake the finish.

| 34 MOVE Do It Yourself Heavy Duty Bumper Kit
The last stage of the weld-it-yourself MOVE Bumper build is to wire the lights. TigerLight’s LEDs have pre-wired looms, making this job pretty easy.
| 35 MOVE Do It Yourself Heavy Duty Bumper Kit
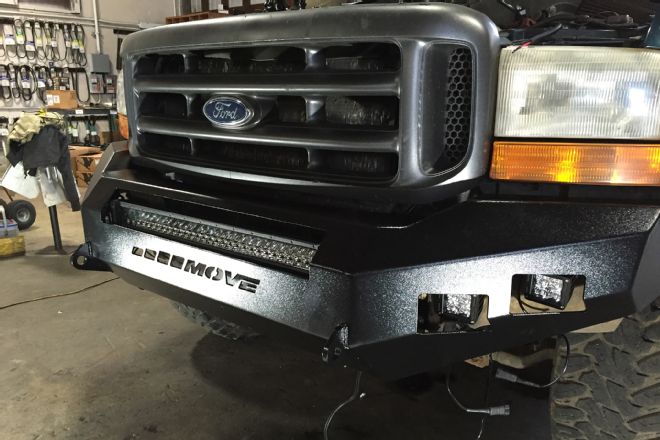
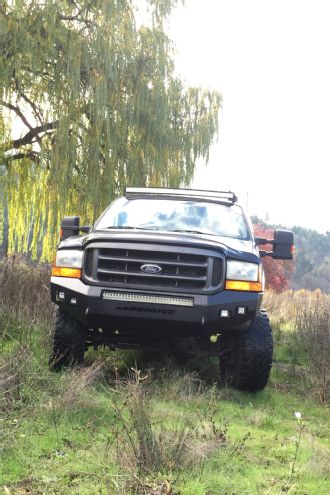
Job done! The DIY heavy-duty MOVE Bumper looks sharp! Smalley will add the pre-runner bars at a later date, which is his option.
| 36 MOVE Do It Yourself Heavy Duty Bumper Kit
The MOVE bumper greatly improves the front protection of Smalley’s F-250 and provides excellent auxiliary lighting. Best of all–he built it.