When people start talking about the customization of heavy-duty trucks, the conversation automatically veers toward either performance upgrades or lift kits. While these two aspects of any HD truck build are crucial, there are other areas of the big haulers that are often overlooked on all but full-blown show trucks; namely, the front grille, headlights and taillights. Just like the lighter trucks, where these mods are more prevalent, upgrading the lighting or front grille can be a less expensive way to personalize your truck, or could be a good way to test the waters or get the ball rolling before you move on to larger, more costly modifications.
In our vast array of project vehicles at our disposal is a ’04 Super Duty that spends most of its time hauling a Class 10 race car around the Southwest and Mexico. The truck received an Icon Lift and some 35-inch Generals a while back, but the rest of the truck remains untouched, and a little worse for wear. Our plan is to clean up the exterior over the next few months, starting here with the basics, although the parts and manufacturers are anything but.
Recon and RBP have both been friends of Truckin since their very early days, so they were an easy choice for this Super Duty. Since this is an older model (’99-’04) and manufacturers sometimes drop part numbers from their product lines leaving you limited to whatever’s still available, we were pleased to find that there were still plenty of options for our tow rig. We placed our order and busted out the install in one afternoon in the TEN Tech Center. Check out the step by step below and make sure you hit up the Recon and RBP websites to see what is available for your truck.

| 2004 Ford F 250 Headlights
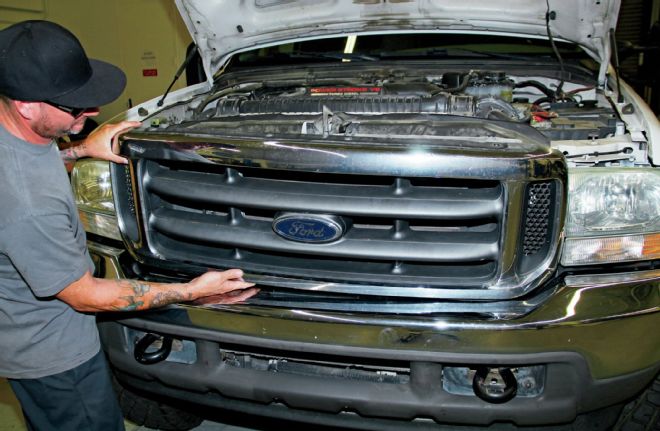
1. We’re starting with a pretty clean-looking truck, considering all the off-road miles that are on it. A couple of areas that were lacking were the cloudy yellow headlights and marker/corner lights along the cracked and faded grille.
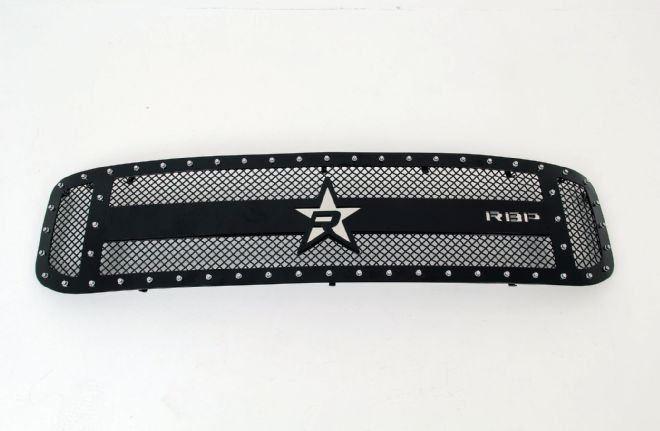
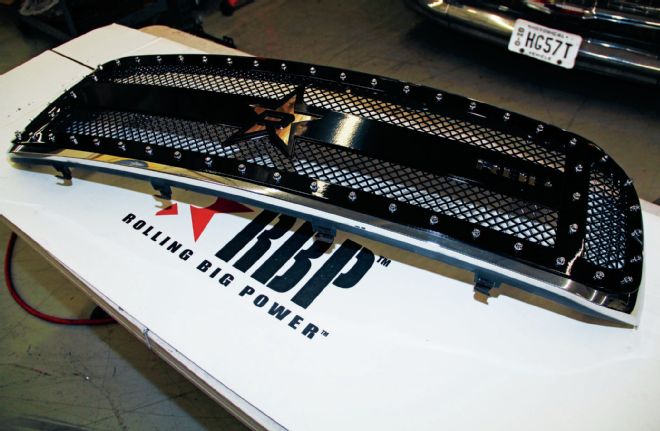
| Rpb Grille
2. RBP carries a wide assortment of grille inserts ranging from stealth to pure bling. The RX-3 that we chose (PN 951571) is somewhere in the middle. They carry several different grilles for just about any late-model truck.
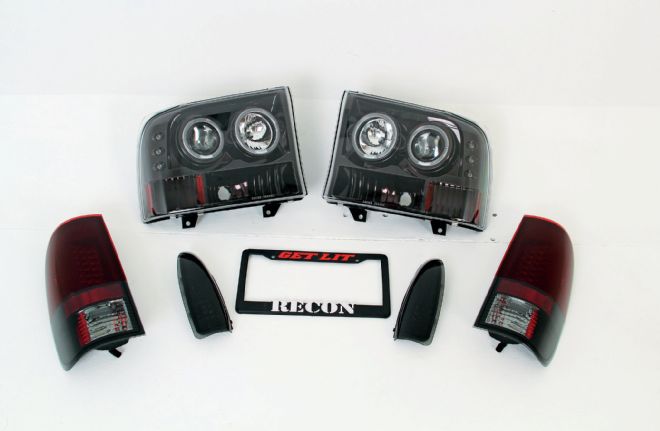
| Recon Headlight Kit
3. One look at the Recon website and we decided to go with the full monty: smoked halo headlights with red smoke tails and smoked mirror lights (PNs 264192BK, 264172RBK, 264120BK, respectively), all with super-bright LEDs, of course. Recon has many options available for most late-model trucks.
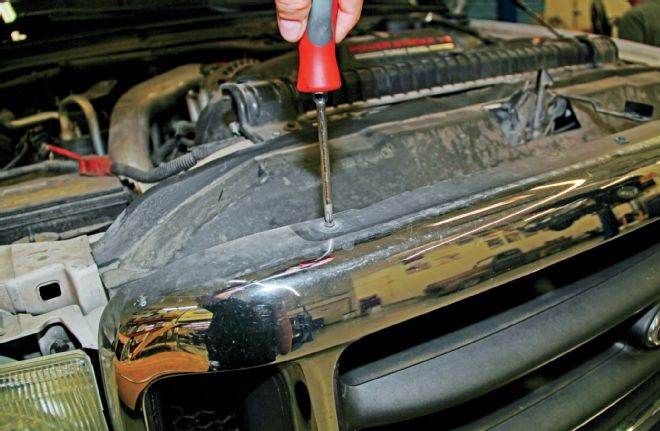
| Grille Install
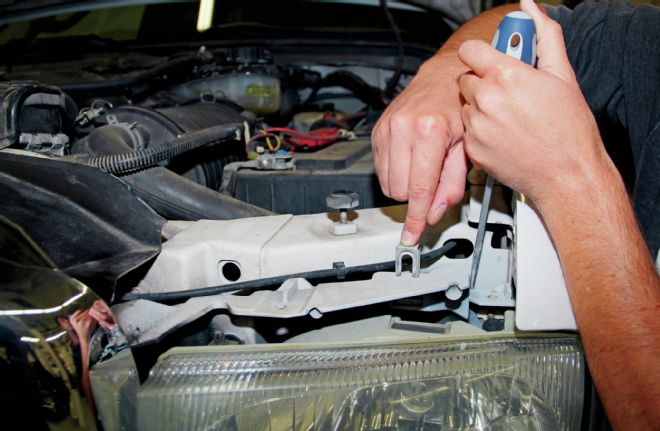
4. We started by tackling the grille install first. We removed the four Phillips screws that secure the top end to the core support.
| Bottom End Four Clips
5. The bottom end has four clips that simply pop out with a little persuasion.
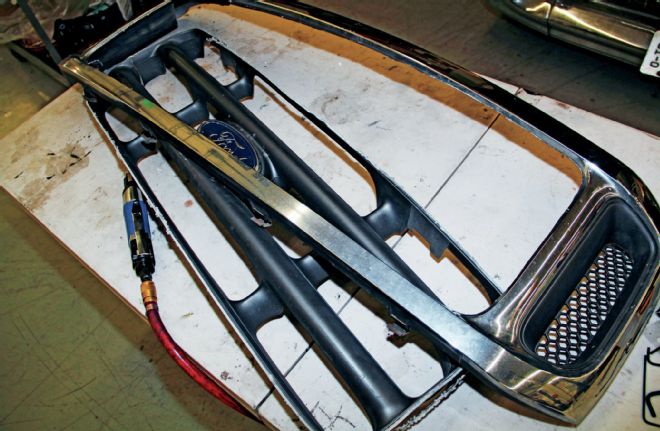
| Eastwood Air Body Saw
6. An Eastwood air body saw was used to make quick work of cutting the grille insert free from shell. Marking is not really necessary as there is a small indention where the chrome turns to gray, which is precisely where you need to cut. The side vents were cut out as well.

| Eatwood Pre Painting Prep
7. With the grille out, we wiped the area clean with Eastwood Pre Painting Prep and sprayed the area chassis black. This makes for a much cleaner finished product and is a step that should not be skipped.
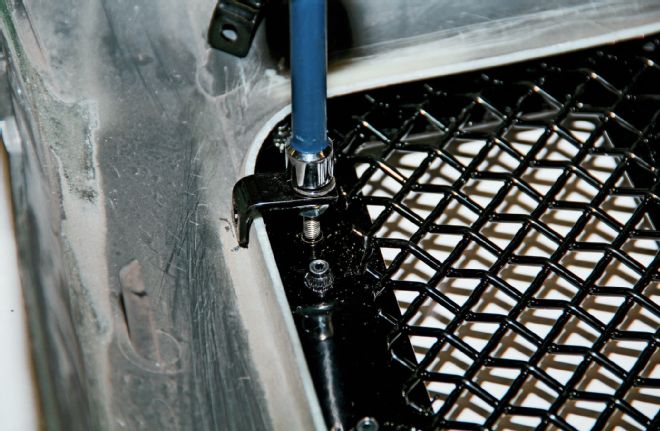
| Rbp Rx 3
8. The RBP RX-3 was laid evenly on the shell and flipped over on a clean table. The hold-down tabs were already installed and simply need to be pushed over the grille shell and tightened down with a nut driver.
| Grille Flush
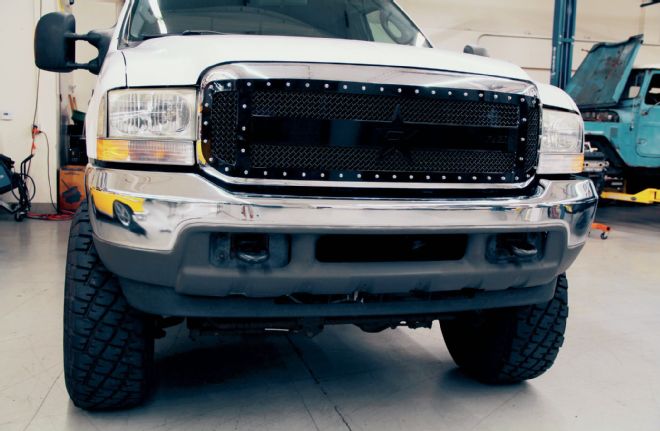
9. We flipped the grille back over and made sure the insert was flush with the shell all the way around, then it was time to set the grille back in place.
|
10. The bottom snapped back into place, the four screws secured the top, and just like that the RBP grille was installed and looking good.
| Recon Headlight Intsall
11. Moving on to the Recon headlight install, we removed the cloudy yellowing stock headlight by popping out the two clips that hold the top of the headlight in place.
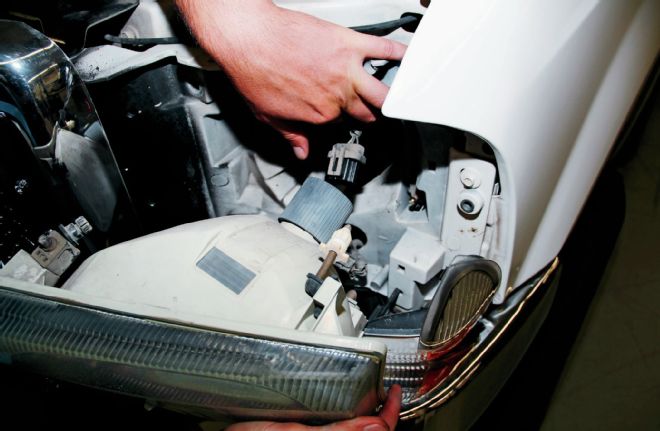
| Bottom Headlight
12. The bottom of the headlight was popped off its pivot ball before being unplugged and removed. The corner and marker light are removed next as the Recon unit is all one piece. The old marker is secured with two Phillips screws that are accessed between the lights and the bumper.
| Plastic Headlight Bucket
13. A few intruding areas of the plastic headlight bucket needed to be trimmed as per the instructions. Here, one of the sections is already cut and the other two are marked with X’s.
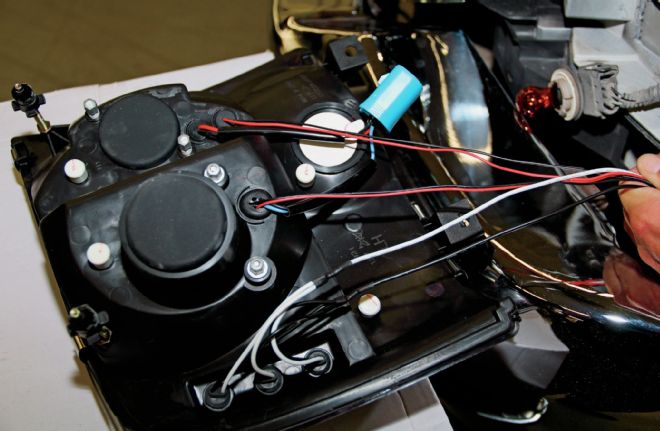
| Recon Unit
14. Checking out the back of the all-in-one Recon unit, the headlight and park/signal lights are plug and play, but the LEDs and halos require a bit of splicing.
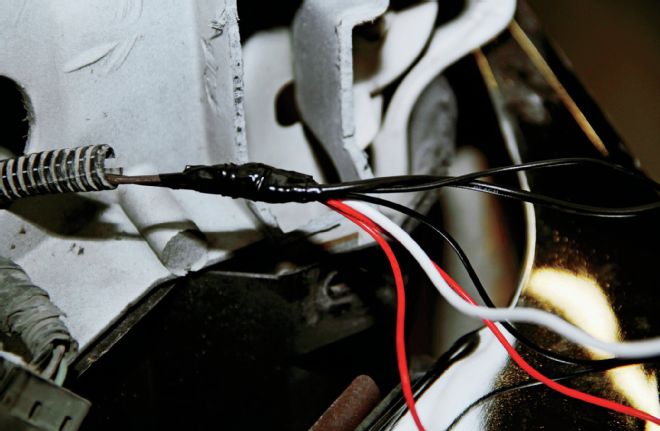
| Positive Negative Wires
15. The positive and negative wires were each grouped together and run off of the running light wires after we clipped the bulb plug off.
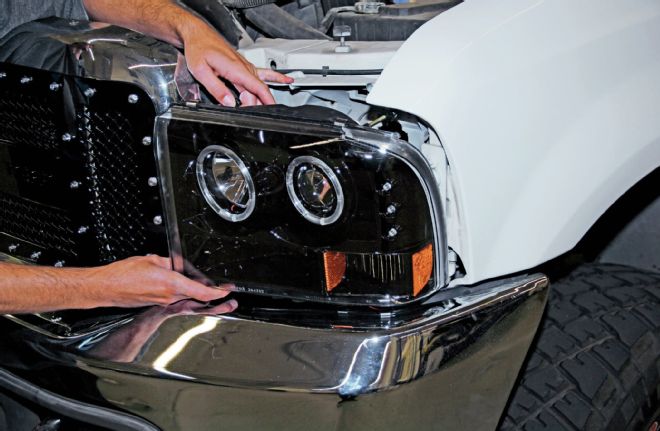
| Recon Headlight Bucket
16. Finally, the Recon headlight was set into the bucket. The two park light screws hold the bottom and the stock clips hold the unit up top.
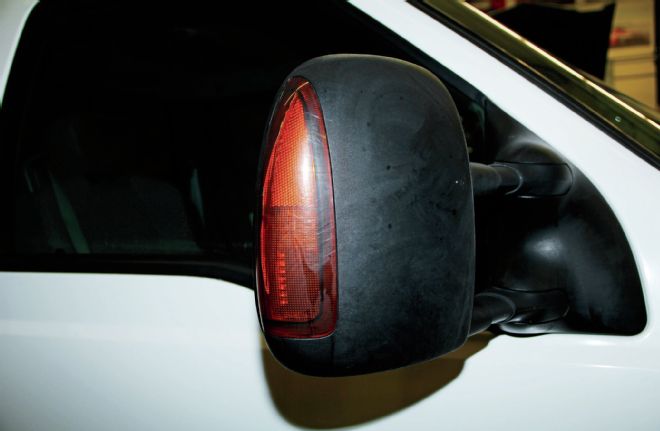
| Mirror Lights
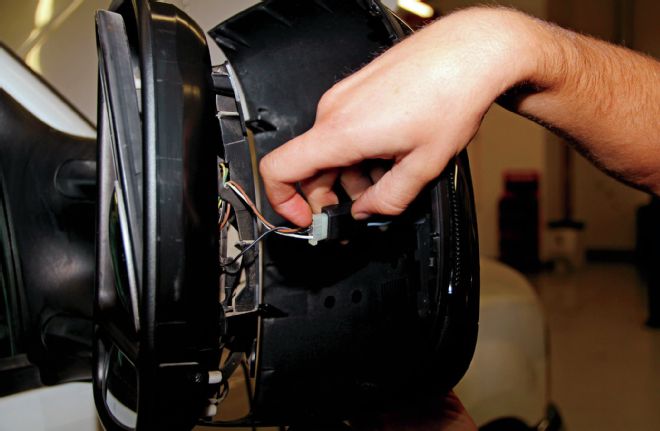
17. We moved to the mirror lights next. The stocks were cloudy, scratched, and cracked, so the smoked LED units would be a welcome addition.
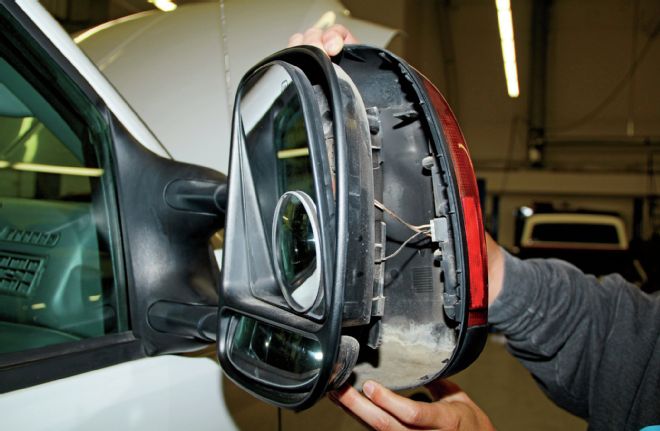
|
18. There are three clips holding the mirror cover that are accessible by moving the mirror around to get a small screwdriver in there. Once the cover is removed the light can be unplugged.
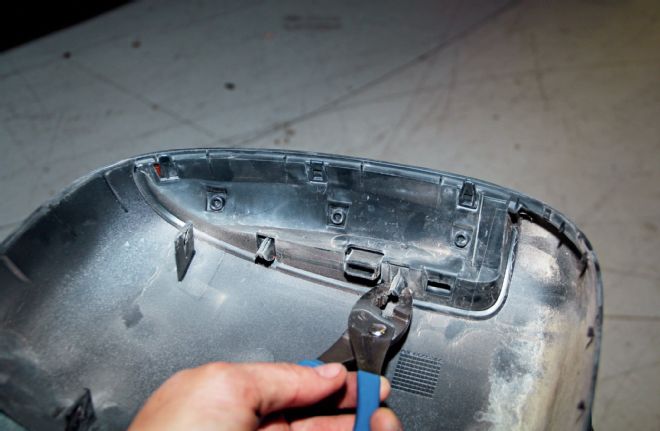
| Clips Light
19. The light is held in place with two more clips, which are simply squeezed together for removal.
| Miror Cover
20. After some cleaning, the Recon light was snapped into place, and the mirror cover was in turn snapped into place after the light was plugged in.
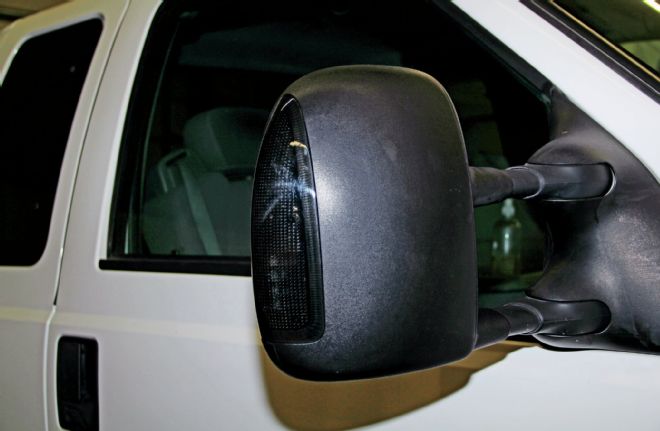
| Recon Miror Light Bright
21. The new Recon mirror light is hard to see, but that’s exactly the point. Nice and stealth, but it glows brighter than the stock unit when it lights up.

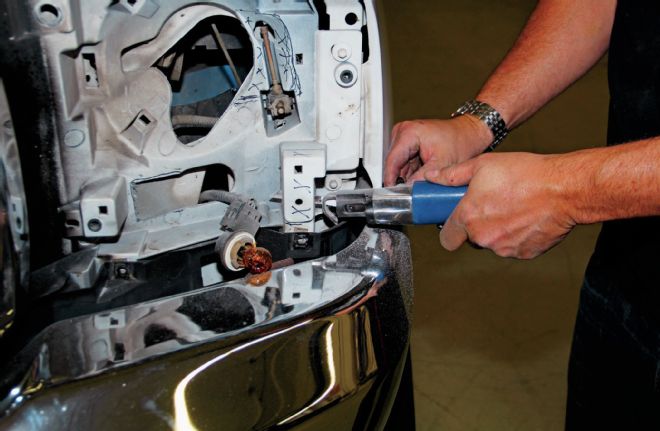
| Taillights Stock Unit
22. Moving on to the taillights, the stock units are removed by pulling out the two bolts that are accessible in the tailgate jamb.
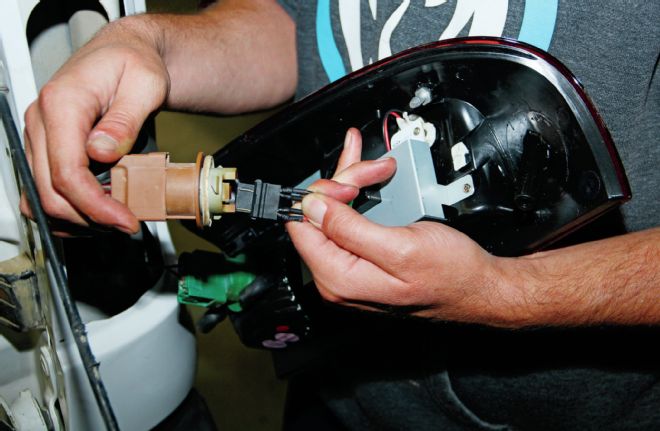
| Recon Red Smoke Lens
23. The plug on the Recon Red smoke lens plugs directly into the stock socket.
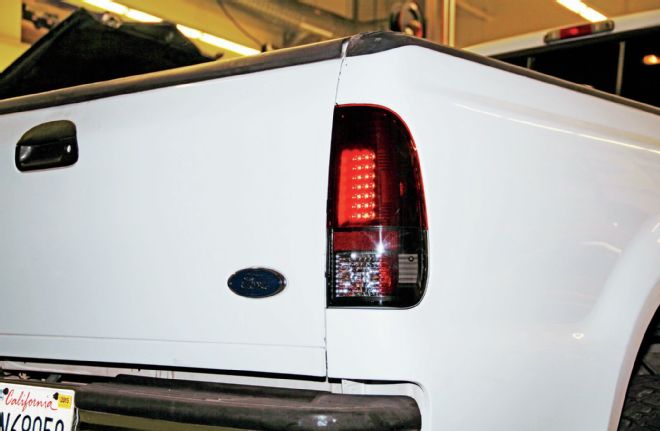
| 2004 Ford F 250 Taillights
24. Now the Recon unit was bolted back in place. Again, the lights are as stealth as can be, until they light up brighter than the stocks ever could.

| 2004 Ford F 250 Headlights Upgrade
25. As you can see, a few simple additions from Recon and RBP transformed this Super Duty in one afternoon. Make sure you check back and see what else we have in store for this tow rig!