Saturn introduced the Ion in 2003 and last produced it in 2007. General Motors manufactured the Saturn Ion and its predecessor, the popular S-series Saturns. The design on the braking system of the Ion was adapted from the S-series cars and required the same procedure to replace the front brake pads. The front brakes work much harder than the rear brakes and as a result require more frequent servicing.
Place the Saturn Ion in gear or "Park" on a flat surface and apply the parking brake.
Crack the front lug nuts loose on both front tires using the lug wrench. Do not turn them more than a half-turn counterclockwise. Just loosen them enough to free them from the hub of the vehicle.
Lift each front end of the Ion with the car jack and place a jack stand under each front rocker panel or frame rail and continue to remove the tires.
Place the key in the ignition and turn the key one click forward to unlock the steering wheel. Turn the steering wheel so the front caliper and knuckle assembly of the first wheel having the pads replaced is extended outward past the fender well, then turn the ignition key back to the "Off" position. Repeat this step for the other wheel when finished with the first one.
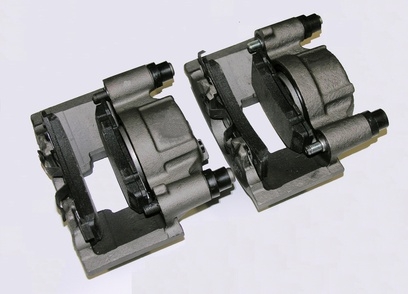
Remove the lower lock pin on the caliper with a box-end wrench.
Use the pry tool or screwdriver to pivot the caliper upward and rest it on top of the knuckle assembly.
Remove the old pads (inner and outer) and remove the upper and lower pad clips on the caliper bracket bolted to the knuckle. (Use the pry tool or screwdriver to carefully pry the clips off the bracket without bending them.) Some pad sets have replacement pad clips, but not all do. If the replacement brake pad set does not supply replacement clips, clean the old ones thoroughly with brake-parts cleaner spray and a small wire brush.
Install replacement pad clips or insert the cleaned original ones back onto the upper and lower portion of the caliper bracket. Apply a level coat of high-temp brake lubricant to the clips where the tabs on the pads will contact them. Wipe any lubricant off the rotor, or rotate the rotor away from the caliper to expose it and spray the rotor with the brake-parts cleaner spray to wash off (on both sides) any lubricant that gets on the surface of the rotor.
Insert the new pads (inner and outer) into the caliper bracket.
Compress the piston of the caliper with a C-clamp until it is fully seated inside the caliper bore. Inspect the rubber piston boot and pinch and lift any area that looks distorted to release any trapped air from the boot. The boot should sit slightly below the piston and be even all the way around the piston. Pivot the caliper downward over the pads and replace the lower lock pin. Tighten the pin to 27 foot-pounds with the torquing ratchet and a socket.
Replace the wheels and lug nuts. Tighten the nuts in a crisscross pattern until they are tight to the hubs as much as is possible with the front axle raised.
Lower the Ion back to the ground and then torque the lug nuts (employing the same crisscross pattern) with the ratchet set between 85 to 95 foot-pounds and a suitable socket.
Pump the brake pedal several times until it feels firm. Release the parking brake and test-drive the Ion.