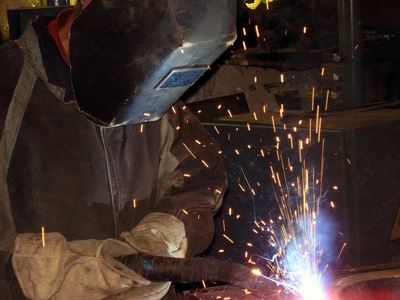
MIG welding uses a wire that continuously feeds through a nozzle at the end of a handheld gun to join metal. This wire makes an electrical short circuit with the work piece, producing heat that melts the wire and some of the metal from the work piece, combining them together to form a solid weld. Gasless MIG welding wire has a material inside called flux that burns in this process and forms a shield to protect the metal from oxidation as it cools.
Install the wire spool in the welder, engaging the wire in the grooves. Set the tension correctly. The tension should not be too tight, which can cause excessive wear, nor too loose, which can cause the wire not to feed correctly. Select a piece of scrap metal to practice on.
Connect the ground clamp to the work piece. Wiggle the clamp to ensure a good connection.
Set the voltage and the wire feed speed to a point halfway between minimum and maximum. As you practice with scrap metal, you'll learn the effects of different voltages and wire feed speeds.
Put on welding gloves, and have your welding helmet ready for use.

Pull the trigger on the gun until the wire extends about an inch from the end of the nozzle, then release. Hold the gun so that the metal is almost touching the workpiece. Bring the welding helmet to your face, completely covering it, so that you can look through the lens. Nothing will be visible through the lens until you begin.
Squeeze the trigger gently. The wire will begin to feed, coming closer to the metal. When it is close enough, the electric current will begin to flow between the wire end and the gun. This process produces an extremely bright light, which will allow you to see through the lens of the helmet.
Pull the gun toward you in a smooth, gentle fashion. Watch as the metal melts, forming a "puddle" of metal that cools to become a solid bead. When you are finished with the bead, release the trigger and pull the gun back from the metal.

Inspect the bead of weld. It should be smooth and uniform with no spattering. If the weld has burned through the metal, try less voltage next time. If the bead sits on top of the metal, and did not penetrate it, try more voltage next time. If the bead is not thick enough, increase the wire speed, or slow down your speed of the gun.