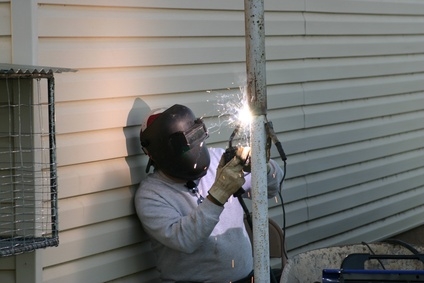
Vehicle manufacturers utilize spot welding to hold body panels and structural together rather than employ other welding methods. This is due to the minimal amount of cost for each spot weld and low electrode consumption. The spot welder must be set properly in order for the spot welds to hold and to reduce the amount of spatter created during the spot welding process. Spatter produced during spot welding is actually molten metal that is released from the spot weld. The molten metal forms a jagged ring that surrounds the spot weld.
Slide the fine-toothed flat file over the top and bottom copper welding electrodes of the spot welder. The tips of both electrodes should be shiny with no visible tarnish.
Put on your safety glasses.
Adjust the weld settings on the spot welder for the gauge of sheet metal you will be spot welding. This includes the squeeze time, hold time and voltage.
Turn on the spot welder; overlap the two pieces of sheet metal and depress the pedal of the spot welder to spot weld the two pieces of sheet metal together.
Twist the spot welded sheet metal 1/4 of an inch and then release the pedal of the spot welder.
Run a gloved hand over the spot weld. If your gloved hand catches to the spot weld, you have spatter surrounding the weld point and you need to continue to Step 7. If your glove does not catch on the weld, the spot welder is set correctly.
Increase the weld pressure and squeeze time of the spot welder. Perform another test spot weld and repeat Step 6 to ensure that there is no spatter around the spot weld. Continue adjusting the weld setting listed in this step until your gloved hand does not catch on the spot weld.
Clean the copper electrodes after you have the spot welder set properly before you use the spot welder to weld additional sheet metal.