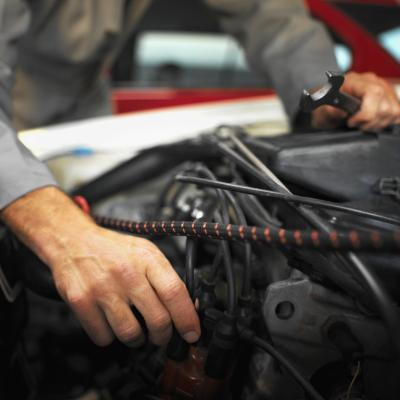
Noid test lights provide a quick way to check the feed circuits that connect to each electronic fuel injector in your vehicle. They tell you whether voltage is reaching each injector and help you determine whether a particular fuel injector harness requires further inspection for loose connectors, disconnected wires or broken circuits. They even indicate problems with the vehicle’s computer or control module. You can safely perform this diagnostic right in your garage, and save repair costs.
Open the hood and remove the air cleaner assembly from the top of the engine for better access to each fuel injector, if necessary. Use a Phillips-head screwdriver.
Remove any other component, if necessary, to gain access to the injectors’ harness connectors using a ratchet, short ratchet extension and socket. Label the components’ electrical connectors, to avoid confusion during the reassembly process.
Unplug the electrical connector from the first fuel injector. These connectors come with a locking tab, to prevent engine vibration from disconnecting the injector. Keep this in mind to avoid breaking the locks.
Connect the noid light to the electrical harness connector you just unplugged.
Start the engine and check the noid light. If the injector’s feed circuit is working properly, you should see the noid light flashing. Otherwise, you need to troubleshoot this particular circuit, the vehicle’s computer or module.
Turn off the engine. Remove the noid light from the electrical harness connector, and plug in the connector to its fuel injector.
Check the rest of the fuel injector circuits following Steps 3 to 6.
Replace any components, including the air cleaner assembly, if you had to remove them.