Although computerization of modern car engines means fewer parts can be serviced under a tree in the back yard, it's also made diagnosing problems easier. An onboard diagnostic (OBD) computer monitors all the electronics and, when it detects a problem, illuminates the "check-engine" light on the instrument panel. The computer also stores a code that can be read with an inexpensive device.
Older vehicles, such as late-1980s Toyota trucks, use an older system called "blink codes" or OBD-I codes. The OBD blinks the check-engine light in one of 20 or so codes of long and short blinks. A mechanic then cross-references the blink pattern with a chart to determine where the OBD detected a fault.
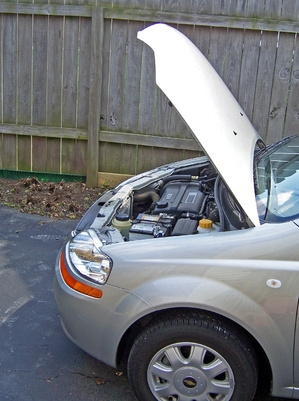
Turn off the vehicle's ignition and open the hood. Locate the connector box, a small box just behind the main fuse that is marked "Diagnostics."

Open the connector box and connect terminals E1 and T with a jumper wire. Do not connect other terminals.
Turn on the ignition, but do not start the engine or press the accelerator pedal.
Observe the check-engine light. A regular on-off-on-off pattern (both "on" and "off" lasting about one-quarter second) indicates no trouble code is stored. Other patterns are irregular, for instance, one-half second on, one-half second off, one-half second on, one and one-half second off, one-half second on is diagnostic code 21 (fault in the O2 sensor). Code 13 (RPM signal) is indicated by one-half second on, one and one-half second off, and three one-half-second "on" intervals separated by one-half-second "off" periods.
Record the blink code, and check it against the cross-reference chart in the owner's manual. The chart will show which electronic system or sensor has detected a fault.