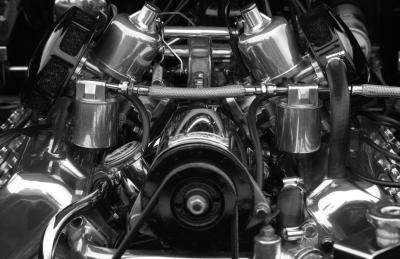
Pulleys are a necessary component used to transfer or transmit power from an engine source to a driven component. Taper lock pulleys often come with inset bushings designed to keep the pulley assembly very taut and aligned properly. Different applications for taper lock pulleys include fan pulleys, V-belt driven pulleys, step pulleys, or any other pulley design that connects to a drive-shaft. A do-it-yourself repair person, once he has the correct pulley dimensions for his application, can easily install a taper pulley system with a few tools and basic steps.
Confirm that the old pulley is removed, and keep the shaft key so it can be reused. Use carburetor cleaner and a rag to clean the shaft, removing oil, lacquer and all visible dirt. Wipe it dry with a clean rag. Look for any burs on the shaft, or any deformity in the key-way before proceeding. Do not use oil or grease to lubricate the shaft.
Slip the pulley over the shaft, aligning the key with the key-way. Slip the bushings onto the shaft, and align the set screw holes with the pulley hub. Insert the screws by hand into both bushings, then use a screwdriver to tighten them, but only snug tight. Use a 3- or 5-pound sledge hammer to hammer against the large bushing end, starting first at the screw location furthest from the split in the front bushing. Hammer on the opposite screw side. Tighten the screws a bit more after each hammering. Do this for the front bushing only.
Hammer on the front bushing surface again near each screw, working your way toward the bushing split. Hammer on the opposite of the bushing, sealing both bushings tightly together. Verify that both bushing surfaces in the pulley look evenly spaced.
Tighten the screws with more force, using the same tightening sequence, rotating from one screw to the opposite side, and back again. Use the hammer to tap the area on the bushing near the screw holes, after tightening. Check for alignment of the hub, making certain the bushings are pulling together evenly. Use a torque wrench to tighten the screws to the manufacture's recommended foot-pounds (refer to instructions). Apply grease inside the screw holes and the bushing split.
Use the hammer to tap the second bushing, at the location of the screw holes, as was done with the front bushing. Tighten the screws with the screwdriver, getting them fairly tight, but not finally torqued. Examine the alignment of the bushings in the hub, making sure they appear tightly sealed and even. Use a torque wrench to tighten the screws on the second bushing, according to the manufacturer's's recommended foot-pounds.