Rust generally forms on the rocker panels of a Chevrolet Silverado after mud has become stuck to them and allowed to remain for long periods of time. Once rust is formed, it can quickly spread across the surface and through the sheet metal of the rocker panels. Fortunately, there are direct replacement rocker panels for the Silverado, so once you remove the old panel, you can fit and weld a new one into place with no need to cut out new panels.
Hold the new rocker panel up to the Silverado to measure the size. Mark the truck with a permanent marker along the edges of the new panel.
Use a grinder and cutoff wheel to cut along the marker line. Cut out the entire section that is marked off, along the top, bottom and sides. Wear leather gloves when handling the grinder and metal, as the metal edges are very sharp.
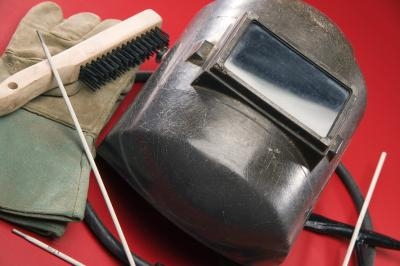
Wear a welding mask and welding gloves for protection. Clamp the new rocker panel in place using body clamps. Only a few clamps are needed since the rocker panel is light weight.
Weld along the edges of the panel, joining the new panel to the truck's surface, by using tack welds. Weld one spot at a time, spacing each weld four inches apart until the entire panel is welded. Continue adding tack welds until the entire edge is welded solid. Tack welding keeps the metal surface from overheating, which could warp the metal into unusable condition. Let the welds cool for an hour.
Grind the welds down until they are flat with the surface of the rocker panel. Only grind enough so that the welds are flat, don't grind too much or you may grind through the welds and cause the panel to have cracks or holes in the future.
Apply a small coat of body filler along the welded line using a squeegee. Let the filler dry for one hour and sand it smooth using 180 grit sandpaper. Sand until the seam along the rocker panel is smooth.
Sand the entire section including the seam and the new rocker panel using 220-grit sandpaper. This smoothes the surface and prepares the area for paint.
Spray a coat of primer over the new panel and the seam, holding the can six to eight inches from the surface. Let the primer dry for thirty minutes. Spray three coats of paint over the entire area, waiting five minutes between each coat. Keep the coats thin to avoid runs in the paint. Wait four to six hours before handling the area.