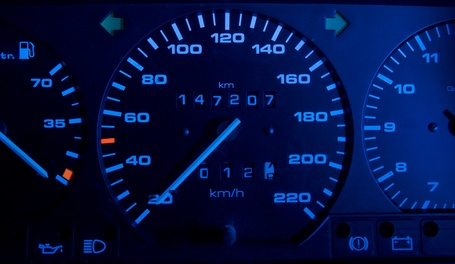
Indicator lights on a car's dashboard are your keys to gauging the car's performance. Dashboard lights run the gamut from basics such as fuel level and temperature, to oil level, engine function and open doors. Different models have varying indicator lights, depending on the car's make and model. Perhaps you have been the victim of an indicator light that is not working. This can be frustrating but can be fixed with the correct steps.
Check your fuse box. The fuse box is generally located above the brake pedal on the left side. Using the fuse guide in your user's manual, locate the one to the indicator lights and change it. If the indicator lights then work, you have fixed the problem
Remove your dash panel. Directions for removal are often found in your manual. The panel does not have to be totally taken off, but just enough to get to the lights.
Remove the "breadboard," or the panel with the indicators. Try to place the parts in order so you will know where they go when you put the breadboard back together.
Check to find out which wires lead to which bulb. Ensure that the wires are not loose. If so, the wries may need to be replaced.
Tighten the bulbs. If this does not fix the problem, try replacing the bulbs with new ones. Some people are even opting for colored LED lights -- the bulbs can often be replaced with these. After troubleshooting the indicator lights on the dashboard, put the breadboard back into place, and then the dash cover.