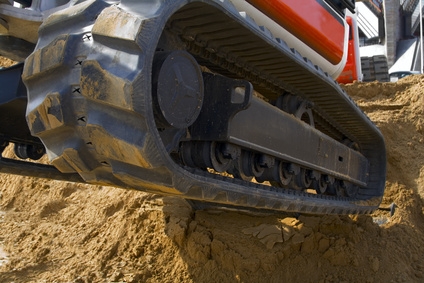
Rubber tracks can be very gentle on soft surfaces such as lawns, but over time the rubber will work off. This process speeds up when using rubber tracks on hard surfaces such as asphalt of concrete. However, changing rubber tracks is a very simple process that can make your mini excavator look and feel new again.
Using the bucket of the mini excavator, lift the side of the machine that will have its track replaced off the ground. Have someone place blocks beneath the undercarriage of the machine so that when let down, the excavator will be supported by the blocks, leaving the track off the ground.
Remove the grease fitting near the track idler. On each end of the track there will be a large "wheel." The wheel that is smooth is called the track idler. The grease fitting looks like the end of a baby's bottle; it is made of steel and is only about 1/2-inch long. Using a wrench, turn the grease fitting counterclockwise until it is completely removed.
Using a pry bar or the bucket of the machine, push the track idler toward the center of the track. As you push, grease will be pushed out of the hole left by the removed grease fitting, and the track will loosen. Remove and dispose of all used grease.
Remove the old track and replace with the new track.
Reinsert and tighten the grease fitting with a wrench.
Using a grease gun and new tubes of grease, apply grease into the fitting. As grease is added, the track idler will be pushed outward, adding tension to the new track. When the track has a sag of roughly 1 to 2 inches (depending on length of tracks) or matches the sag of the other track, stop adding grease.
Lift the side of the machine and remove the wood blocks. Lower to the ground and drive the excavator back and forth. If the track appears the sag after moving, add more grease until satisfied.