If the thermostat on your Oldsmobile Cutlass has stopped working, the fix is to replace it. You need to be aware of some engine variations on the Cutlass. On some models, you may have to remove the air cleaner assembly to give yourself room to work. Models with cruise control have a bracket holding a vacuum modulator attached to the thermostat. Apart from the discomfort of getting your hands into small places, this is a repair that most home mechanics are capable of doing.
Disconnect the negative battery terminal with a socket wrench. Always use a socket wrench or close-ended wrench on the battery connector so you don't ruin the head of the bolt.
Drain antifreeze from the cooling system. The simplest way to do this is to have the vehicle on jack stands. Open the radiator cap to relieve pressure -- make sure the engine is cool before you do this. Use a bucket or pan to catch coolant under the radiator. Open the radiator drain on the bottom of the radiator with pliers or by hand. The 3.1L engine has an air bleed valve on the throttle body which you should open two turns.
Remove the drain plugs located on the underside of the block just above the oil pan and let the coolant drain into your pan or bucket. Close all the drain plugs.
Unbolt the the water outlet from the thermostat, if your Cutlass has a four-cylinder engine. All other models have the water outlet on the intake manifold. Remove the outlet and the thermostat. If your Cutlass has cruise control, remove the vacuum modulator bracket from the thermostat housing.
Use the scraper tool to clean the surfaces where the thermostat and engine block meet. Apply a bead of RTV in the water outlet groove.
Put your new thermostat in place on the housing. Make sure the side with the spring goes towards the engine. Tighten the thermostat bolts with the torque wrench to the specifications provided. Remember that tightening specifications for the mounting bolts vary between parts manufacturers. If your engine has an air bleed valve near the throttle body, close that too.
Check that you have closed and tightened the radiator drain and the two drain plugs near the oil pan. Pour the coolant back into the radiator, adding extra coolant if necessary to fill to the base of the radiator neck. Fill the radiator overflow tank to the "FILL" mark with coolant.
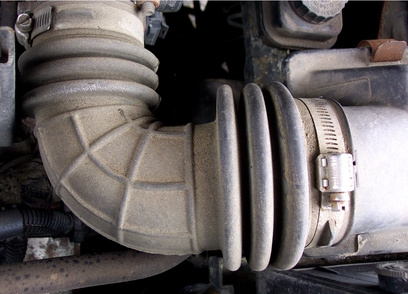
Leave the radiator cap off, start and idle the engine. The coolant level visible in the radiator should drop slightly. Fill it back up to the base of the radiator neck. Put the radiator cap back on and make sure the arrow on the cap points towards the overflow tank. With the engine still idling, squeeze the outlet hose with your hand. The outlet hose is the big one that connects to the top of the radiator. If you feel it getting hot, this tells you the thermostat has opened up and is functioning properly.
Turn off the engine. Check for leaks on hose fittings and around the drains. Check that the hoses all appear sound and that none are leaking or cracked.