The oil filter housing, also commonly called an oil cooler, is designed to make a semi-permanent seal between the engine and the oil filter. It is also, in some cases, designed to cool the oil as it enters the engine. This housing is directly connected to the oil filter near the bottom of the engine and is typically either round or square. Replacing the oil filter housing is not a very difficult task as long as you have the proper tools and a few tips to help you out.
Jack up the front of the vehicle and secure it with jack stands.
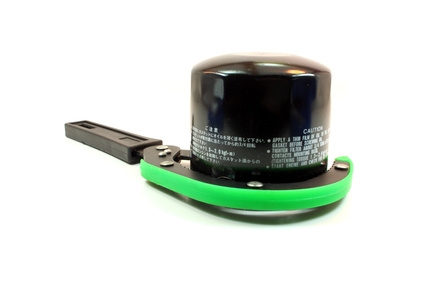
Remove the oil filter using an oil filter wrench. Be sure to have the drain pan under the filter before loosening it.
Loosen the bolts around the housing using a ratchet and socket. Most vehicles have four bolts holding the housing to the engine. Remove the housing from the engine.
Place the new oil filter housing on the engine and tighten the bolts finger tight. Tighten the bolts, using a ratchet and socket, in a crossing pattern until the housing is secure.
Turn the oil filter back onto the housing by hand. Tighten the filter only hand tight then one-quarter of a turn with the filter wrench.
Start the vehicle and check under it for any leaks.
Lower the vehicle to the ground and check the oil level. Add oil as needed.