The 1993 Chevy pickup utilizes a fuel pump and fuel level sending unit combination located within the fuel tank. It is not encapsulated in a module--it is an open unit that affords the ability to replace either unit independently. It uses a fuel strainer (filter) on the inlet side of the fuel pump. Low fuel or a dirty fuel strainer are major causes for fuel pump failure.
Raise the rear of the truck using the floor jack. Support it using the jack stands for safety. Place the jack stands under the frame so as not to interfere with the removal process.
Drain the fuel tank into a fuel container if it is over half full. Jump the fuel pump relay by placing a jumper wire in the battery positive terminal of the relay and the other end of the jumper in the fuel pump terminal. The pump will run continuously until the jumper is removed. Remove the cap on the fuel rail Schrader valve. This looks like an air valve on a tire, but is located under the hood and on the top of the fuel injector metal supply line. Use the valve stem retractor and remove the Schrader valve. Place a rag over the valve while removing it to capture the small quantity of fuel expelled.
Place the rubber hose over the Schrader and run it over the fender and into a fuel container. Remove the cover on the fuse/relay box on the driver's side fenderwell. Locate the fuel pump relay from the diagram on the fuse block cover and remove it.
Check the terminals with the voltmeter by connecting the black lead on the voltmeter to a solid ground. Probe the terminals in the fuse block vacated by the four-pronged relay using the red lead. Probe each of the four female terminals in search of the one with battery voltage. Make a note of this terminal. Turn the voltmeter dial to ohms and probe the remaining terminals for a good ground. The ground will be the terminal leading to the fuel pump. Jump the battery terminal and this ground terminal with a jumper wire. The fuel pump will come on and pump the fuel out the Schrader and into the fuel container.
Remove 8 gallons to be on the safe side. To stop the fuel flow just unplug the jumper wire. When finished, remove the jumper wire and plug the relay in. Remove the fuel hose from the Schrader and replace the valve in the Schrader and the cap.
Unplug the fuel pump electrical connector at the backside of the fuel tank. Loosen the hose clamps on the top and bottom of the fuel filler hose with a screwdriver. Remove the hose. Loosen the fuel vent hose clamp at the fuel tank and pull it off. The fuel vent hose parallels the filler hose.
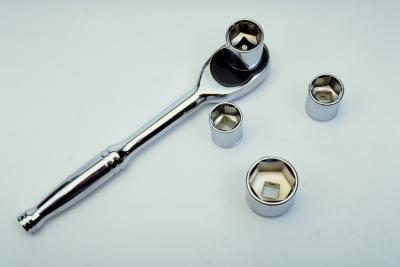
Place the floor jack under the fuel tank and between the two fuel tank straps. Remove the two tank-retaining strap bolts, using a 15-mm socket. Carefully lower the fuel tank sufficiently to access the top of the tank to remove all the hoses from the top of the fuel pump cap. These are quick disconnect fittings. Pinch the connectors and pull them off. There should be three connectors.
Lower the fuel tank to the ground and pull it from under the truck to facilitate the removal of the pump. Remove the nuts in the lock-ring, surrounding the fuel pump cap plate using the appropriate-sized socket. Withdraw the fuel pump and fuel level sending unit from the fuel tank.
Unplug the electrical connector on the fuel pump. Unsnap the plastic clamp around the fuel hose on the fuel pump and pull the pump out of the hose. Insert the fuel pump into the fuel hose and pinch the clamp around the hose. Plug the electrical connector back into the fuel pump.
Install the fuel strainer (filter) on the bottom intake of the fuel pump. Make sure that the strainer is oriented in the same direction as the old pump and that the strainer does not interfere with the fuel level sending unit operation. Install a new O-ring on the fuel pump-sealing surface on the tank. Install the fuel pump/fuel level sending unit into the tank. Bend the fuel strainer up to get it through the hole in the tank. Make sure the fuel line fittings are facing in the proper direction.
Position the lock ring over the studs in the tank. Screw in the bolts and tighten them securely with a socket. Position the fuel tank on the floor jack and raise it up enough to connect the three fuel lines. Plug in the electrical connections.
Raise the tank until it touches the floor of the vehicle. Bring the straps around the bottom of the tank. Insert the bolts through the straps, then thread them into their threaded receptacles. Tighten the bolts. Install the filler hoses and the vent hoses. Tighten the clamps.