Changing the blower motor on a 1994 Dodge Dakota involves removing the blower housing (“the module”) from the vehicle. The module is located under and just to the left side of the center of the dash. It is always advisable to check the items more likely to cause a failure than the blower motor itself. The most frequent cause of blower failure is the blower motor resistor followed by the fuse and relay.
Remove the lower steering column cover, using a 7 mm socket. Remove the windshield wiper control and the module-to-dash bolt on the passenger side of the steering column, using the same socket. Remove the courtesy light.
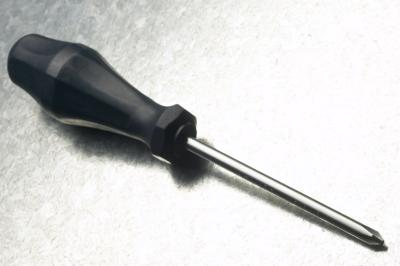
Open the glove box and remove all the screws along the top edge, using a Phillips screwdriver. Remove the screw next to the ash tray. Move the module out and down enough to disconnect the electrical connectors and vacuum hoses. Remove the glove box light wire.
Remove the blower motor housing from the module by removing the screws at the top and the five screws around the housing, using a Phillips screwdriver. Remove the blower motor housing from the module. Remove the three screws securing the blower motor to the housing and remove the blower motor from the vehicle.
Remove the blower motor fan by removing the clip on the end of the shaft. Install the fan and motor followed by the rest of the parts removed in reverse order of removal.