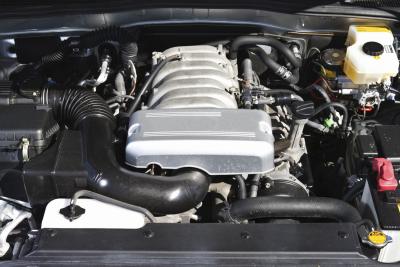
The engine compartment on your 2002 Mitsubishi Eclipse offers little access to the alternator. Still, by removing a few key components, you can replace the alternator in your own driveway. Keeping a notepad handy for quick sketches of parts positions or masking tape to label components will speed up the reassembly process. Sooner than you think, you will have replaced the alternator in your Eclipse model. This procedure applies to the 2.4L and 3.0L engine models.
Raise the front of your Mitsubishi using a floor jack and support it on two jack stands.
Remove the engine undercover using a ratchet, ratchet extension and socket.
Remove the engine mount bracket, if you think you will need some clearance to access the lower alternator mounting bolt. Use a ratchet, ratchet extension and socket.
Unscrew the two oil pressure hose-tube assembly bolts and the oil return tube assembly clamp bolt using a ratchet, ratchet extension and socket, if you have a 2.4L engine model.
Remove the power steering and air conditioning drive belt, if you have a 2.4L engine model. Use a ratchet and socket to loosen the center tensioner pulley bolt and adjusting bolt.
Remove the alternator drive belt using a ratchet and socket to release the tension.
Unfasten the oil dipstick tube guide mounting bolt using a ratchet and socket, if you have a 3.0L engine model. Then remove the dipstick tube guide.
Unfasten the four water pump pulley bolts using a ratchet and socket, if you have a 2.4L engine model. Then remove the water pump pulley.
Unplug the alternator electrical connector and detach the wire from the back of the alternator using a wrench.
Remove the two bolts from the alternator bracket using a ratchet and socket. Then remove the bracket.
Unscrew the remaining alternator large mounting bolt, working from under the vehicle, using the ratchet and socket. Then remove the alternator from the engine compartment.
Position the new alternator in place and start the large mounting bolt by hand. Then tighten the bolt using the ratchet and socket.
Install the bracket on the alternator using the ratchet and socket.
Plug the alternator electrical connector and attach the wire to the back of the alternator using the wrench.
Install the water pump pulley using the ratchet and socket, if you have a 2.4L engine model.
Install the oil dipstick tube guide using the ratchet and socket, if you have a 3.0L engine model.
Install the alternator drive belt using the ratchet and socket.
Install the power steering and air conditioning drive belt, if you have a 2.4L engine model. Use the ratchet and socket to tighten the adjusting bolt and center tensioner pulley bolt.
Install the two oil pressure hose-tube assembly bolts and the oil return tube assembly clamp bolt using the ratchet, ratchet extension and socket, if you have the 2.4L engine model.
Install the engine mount bracket, if you had to remove it. Use the ratchet, ratchet extension and socket.
Replace the engine undercover using the ratchet, ratchet extension and socket.
Lower your vehicle.