The fuel sending unit on a Chevy Tahoe is contained within the fuel pump module. This module is stored within the vehicle's fuel tank. While it is recommended to replace the entire module should any part malfunction, it is possible to replace the fuel sending unit individually.
Relieve the fuel system pressure by removing the fuel cap and then disconnecting the fuel pump relay from inside the engine compartment's fuse box. Turn the ignition key and crank it for several seconds; look for the engine to stop running after a few seconds or not start up at all.
Disconnect the negative battery cable.
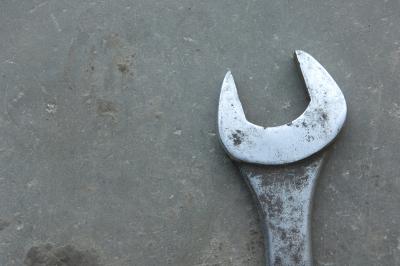
Raise the rear end of the vehicle and support it on jack stands. If there is a shield covering the fuel tank, remove it by disconnecting its bolts, using with a wrench.
Remove the EVAP canister--this is a rectangular-shaped canister near the tank that collects the fuel vapors--by disconnecting the hoses (squeeze their retaining tabs together) and removing the bracket mounting bolt.
Loosen the hose clamps to the fuel filler hose and vent hose--disconnecting these hoses should require pliers--and remove them from the tank.
Support the fuel tank by raising a transmission jack underneath it. Unbolt and remove the tank's straps and lower the tank until you can reach the electrical connectors to the fuel pump module. Remove the connectors, lower the jack and remove the tank.
Disconnect the fuel and EVAP lines from the fuel pump module by pressing the tabs on their quick-connect fittings.
Pry out the locking tab on the module with a needle-nosed tool and loosen the retaining ring by rotating it clockwise with locking pliers. Remove the module from the tank, pulling it out at an angle to avoid damaging the sending unit float.
Disconnect the electrical connector for the sending unit from the module cover and remove the unit's retaining clip. Pinch the tabs on the unit together and slide the unit off the module.
Install the replacement sending unit onto the module and install the clip and the electrical connector. Make sure the wiring is routed the same way as it was with the old unit.
Install the fuel pump module within the fuel tank, aligning the fuel line fittings with the lines and using a new seal on the fuel pump module. You should also clean the tank's surface beforehand with acetone or lacquer thinner. Press the module down until it is seated and install the retaining ring, making sure the ring is fully seated and the locking tab is engaged within the slot.
Re-connect the fuel and EVAP lines to the module using the quick connect fittings. Install the tank back on the vehicle in the reverse order of removal.
Re-connect the fuel pump relay to re-pressurize the system. It will help to repeatedly turn the ignition switch on and off, turning it to the "on" position for two seconds and then back "off" for five.