The Monte Carlo is a two-door luxury coupe introduced by Chevrolet in 1970 and still being produced as of 2010, albeit with a hiatus from 1989 to 1994. The Monte Carlo was Chevrolet’s low-cost answer to other more expensive personal luxury cars such as the Ford Thunderbird and Buick Riviera, which were still in production and popular at the time. The Monte Carlo came standard with a one piece headliner that was stylish, but over time the cloth covering will separate from the headliner, necessitating its replacement.
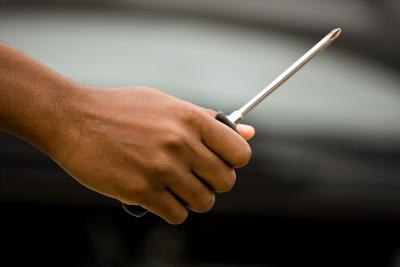
Remove the interior sun visors by backing out the holding screws on the sun visor brackets located at the top corner of each side of the windshield with a Phillips screw driver in a counterclockwise direction. Remove the screws at the base of the trim piece over each interior door frame by backing them out with a Phillips screwdriver in a counterclockwise direction. Use pliers and gently move the trim piece back and forth until the holding clips release. Remove the moldings.
Remove the interior molding over the rear window by turning out the holding screws in a counterclockwise direction with a Phillips screwdriver. Remove the plastic covers on the seat belt anchors by prying them off with a flat blade screwdriver.
Release the dome light cover by pressing inward on each side with your fingers and remove the cover. Remove the dome light bulb by pulling it out by hand. Remove the dome light base holding clips with pliers. Pull the base from the headliner and disconnect the bulb wiring by pulling apart the connector by hand. Remove the dome light base.
Move the headliner sideways towards the left-hand side of the car to release the holding clips near the top of the windshield. Remove the headliner from the car.
Place the new headliner into position (make sure the cloth side is facing downwards) where the old headliner was removed. Line up the holes in the sides of the headliner with the seat belt anchors and press the headliner into position over the anchors.
Line up the holes at the front of the headliner with the sun visor mounting holes above the windshield. Replace the sun visor brackets with the original screws, but do not tighten the screws. Replace the molding over the rear window and tighten in the original screws with a Phillips screwdriver in a clockwise direction. Now tighten the sun visor bracket screws with a Phillips screwdriver in a clockwise direction.
Reinstall the trim pieces over the door frames by pressing them into position until the clips snap into place. Replace the screws at the base of the pieces by turning them in with a Phillips screwdriver in a clockwise direction. Fish the dome light wiring through the hole in the center of the headliner and plug the wiring connector on the dome light base back into the connector on the wires. Push the dome light holding clips back into place until they snap. Push the bulb back into its socket. Push the dome light cover onto the base until it snaps into place.