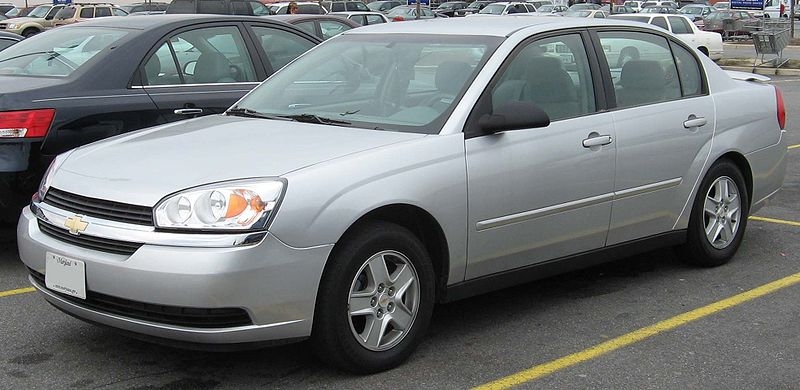
The Malibu is a mid-sized car sold by General Motors under the Chevrolet brand. The Malibu nameplate was once used in the 1970s on a full-sized rear-wheel-drive car. The name was resurrected in 1997. If you have a defective speaker in your Malibu, you will have to remove the door panel and the old speaker before replacement. The process is basically the same for 1997 to 2007 models.
Gather the tools needed to remove the door panel and access the front speaker. You will need a wire cutter for some older models of the Malibu. Keep one handy just in case. Unhook the negative battery cable for safety before beginning the procedure.
Pull open the interior door handle and use the flathead screwdriver to pry off the small trim panel behind the handle. Unhook the electrical connection from the door lock switch and the trim panel. Slide the trim panel around the interior door handle.
Pull the tabs to remove the panel inside of the door armrest cubby hole. Remove the two screws located behind the panel.
Pry off the two tabs in the lower-center part of the door panel. Remove the retainer screws from behind the tabs.
Depress the center of the fasteners around the perimeter of the door panel. Once the fasteners are pressed, they will easily pull out.
Carefully pull sections of the door panel from the door. Several clips mount the door panel to the door; be careful not to break them. Once the clips are detached, remove the door panel and disconnect the electrical connections for the power window/mirror switches.
Remove the screws mounting the front door speaker to the door. Carefully pull the old speaker from the door and disconnect the electrical module. The speaker wires of some older Malibu cars are directly soldered to the speaker connection. If this is the case, cut the wiring with the wire cutters to unhook the speaker.