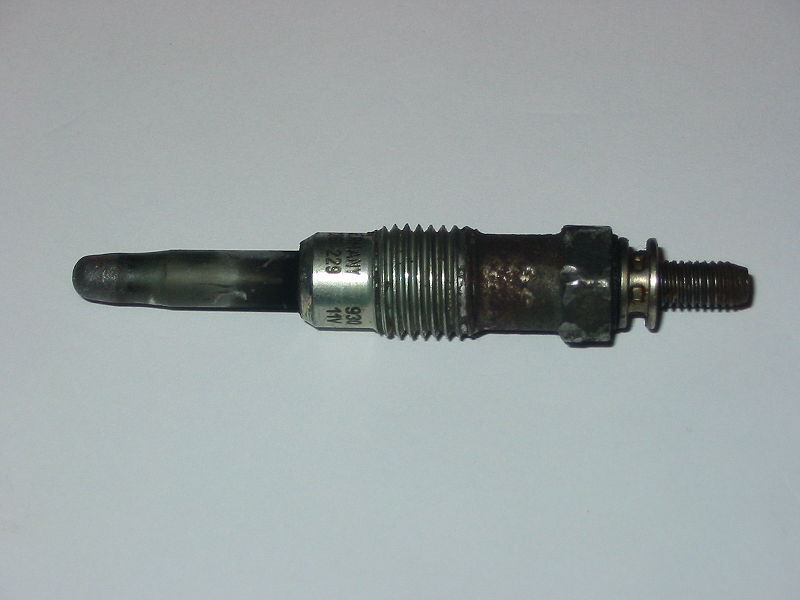
The glow plugs on your Ford F-250 diesel pickup truck warm the air inside the precombustion chamber to help start the engine. The tip of the glow plug houses a coil or heating element. When worn, the coil can brake and become inoperative. High temperatures of more than 1,000 degrees F (550 degrees C) allow carbon buildup on the tip of the plug, blocking the heat inside the chamber. Learn to replace one or more plugs on your F-250 model.
Remove the valve cover using a ratchet, ratchet extension and socket. If you have a 6.0L model, you might have to remove the mounting nut from the transmission dipstick tube and move the tube to the side. Depending on your particular model, you might have to remove other components such as the air cleaner tube to gain access to the valve cover.
Detach the right-fender splash shield using a ratchet and socket if you have a 6.0L model. Mark a line just below the bottom rib of the evaporator case by measuring 0.39 to 0.59 inches (10 to 15 mm) from the right edge toward the wheel. Mark a line at a 45-degree angle from that point toward the outboard side of the vehicle using a crayon. Cut that corner of the evaporator case using a utility knife.
Unplug the electrical connector from the glow plug being careful not to damage the wire. On 2004 late-production models, use release tool number 303-1114 to unplug the wiring harness from the glow plug (see Resources).
Remove the glow plug busbar using a ratchet and socket if you have a 6.0L engine.
Unscrew the glow plug from the cylinder head or bus bar using a deep, thin wall socket, ratchet and ratchet extension, or wrench. On some models, it might be hard to get the plugs out through the narrow space using the deep socket alone. In this case, once you loosen the glow plug with the socket, push a piece of rubber hose of the appropriate size onto the glow plug, unscrew it the rest of the way and remove it from the cylinder head.
Apply a light coat of anti-seize compound to the threads of the new glow plug and start the new plug on the cylinder head by hand or a piece of rubber hose, if necessary. If your particular model uses a bus bar, attach the glow plug to the bus bar using the ratchet and socket or wrench. Then tighten the glow plug with the ratchet, ratchet extension and deep socket.
Install the busbar on the cylinder head if your particular model uses a busbar. Use the ratchet and socket.
Plug the electrical connector to the glow plug.
Attach the right-fender splash shield using the ratchet and socket if you have the 6.0L model.
Install the valve cover using the ratchet, ratchet extension and socket. Install the transmission dipstick tube using a wrench or ratchet and socket, if you have a 6.0L model. Install any other components you had to remove.