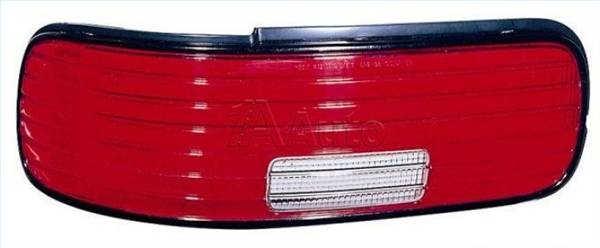
Automotive taillight lenses are made from a colored plastic that can fade or break over time. Most manufacturers have used interchangeable lenses since the 1940s, and the average backyard mechanic can change a taillight lens in about fifteen minutes.
Locate and remove the screws that hold the taillight in place. Most models built before 1980 will have external screws; most after this date have the screws or fasteners located on an upper lip or interior surface. On many vans and SUVs, these screws are on the interior sides of the tailgate area; compact cars will usually have screws in the rear trunk area. They should be easy to locate, since removal of most taillights is required for bulb replacement.
Remove the bulb holder plugs. The taillight may have to be partially removed to access these plugs. This will release the entire taillight from the vehicle, and it can be gently pulled out completely.
Determine if the lens can be replaced independently or if the entire taillight must be replaced. All cars differ, but most modern models will require full replacement. On cars with separate lenses, the lens should pull away from the taillight assembly freely. These parts will have a rubber gasket between them that should be checked for condition and replaced if necessary.

Replace the lens or entire taillight. Fit the new lens to the assembly, and remount the taillight by connecting the bulb plugs and reusing the screws and bolts.