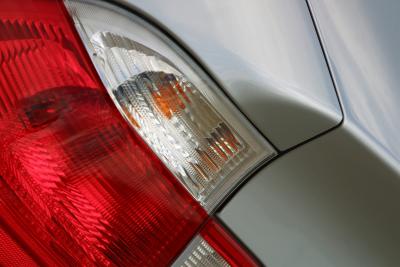
The taillights on your Acura TSX use bulbs that mount through the rear of a plastic taillight assembly. Access to the bulbs requires removal of the entire assembly, but the bulbs themselves are simple to change. The assembly can be removed from the car with simple hand tools and will take about 20 minutes to complete. The bulbs used in the taillights are available from any auto parts store or through the dealer.
Open the trunk of your TSX and locate the carpet or trunk liner behind the light that is not working. Pull the liner back to expose the three retaining nuts on the back of the taillight assembly.
Remove the retaining nuts from the mounting studs on the taillight assembly with a socket and ratchet. Do not lose the nuts, you will need them to put the light back on.
Grasp the taillight assembly from outside the car and pull it out until you can access the wiring harness connectors on the back of the light. Depress the locking tab on each of the connectors and pull them off the back of the bulb sockets.
Pull the light assembly out and grasp the bulb socket for the light you need to change. Turn the socket counterclockwise 45 degrees and remove the bulb socket. Pull the bulb out of the socket and discard it.
Install a new bulb into the socket and install it into the assembly then turn it clockwise 45 degrees, locking it into place. Position the taillight at the back of the car and connect the wiring harness connectors to the bulb sockets. Push the connectors on to the sockets until they are all locked in place.
Push the taillight into the opening on the car, aligning the mounting studs with the holes in the body. Install the retaining nuts on the studs and tighten them with a socket and ratchet. Push the trunk liner or carpet into place and close the trunk.