The Subaru Forester comes equipped with a standard AM/FM stereo with single-disc in-dash CD player. The stock head unit provides a level of signal power adequate for the stock speakers. Subaru owners who demand more from their stereo system in the way of power and capability to connect and control external devices can swap their factory deck for an aftermarket unit. You can take your car to a car audio technician or you can remove the standard CD player and replace it yourself.
Park the Subaru and turn the engine off. Pull the hood release lever to open the hood and move to the front of the Forester. Lift the hood and loosen the bolt that secures the negative battery cable to the negative battery terminal post with the adjustable wrench or pliers. The negative cable is black and connects the negative battery lead with the frame of the vehicle. Remove the cable's clamp from the post and set it aside to avoid shorting the Subaru's electrical system during the installation. Return to the inside of the vehicle.
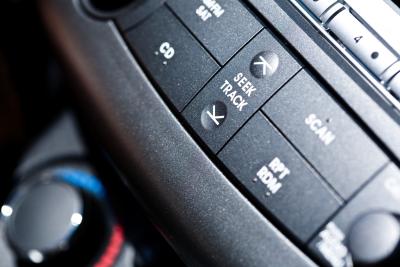
Remove the trim panels that surround the gear selector lever and stereo assembly. Pry the panel from the center console (around the shifter) with a trim panel removal tool. Grab the bottom edge of the trim panel that surrounds the stereo dock and pull it away from the dashboard.
Remove the two bolt screws on either side of the factory stereo bracket with a Phillips-head screwdriver. Keep the screws for any planned installation.
Slide the factory stereo from the stereo mounting dock and unplug the stereo wiring and antenna cable connected to the rear panel of the stock unit.