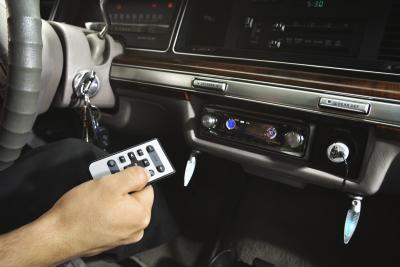
Panasonic manufactures a variety of car audio decks to fit most cars, trucks and SUVs. Car audio professionals are capable of connecting the stereos to your vehicle using wire splicers and other tools that require electrical skill. Car owners who are not experienced in connecting complicated stereo wiring can still install a Panasonic unit with the help of a wiring harness adapter. The adapter provides a uniform platform to connect the stereo wiring from the vehicle to the Panasonic stereo. Purchase a faceplate adapter from a consumer electronics outlet to create the appearance of a professional stereo installation.
Lift the hood of the vehicle and disconnect the negative battery cable. Loosen the bolt on the negative lead with a wrench and remove the cable from the battery.
Place the Panasonic mounting collar into the vehicle's stereo mounting dock. Push the collar into the dashboard until you hear a "click" , signifying that the collar is fully seated in the opening.
Reach into the dock and pull the stereo wiring from the back of the dock.
Push the two mounting tabs on either side of the mounting collar outward with a screwdriver.
Plug the vehicle's stereo wiring into the wiring harness adapter. Plug the adapter leads into the outlets on the left side of the Panasonic stereo. Plug the antenna cable from the vehicle into the FM antenna outlet on the right side of the Panasonic stereo's rear panel.
Slide the head unit into the mounting collar until it snaps into place.
Place the negative battery cable onto the negative battery lead post and tighten the bolt on the cable with the wrench.