Removal of the 2003 Honda Civic factory stereo is required in the event that you need to make repairs to the unit, add adapters for external devices or replace the unit altogether. The most challenging part of the task involving the removal of the stereo is the removal of the dash panels to access the radio itself. The Civic DX, HX, LX, EX, Si and Hybrid models have varying options for factory installed stereo units, but the procedure for removing each trim's stereo remains universal.
Lift the hood of the Honda Civic. Loosen the bolt that connects the negative battery cable to the negative battery lead post, using the 10-mm wrench. Rest the cable away from the battery.
Press the plastic ring downward on the gear selector lever. Unscrew the knob on the gear selector lever and remove it.
Wedge the trim panel removal tool between the gear selector lever trim and the center console panel. Pry the trim away from the panel and remove it.
Remove the four screws that are revealed by the removal of the gear selector lever panel, using a Philips-head screwdriver.
Open the center console storage compartment and remove the screw at the bottom of the compartment, using the Philips-head screwdriver.
Tilt the driver and passenger seats forward. Remove the two screws on the bottom corner of the center console, using a Philips head screwdriver. Remove the screws on both sides of the console.
Press the center of the dash panel retaining pins (located on both sides of the center console side panels, below the dashboard) with the Philips-head screwdriver. Remove the pins and store them to be replaced during installation.
Remove the plastic dash panel located beneath the emergency brake lever, using a trim panel removal tool.
Grab the center console on either side and pull it away from the dashboard.
Remove the two screws under the center dash panel on the dashboard, using a Philips-head screwdriver. These two screws are located under the edge of the dashboard, so you will need to feel for the screws with your fingers or use a mirror to locate them.
Pry the dash trim that surrounds the stereo and climate control knobs away from the dashboard, using the trim panel removal tool. Pull the entire assembly away from the dashboard.
Disconnect the wiring groups that are connected to the back of the assembly for the climate control.
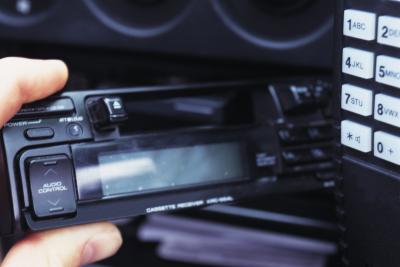
Pull the antenna wire and power supply cable from the back of the stereo. Pull the speaker wire grouping away from the factory stereo.
Remove the two screws on either side of the stereo mounting bracket, using the Philips-head screwdriver. Slide the factory stereo from the bracket.