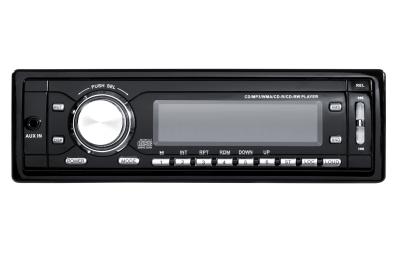
Removing the stereo in your Nissan Titan should only take a few minutes. The stereo is simple to remove as it is held in by two bolts and a wiring harness in the back. The stereo can be removed for repair and or to replace the stereo completely. You may also need to remove the stereo to fix other components as it can get in the way.
Before removing the Titan stereo you will need to disconnect the battery as a safety precaution. This will ensure you are not at risk for electrical shock. Open the hood to access the battery which will be located to the front of the motor compartment. Use a 10-millimeter wrench to loosen the negative terminal on the battery. Once the negative terminal is disconnected you can place it to the side and away from the battery.
Start the removal by shifting your Nissan Titan into low gear. This will give you adequate room to work. The console will unclip from the bottom and the top. Slowly separate the console and pull it toward you. There are wires connected to the back of the console. Disconnect the wiring harness that controls the air conditioning and radio. Do not disconnect the air bag light. The wiring runs directly behind the component that you are unplugging. This will make any installation easier when you go to put it back together. You can also label each wiring harness as you detach it to make the installation process simpler. Place the console off to the side so you will have room to remove the radio unit.
Unscrew the four Phillips head screws that are surrounding the radio. Place the screws to the side so they can be reused. Pull the radio out of the dash and locate the wiring harness that is in back of the radio. Unclip the wiring harness by separating the locking tabs and pulling out from the radio. The other wire is the antenna coaxial cable. Gently pull the cable out from the radio. This will free up the radio and make it available to pull freely from the dash.