For nearly three decades the Ranger has filled the bill as The Ford Motor Company's light pick-up truck. Like it's big brother, The Ford F-150, the Ranger is one of the most widely sold trucks in the world. When Owners of the Ford Ranger outgrow their factory stereo or find the need to replace a malfunctioning unit, they have two options: They can trust the replacement of the Ranger's stereo to an aftermarket audio specialist, or they can perform the switch themselves.
Remove the negative battery cable from the battery lead post. Unscrew the bolt on the cable's clamp with a Phillips-head screwdriver. Place the clamp away from the negative lead post until the replacement is complete.
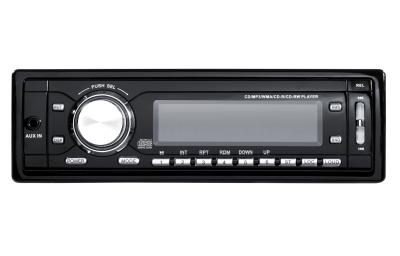
Insert the removal tools into the radio. There are sets of holes on either side of the radio's face to receive the tools.
Pull the tools outward and then pull the radio away from the dashboard.
Disconnect the white plastic wire binders from the rear of the radio. Pull the antenna cable from the unit.
Insert the Ford installation kit dock to receive the aftermarket radio. Feed the Ranger's wiring through the back of the kit. Connect the plastic wire binders to the wiring harness adapter. Connect the wiring harness adapter to the new radio. Plug the Ford's antenna wire into the new stereo.
Slide the new stereo into the installation kit dock. The tabs on either side of the newly installed bracket (the installation kit) will snap into place when the new radio is fully seated.
Place the negative battery cable clamp around the negative lead post. Tighten the clamp's bolt with the screwdriver.