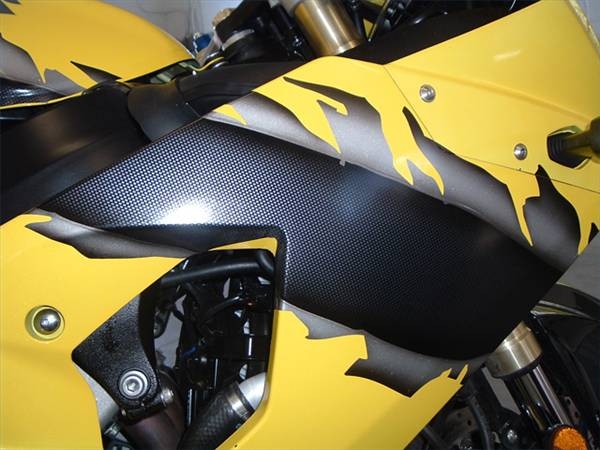
Removing motorcycle decals can be more of a complicated process than you might think. Simply pulling the decals off can cause damage to the surface of the plastics, and leave a mess of sticky residue on the surface. However, if the decals are removed the correct way, the underlying surface will look untouched and good as new. There are a few tricks to completing this task efficiently.
Clean the edges and surface of the decals using standard glass cleaner. This will allow the surface to be easily pulled up, and prevent foreign objects from stopping the process.
Begin with the decals at one end of the bike. You can work your way from here to the other end of the motorcycle.
Plug in a blow-dryer and turn it to the "hot" setting, then begin to heat up the entire surface of the decal. Make sure that the decal is very warm before continuing.
While still using the blow-dryer to keep the decal heated, begin pulling up an edge of the decal. Slowly pull the decal all the way off the plastic, while still keeping it warm.
Work your way across the entire bike, until you have all the desired decals removed.
Using an old rag and Goo-Gone (or any other remover) clean the areas where the decals were just located. This will remove any remaining residue from the back of the decals.