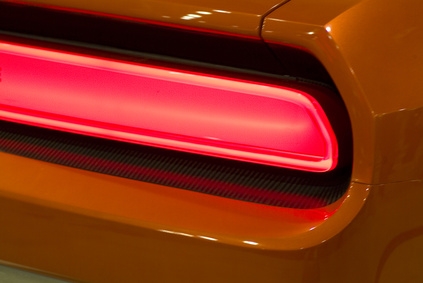
If you want to customize your vehicle or simply change the look of your car, you can tint your taillights and apply clear coat paint. The tint and clear coat paint gives your taillight a unique appearance. Be sure to check with driving regulations in your area to see how much of your taillight needs to be exposed prior to tinting it.
Open the trunk of your car, and peel back the carpet floor. Locate the taillights and the plastic clip on each side of the taillight, and unscrew each one with a Phillips screwdriver.
Disconnect the taillights from the wire harness by squeezing the two clips together and pulling forward. Remove three 8-mm nuts keeping the taillight in place. Two nuts are located on the top and there is one on the bottom.
Remove the taillight carefully. Clean off the taillights with a towel and some alcohol or window cleaner to remove any dirt or debris.
Sand the engraved letters off the tail light by dipping 600-grit sandpaper in warm water and soap and rubbing it over the taillight. Sand the taillight with 800-grit sandpaper to remove pitting and markings. Clean off the area with warm water.
Apply masking tape around the tail lights so the spray paint doesn't tint the plastic parts around the light.
Spray a thin coat of spray paint evenly throughout the area of the tail light that you want to paint. Let it dry for about 24 hours. Apply three or four coats of clear coat in total.
Install the tail lights in the trunk when finished.