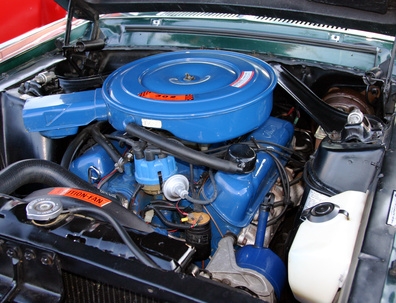
The water pump in your 1999 2.4 L Chevy Malibu helps cool your engine by distributing engine water to the radiator. You can check for leaks by placing white paper beneath your car overnight and checking to see if there are green coolant stains in the morning. Depending on where the stains are located, you can determine whether the leak is coming from the water pump or the radiator. Though the water pump replacement procedure is time consuming and extensive, you can perform it yourself. However, be sure to give yourself at least three hours to finish the job.
Disconnect the negative batter cable with a ratchet and socket, raise the front of the vehicle with a jack, and allow the car to rest on the jack stands.
Drain the radiator by loosening the drain bolt at the bottom lest side of the radiator with a ratchet and socket and allowing the coolant to drain into a drain pan.
Place the jack underneath the engine oil pan, but place a folded towel between the jack and oil pan to protect the oil pan. Raise the jack up to the bottom of the pan, unbolt the left engine mounting bolt, and carefully remove the engine mount. Locate the water pump located to the left of the engine, directly below the exhaust manifold, and use pliers to detach the hoses from the water pump by pressing the wire hose clamps together with pliers and pulling the hose off with your hands.
Unbolt the crankshaft pulley, located in the center of the pulley, using a ratchet and socket, and carefully remove the timing chain.
Unbolt the water pump with a ratchet and socket, then remove the water pump with your hands. Remove the old gasket from the water pump mounting plate by using a sharp putty knife or razor blade to scrape the surface clean.
Install the new gasket on the mounting plate, reinstall the water pump, and follow the previous steps in reverse to finish the installation, while being sure to torque the water pump mounting bolts to 18 foot-pounds of pressure using a torque wrench. Afterwards, refill the radiator with coolant and water.