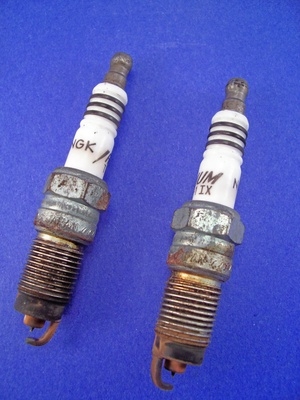
The ignition coil generates electricity for the spark plug to produce the spark required for combustion. The Ford 2002 F-150 4.7-liter engine utilizes a coil-on-plug design. The coil is installed directly on top of the spark plug and is secured to the intake manifold with a single bolt. The coil is connected to the electrical system with a single plug. Coil failure will result in erratic firing of the cylinder or a mis-fire. Replacement of the coil should occur promptly, as engine damage or catalytic converter failure may occur.
Remove any engine components required to access the coil to be removed. Some coils are immediately accessible and require very little pre-work for access. Other coils require removal of the air intake system, vacuum hoses and electrical connections. The 4.7-liter engine is a V-8 engine. Four coils will be placed evenly on each side of the engine. The stock coils will be black and have a flat round top.
Remove the electrical plug connected to the coil. The retaining clip on the plug will keep the plug secured to the coil. To release the clip, press down on the flexible retainer on top of the plug and slide the plug off the coil connection. Set the plug aside to allow access to the coil.
Remove the retaining bolt securing the coil to the manifold. Unscrew the bolt and set aside.
Remove the coil. Grasp the hard plastic round housing forming the top of the coil and pull directly upward. If the coil is positioned underneath the fuel rails -- the coils closest to the firewall will be -- you may be required to pull at a slight angle. The coil is several inches long and may require bending to remove. This is normal, and the boot of the coil is flexible enough to allow this action.
Apply a small amount of dielectric grease in the terminal end of the coil. The dielectric grease provides a moisture barrier to ensure the electric connection remains solid during wet conditions.
Install the coil. Insert the boot end of the coil into the spark plug hole. Align the coil's bolt hole with the bolt hole on the manifold. Press the coil downward into the spark plug hole until secure. You may feel a slight popping as the coil connects with the spark plug end. A secure coil will resist removal.
Install the bolt to secure the coil to the manifold. Tighten the bolt.
Connect the electrical plug to the coil. Slide the plug over the coil terminal until it clicks into place.
Re-attach any components removed to access the coil. Be sure to reconnect any vacuum lines removed during the coil removal process.