Doing your own repair work on your motorcycle can save you a lot of money. However, carburetors are fickle beasts. They are difficult to remove, install, and tune. You'll have to tear down quite a bit of your motorcycle to get them off. While this is a task that someone experienced with motorcycle maintenance can easily do, it is not a task for a novice. You should only attempt this if you have removed the carburetors from some other type of motorcycle besides a Honda Shadow, and merely need a guide on the little, easy to miss bits.
Remove the bolt that attaches the passenger seat from the rear fender, using (typically) an 8mm socket. Set the passenger seat aside. If your rider and passenger seats are a single piece, skip the next step.
Unscrew the two bolts that secure the rider seat to the frame. The stock bolts use a flat-head screw driver. Set the rider seat aside.
Make certain that the petcock is in the "Off" position. Loosen the screw-type fastener that holds the fuel line onto the petcock on the gas tank. Slide the fuel line back until it clears the flange on the petcock. Even with the petcock off, some fuel will leak out.
Unbolt the rear and front retaining bolts from the frame and fuel tank. These should require a 12mm socket for the rear, and either an 8 or 10mm socket for the front. Take care not to loose the washers when removing the bolts.
Lift the gas tank up slightly. Reach underneath the tank, and feel for a line that comes off the bottom of the gas tank. This is a breather line. Grasp the top, and pull gently until it comes off of the tank.
Lift the tank entirely off the frame and set it aside.
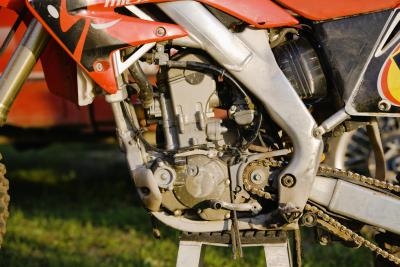
Remove the crankcase breather separator by disconnecting the hose that goes to the air cleaner, and then unscrewing the securing screw. Lift up the separator and disconnect the lower breather hose.
Remove the air cleaner housing. Take off both side covers, remove the battery, the fuse box, and the ignition control module. Disconnect the power cables from the battery holder, and remove it from the bike. Remove the rear fender. Unbolt the electrical connector box and move it out of the way. Unbolt the coolant filler neck from the air cleaner. Detach the air cleaner drain tube from the frame, detach the fuel hoses from the fuel filter and fuel pump. Un-clamp the air intake from the air cleaner. Remove the bolts that retain the air cleaner, and lift the entire assembly out.
Detach all cables and hoses from the heads, including the clutch cable, spark plug cables, and any other hoses.
Disconnect the fuel hoses.
Unbolt the throttle cable bracket, and remove the cables from the pulley.
Unbolt the choke cables and the small valves that connect to each carb.
Loosen the clamps on the rubber housing that connects the carbs to the engine. Use a screwdriver to pry the rubber housing off of the carbs.
Rotate the carbs to 90 degrees past their normal position. Lift them out of the frame.