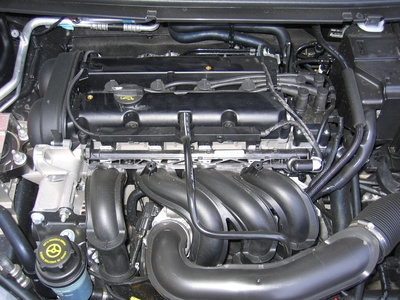
Regardless of the type of vehicle you are driving, the serpentine belt of an engine runs various components such as the air conditioner, power steering and the alternator, among other things. With your Lincoln Continental, the same components are involved, and the belt itself is kept tight through the use of a spring-loaded automatic tensioner pulley. If the spring wears out over time, the tensioner itself needs to be replaced, in order to keep the belt tight on the other pulleys of the engine and your Continental on the road where it belongs.
Shut off the engine of your Continental, and ensure the motor is cool. Open the hood of the vehicle, and find the serpentine belt routing diagram on the underside of the hood. Reference this diagram to locate the tensioner on the engine, as well as the direction you need to turn it to loosen pressure on the belt.
Remove the inner right-side fender wall out of the way to access the tensioner device better, if you need to. This is personal preference, as some people will find it easy enough to work on the tensioner from above, while others may want to remove the fender wall out of the way by unclipping it with a screwdriver or wrench.
Place a socket on the end of the bolt that sticks out of the tensioner pulley, and attach the ratchet to the socket. Apply pressure in a counterclockwise motion (unless otherwise indicated on your belt diagram, since different Continentals may require the opposite direction) on the tensioner pulley to release pressure on the belt. Remove the belt, and slowly let the tensioner pulley release.
Detach the pulley arm from the tensioner device using either a socket, wrench or screwdriver, depending on the exact mounting mechanism for the tensioner. Locate the mounting brackets and bolts holding the tensioner in place, and loosen them to remove the tensioner completely from the engine.
Place the new tensioner in the same spot as the old one, and fasten the bolts and mounting bracket in place. Tighten all of the bolts, and connect the new pulley arm to the tensioner. Follow the manufacturer's directions (depending on the model of tensioner you purchased) to rotate the pulley into the slack position, and slide the serpentine belt back in place. Allow the tensioner to tighten the belt.