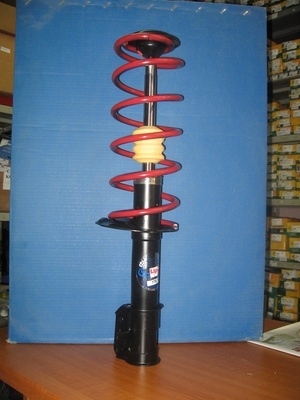
Shock absorbers are fluid-filled tubes that help to dampen a wheel or axle's up-and-down motion. The outside body tube of the shock is connected to the chassis, and the rod end is connected to the axle/wheel hub. The rod is encircled inside the shock body by a round plate filled with holes. Larger holes will allow fluid to more quickly flow from one side of the plate to the other, resulting in a softer shock and smoother ride. Smaller holes make the ride firmer. Without these vital devices, the car's wheel/axle would simply bounce up and down over road imperfections like a rubber ball.
Raise the rear of the car a few inches if you need to. If you must gain some additional altitude to access the lower shock absorber bolts, do so by backing the car's rear wheel onto a stack of two 2-by-6-inch boards. You could use car ramps, but the extra 3 to 4 inches of clearance provided with the boards should be enough and you won't risk damaging the car. Chock the front of the front wheels and set the parking brake.
Identify the shock absorber and track downward to where it bolts to the rear axle or lower control arm. Hold the nut-end of the shock absorber bolt with an open-ended wrench and remove the bolt. You may need to tap it out from the back with a screwdriver and mallet.
Open your car's trunk or hatchback gate and pull the carpeting out. Some makes use plastic fasteners to hold the carpeting in; if your car does, pop these fasteners free with a flat screwdriver. Look at the top of the rectangular shock towers on either side of your trunk, and locate the upper shock absorber bolts. Remove the bolts, and have an assistant pull the shocks free from the bottom.
Coat the inside of your upper shock mount's rubber isolator with wheel bearing grease. This step isn't strictly necessary, but it will help to ward off squeaks and rattles after installation.
Go under the car and lift the new shock absorber into place, pushing it upward until the the stud goes through the hole in the strut tower. Turn the shock until the flat, load-bearing plate on top lines up with the depression in the strut tower top. Have your assistant drop the washer and lock-nut onto the stud from the trunk and start the bolt.
Line the lower shock mounting hole up with the mounting bracket on your axle or lower control arm and insert the bolt. Tap it all the way through with your mallet and put a few drops of blue (medium-strength) threadlocker on the threads. Spin the nut onto the threads and torque it to factory specifications.
Tighten the upper shock absorber nut in the trunk to your factory-specified torque settings.