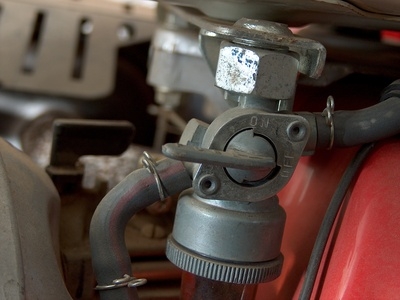
Adding a check valve to a fuel line will help to keep fuel flowing in the right direction. A check valve opens and closes when pressure is applied to one side of the valve. It uses a steel ball sitting on a small spring to open and close the valve. Marine engines and performance type applications require a fuel line check valve to protect against unwanted spills. These valves are intended to protect the operator and the environment.
Locate the fuel line that exits the fuel tank. Designate a section of fuel line close to the tank that can be cut and drained into a gas can while adding the check valve to the fuel line. Place a gas can under the fuel line where the mark is.
Cut the fuel line and hold both ends over a gas can to drain. If the tank of fuel continues to drain, you will have to install a fuel line check valve while it's draining. Slip a hose clamp over the fuel line then push one of the barbed ends of an inline check valve into the fuel line that is draining. Position the check valve so that fuel stops draining out when inserted.
Slip a hose clamp over the other fuel line end and insert the other barbed end into the fuel line as far as it will go up the entrance neck of the check valve. Slide the hose clamps over the barbed ends inserted into the fuel line and tighten the clamps securely. Pressurized fuel systems require special fittings to adapt a check valve correctly.
Position the fuel line in place and prime the fuel system by cranking the engine or activating the fuel pump. Test the check valve fitting before operating. A dry fuel line means you have the added protection a check valve gives you or your local jurisdiction requires.