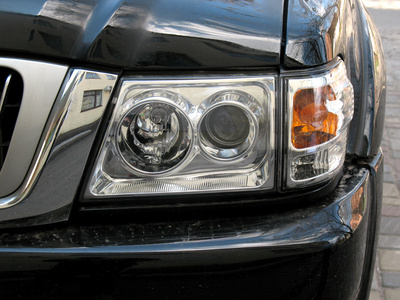
The cost of mechanic fees can be staggering, so most car owners choose to do simple routine maintenance themselves, if possible. Replacing a low beam headlight may fall into this category, depending upon which make and model of car you own. Some cars' light bulb replacement steps can be as easy as opening the hood and switching out the bulb with the new one, whereas some cars can be as complex as needing to remove the front wheels and bumper before reaching the headlight. If time is money, this latter case may be one where the mechanic would be cheaper than doing it yourself, depending upon your level of experience with tools and car parts.
Determine if the scope of this light bulb replacement is within your skill level by looking up low beam headlight replacement in your owner's manual.
Open the hood of your car. Remove the burned out low beam bulb from the lamp housing of the headlight. Access from above the car is typical for most makes and models, but some require you to be below the car or have access between the bumper and the headlight. Use the wrenches to remove the bolts holding the headlight in place, if necessary. Bulb should pop out of the housing when you pull from the front of the car toward the engine.
Separate the bulb from the wires by pulling them apart. Dispose of the dead bulb. Put on latex gloves and plug the new bulb into the wires.
Fit the new bulb back into the lamp housing and pop into place. Replace bolts and bumper, if removed.
Close the hood and test the headlights by turning them on and then getting out of the car and looking to make sure they are illuminated.