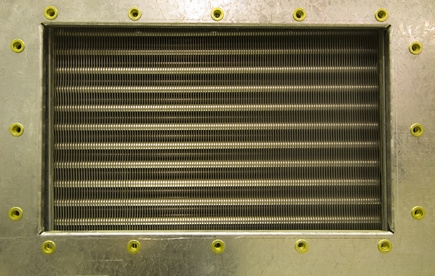
Engines produce a lot of heat during the combustion process; as a matter or fact, about 70 percent of all the chemical potential contained in liquid gasoline ends up converted into thermal rather than mechanical energy. The engine's liquid cooling system is its primary thermal transfer mechanism, but it's far from the only one. Oil is the "other" coolant. It touches everything in the engine, picking up heat as it goes, and carrying it away. A number of cars use small radiators to cool the oil before it re-enters the engine. These small radiators can get clogged with sludge and debris, necessitating a thorough cleaning from time to time.
Add one can of oil flushing detergent/solvent to your engine's crankcase through the oil filler cap in the valve cover. Seafoam, Gumout, Gunk and K&W produce such products, but you can also use a quart of kerosene or GM automatic transmission fluid in a pinch. The brand name products work best, though, so use one of those if possible.
Start the car and allow it to idle for five minutes. After five minutes, either set the idle for about 1,500 rpm or sit in the car with your foot lightly on the gas and modulate it manually. Allow the engine to high-idle in this way for 25 to 30 minutes.
Allow the car to sit overnight, or for eight to 12 hours.
Change the oil. Remove the oil drain plug, replace the oil filter and refill the system to its recommended capacity. The blockage in your oil cooler should now be sufficiently "softened" to proceed.
Disconnect the oil cooler lines and plug them with an old bolt or piece of a lint-free rag. For most cars, the oil cooler lines are secured to the cooler with hose clamps, but yours may use screw-on line-nuts.
Remove the oil cooler from the car. Most oil coolers are secured to the radiator or radiator support with four nuts or bolts, though some may use plastic zip-tie anchors. If your cooler uses plastic anchors, you'll need to snip them with wire cutters and replace them with new ones.
Soak the oil cooler in the pan in a bath of carburetor cleaner. Cover the pan to prevent evaporation of the solvent. Allow it to soak for three to four hours. You can accelerate the cleaning with a bottle brush or gun-cleaning brush, but you may not be able to clean the entire core if it wraps back on itself more than once.
Reinstall the oil cooler. If your cooler is secured with bolts then installation will simply be the reverse of removal; hold the cooler in place, install the bolts and screw the line fittings back on. If your cooler utilizes single-use plastic fittings, insert your new zip-anchor tips through the oil cooler and radiator fins and place the anchor pads over the tips. Push the pads down until the oil cooler locks against the radiator.
Check oil level and refill as necessary. Start the car, allow it to run for 30 seconds or so and then check the oil level again. Refill as necessary.