The cabin air filter on the Chevy Silverado 1500 was featured in the late 1990s. This filter helped prevent pollen, other allergens and even pollutants from entering the passenger cab of the full-size 1/2-ton pickup. As part of a regular maintenance schedule interval, the dual cabin air filters in the Silverado should be replace every 15,000 miles or once a year (depending on which comes first).
Open the passenger-side door.
Remove the four retaining screws from the kick-plate panel beneath the glove box with the ratchet and a 7-mm socket in a counter-clockwise motion.
Remove the kick-plate panel. Set is aside to prevent damage.
Locate the cabin air filter door now revealed by the removal of the kick-plate panel.
Remove the retaining screw on the cabin air filter housing door with the ratchet and a 9-mm socket and unhinge the door from its seated position.
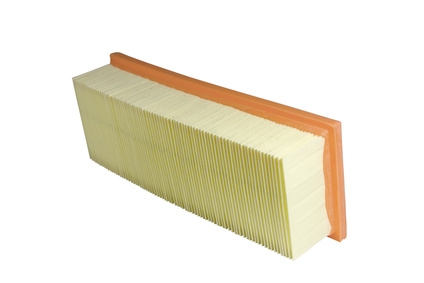
Pull the end of the front cabin air filter downward and then slide it out of position. Pay attention to the air flow position of the arrow indicator (stamped on the side) of the old filter in order to replace the new ones correctly.
Reach up into the HVAC (heating ventilation and air conditioning unit) housing to grasp the interior filter. Pull it all the way to the front before removing it as you did the front filter.
Install the new filter by reversing the removal procedure. Make sure the air-flow arrows stamped on the sides of the filter are reinserted in the same manner as the old ones.
Push the inner filter forward to make room for the outer filter.
Reinstall the outer filter making sure it fits along it edge and then press it up into place inside the HVAC housing.
Replace the hinged cover and retaining bolt. Tighten the bolt hand tightened. Replace the kick-plate and the four retaining screws.