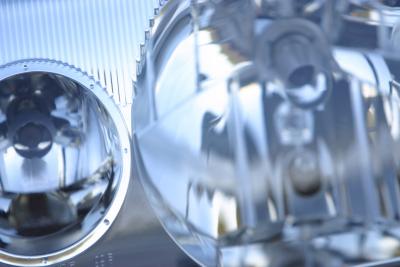
The 2005 Honda Accord EX--the third model in the seventh-generation (2003 to 2007) of the Accord lineup--has a drastically different headlight setup than its predecessors (1997 to 2002 models). The previous models had sufficient clearance in the engine compartment to access the headlights, but in the 2005 Accord, the inner fender cover must be removed when replacing the low-beam or the high-beam bulbs. The procedure replace either of these bulbs is a manageable one for the DIY mechanic.
Turn your steering wheel all the way in the opposite direction of the headlight you are replacing: For example, if you're replacing the passenger's side bulb, turn the steering wheel to the left. This creates enough room in front of the tire to access the low-beam headlight bulbs. Turn the headlights and engine off once the wheel has been turned.
Locate the two holding clips on the inner fender cover. These clips are in front of the tire. Remove them by inserting a flat head screwdriver underneath and prying gently. Once they are partially removed, pull them out with your hand.
Pull the inner fender cover back to access the area behind it. It may be necessary to hold the cover open with one hand, and remove the headlight bulb with the other. If you have an assistant, ask them to hold the cover open for you.
Gently turn the bulb counter-clockwise to release it. Pull it towards you, and then press the tab on the bulb socket to release the wiring harness. Attach the wiring harness to the new headlight bulb. Insert it into place; gently turn it clockwise to lock it. Push the inner fender cover back in place. Firmly push the holding clips back in place to secure the cover.
Remove the two fasteners from the air intake cover with a flat-head screwdriver, if you are replacing the passenger's side bulb. If you are replacing the driver's side bulb, this is not necessary. Lift the plastic cover up and set it to the side. This provides you with access to the high-beam bulbs.
Slide the connector away from the bulb by squeezing its tabs. Turn the bulb one-quarter turn counter-clockwise; pull it straight out.
Insert the new bulb in its place. Turn it clockwise to lock it. Attach the connector to the new bulb socket. Re-position the air intake cover. Push in the two fasteners to secure it and finish the procedure.