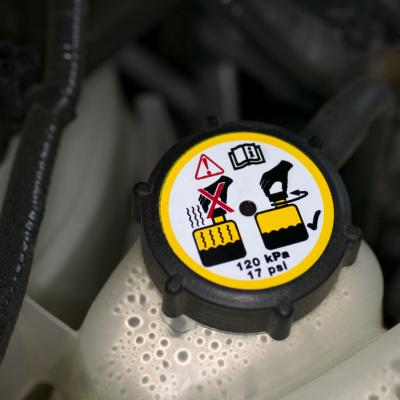
The coolant system, like a majority of the components on an automobile, works off pressure. The pressure is contained by a spring-loaded pressure cap. The cap is designed to hold the pressure of the coolant system, as the heat generated will raise the coolant to a boiling temperature and otherwise escape out once the engine starts getting hot. An improper radiator pressure cap will allow the coolant to leak out and cause your automobile to overheat.
Purchase or borrow a radiator pressure tester from your local auto parts store. Some stores have a rental program that allows daily leases on testing equipment to assist in one-time repairs.
Open the hood to access the radiator. The radiator will be located at the front of the engine compartment.
Push the radiator cap down and twist counter-clockwise. Pull the cap off the radiator.
Locate the cap adapter located with the tester. The item will be labeled in the packaging.
Screw the adapter on the end of the pressure tester. Tighten until it stops turning. Place the radiator cap in the other end and tighten it on as you would to the radiator.
Pump the tester with the pump handle located at the other end of the tester. Pump the tester until it reads 15 lbs. on the provided gauge.
Watch the gauge and see if it holds the pressure. If the gauge starts to drop, that indicates that the pressure cap is not functioning correctly.
Unscrew the pressure cap from the tester and clean any debris or sediment off the pressure cap. Re-test the cap at this point to ensure the leak was not due to blockage.
Replace the pressure cap if it fails this test. The cap is no longer any use to the coolant system.