The lenses on your car’s headlights can eventually become cloudy, causing your lights to look dim and faded. New headlights can cost several hundred dollars per light, so replacing them is expensive. There is a way to restore your headlights so that they look brand new and completely clear.
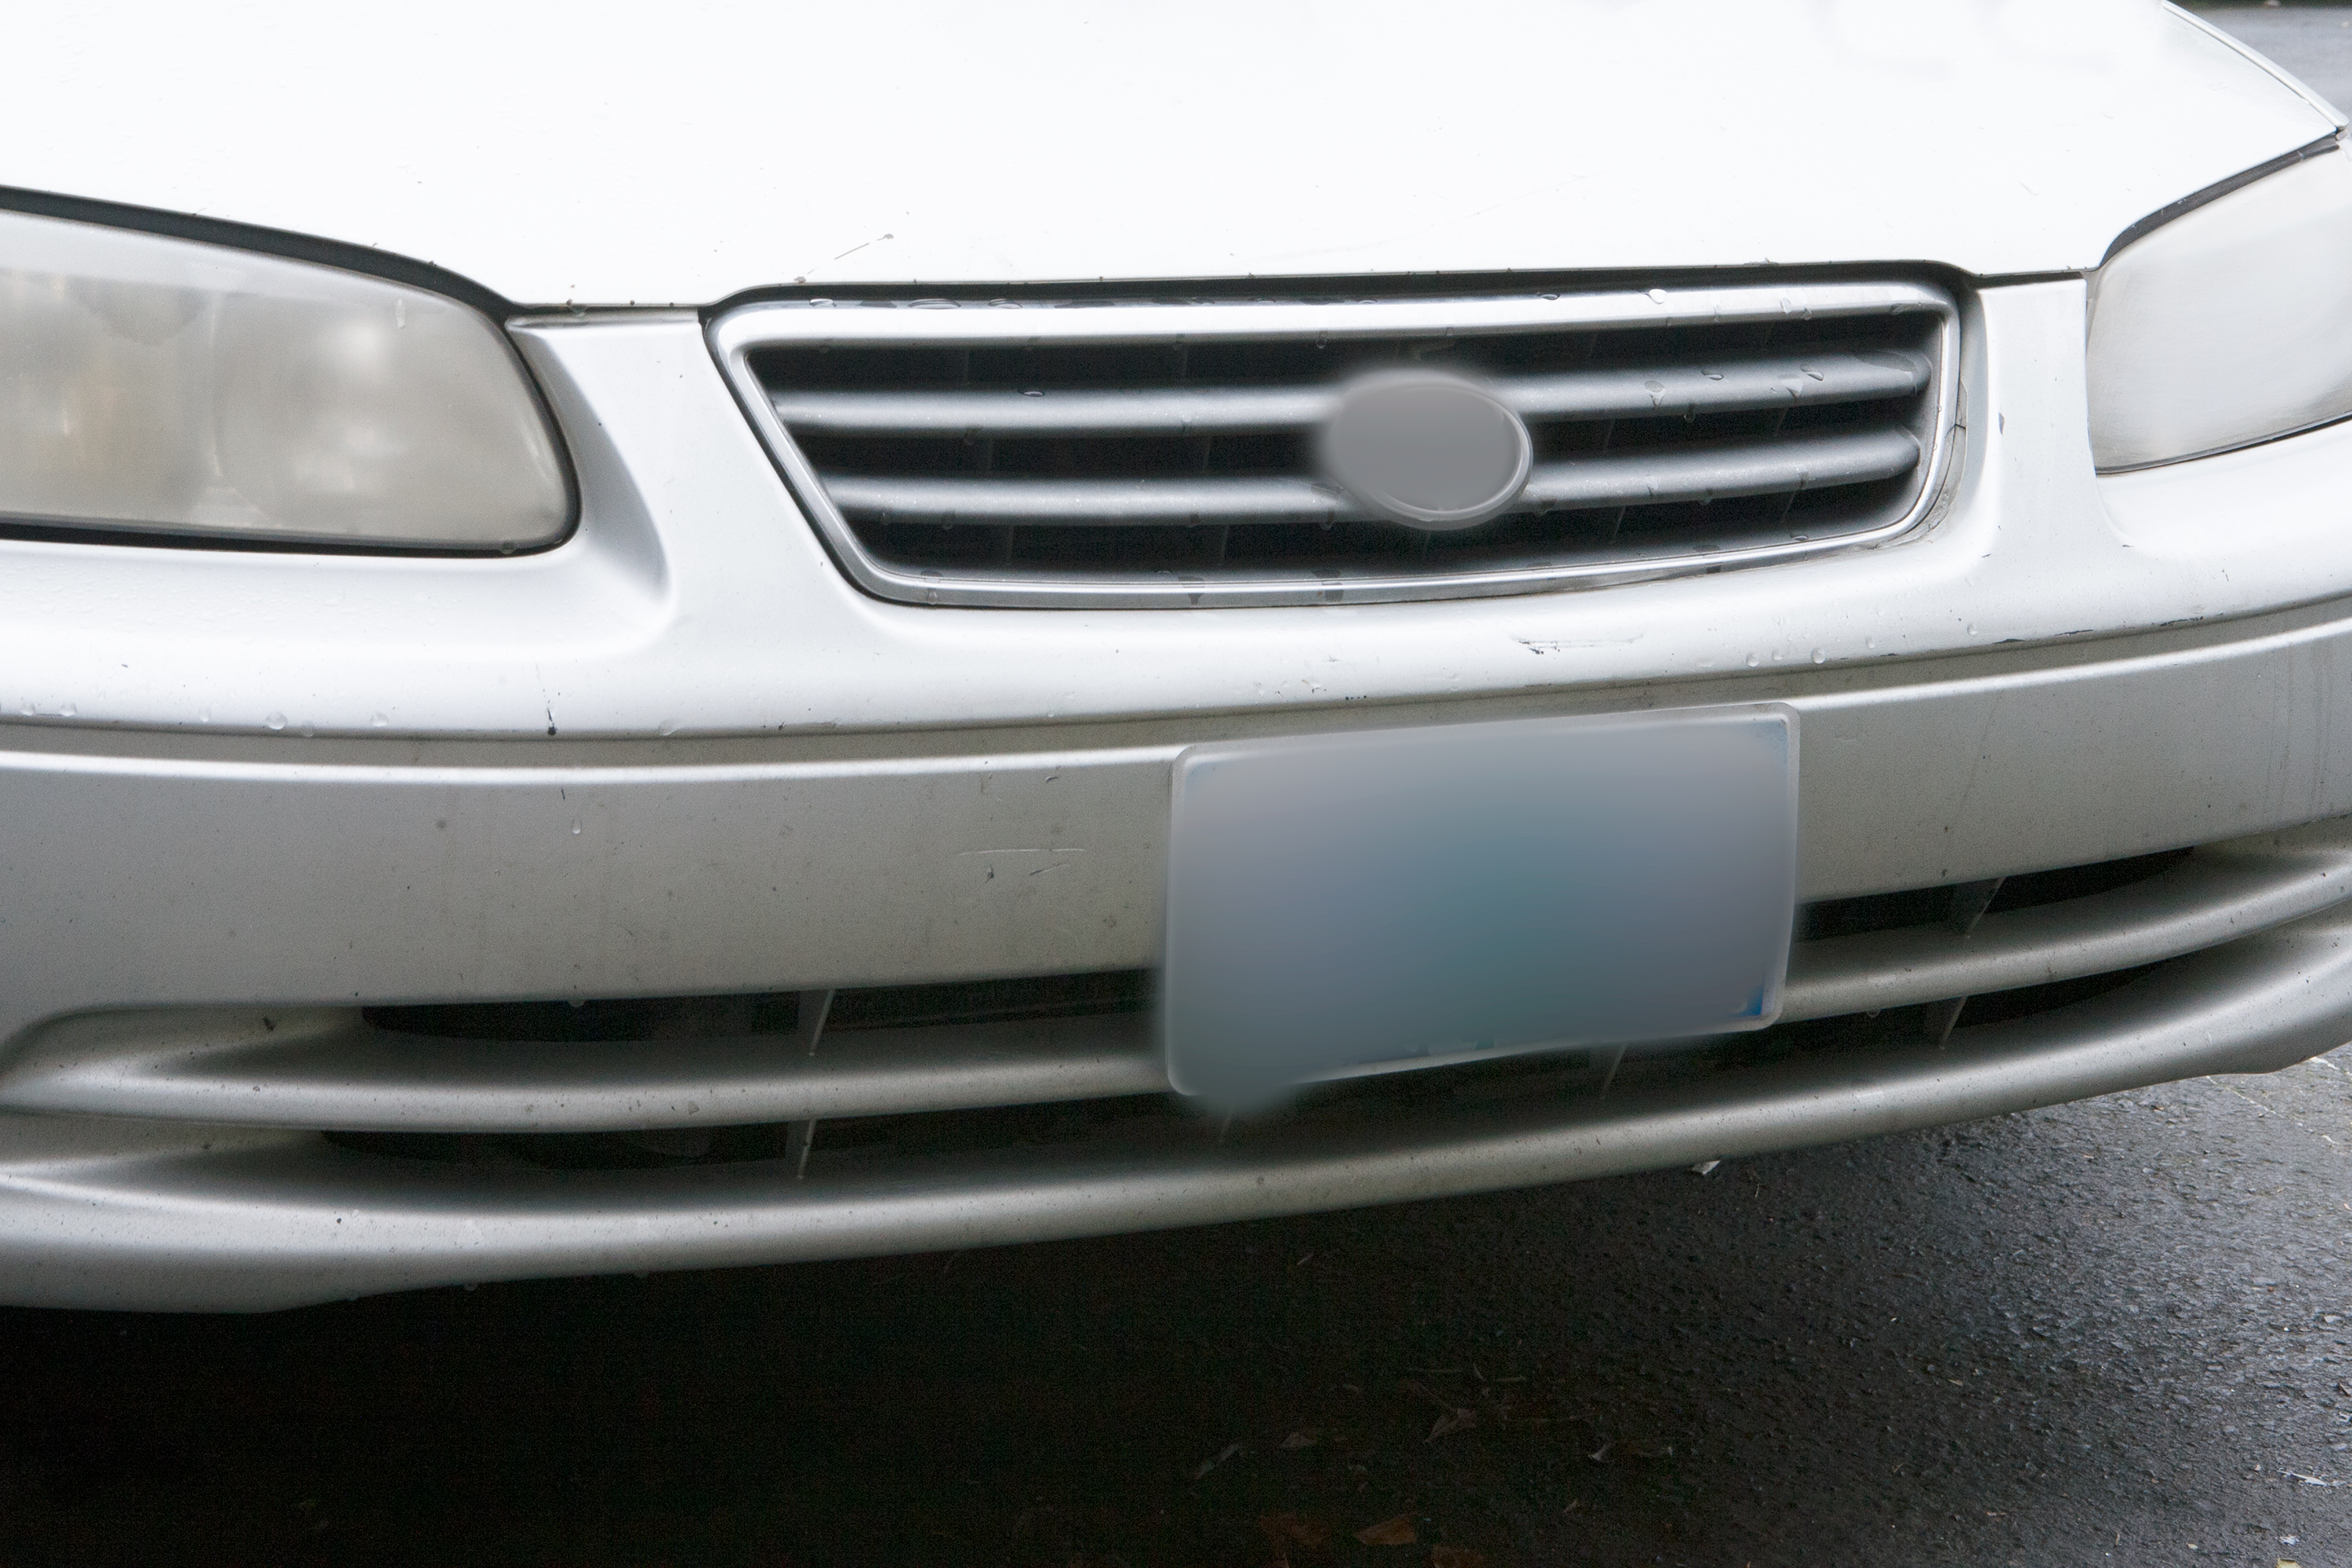
The reason your car’s headlights look cloudy or yellow is because of a process called oxidation. Headlights on today’s cars are made of plastic. When this plastic is heated, there are pores that expand, allowing road debris to get in. Other factors, like UV rays, smog, exhaust fumes, chemicals and acid rain contribute to the oxidation build up. Oxidation starts out white in color, then turns yellow and eventually brown. The light from your headlights will be almost completely blocked by the time the oxidation turns brown.

The tools needed to create crystal clear headlights from yellow oxidized headlights are several different grades of sandpaper, gloves, a cloth or towel, plastic polish and water. These materials can all be found at any auto parts store. They are also all available together in a kit. Kits like these are sold at most auto parts stores. Many kits are less than $20 and include three different grades of sandpaper, a pair of latex gloves, a small cloth, a bottle of plastic restoration polish and simple instructions. More expensive kits include polish and UV protectant. Be careful when selecting kits, because some are made to use with a drill or other power tool. The inexpensive kits are made to use by hand.
Masking tape is needed to protect the car’s paint near the headlights from scratches made by the sandpaper. Make sure you have enough tape to make several layers of protection. A water hose is also needed to keep the sandpaper wet while sanding so build up doesn’t occur under the paper and create deep scratches on the headlights.

Begin the process by rinsing the headlights and removing any obvious dirt or mud. Dry the area and place masking tape on the car’s paint near the headlights. Make sure all painted surfaces are covered with at least three or four layers of tape. If the sandpaper is rubbed on the paint, it will become dull and have to be polished with car polish.
Wet the lowest grade sheet of sandpaper and begin sanding the headlights. Sand for about 10 minutes on each headlight, changing directions only once. Sanding should be done horizontally and then vertically. Once this step is complete, move to the next highest grade of sandpaper. Repeat the sanding steps, keeping the paper completely soaked with water, and sand for about 10 minutes on each headlight. After this step, use the last and highest grade sandpaper to sand the headlights. Use this sandpaper for about 15 or 20 minutes on each headlight, keeping the paper soaked with water. You will notice that the headlight is becoming smooth and clear, but is not yet shiny.
Rinse the headlights and allow them to dry completely. Use the cloth to apply the plastic restoration polish. Work the polish in circular motions until the headlights shine. They will be crystal clear and as good as new.
