The Nissan Frontier was first produced in 1998. The Frontier is a smaller truck that combines the usefulness of a pick-up with the affordability of a smaller vehicle. If you still own one of these trucks, you'll need to keep it well maintained to ensure it will not break down. Its maintenance can be costly if you need to bring it to a mechanic's garage for repairs. One repair that you can do yourself on the Frontier is the replacement of a burned-out head light.
Park your Nissan Frontier on a flat and level surface. Turn the engine off and apply the parking brake, then pop the hood.
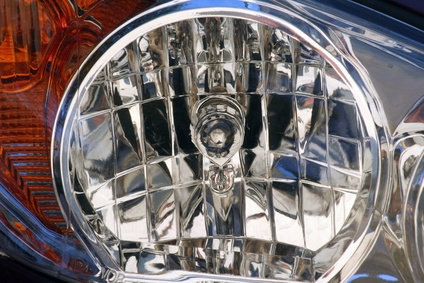
Check the back of the Nissan's headlight assembly: You will see a cable that connects the truck's electrical system to the headlight. This cable needs to be disconnected before you replace the bulb. Depress the plastic tabs on the side of the plug and pull it free.
Reach in and take hold of the burned-out light bulb. Depending of the size of your hand, you may need to pull the headlight assembly out a few inches to create some room. Twist the bulb to the left to loosen and remove it from the socket.
Place the new bulb in the socket and turn it to the right to lock it in place (make sure you don't touch the glass part of the bulb with your bare hands, as oild from your hand will cause the bulb to burn-out prematurely). Reconnect the cable and close the hood.
Turn on the headlights to test their proper functioning. If the replaced light does not come on, then you probably did not insert the bulb correctly. Repeat the above steps and turn the headlights back on.