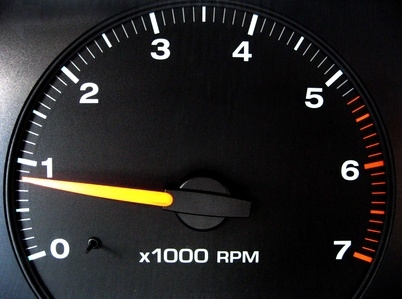
Auto Meter is a well known, high quality manufacturer that specializes in gauge systems. Auto Meter produces replica gauges for antique applications and newer style gauges for a custom look. Installing gauges is a complicated process involving electrical procedures, pressure systems and sensor setups, so troubleshooting is more than likely going to be required.
Check all the connections on the gauge to ensure that a solid electrical connection has been made. The prongs on the back of the Auto Meter temperature gauge should be in direct contact with the female electrical fittings of the wire. Next, check the ground wire that removes excess current from the gauge. The ground wire should be connected from the back of the gauge to a neutral, metal surface of the vehicle such as the frame or inner fender. Another area to check is the connection to the battery source. Gauges should be spliced into the existing electrical system so that they operate only when the vehicle is receiving power. Wiring the gauges directly to the battery can cause the battery to drain too quickly, as well as overload the gauges.
Pressure will increase as an engine warms up. This is caused by the expansion of all the gases or liquids in the tubes. This pressure will remain in the lines until the fluids have cooled or the pressure is released from the hose. Sometimes air may get trapped in the tube on the back of the Auto Meter temperature gauge, and this can cause erratic readings, sensor spikes or even cause the gauge to completely stop working. To relieve the pressure, hold the Auto Meter gauge face down, and open the bleeder valve on the backside of the gauge using a pair of pliers or a small open-ended wrench. Once the excess fluid has drained from the valve, use the pliers or wrench to retighten the bleeder valve. Note that the valve should should be tightened with no more than 16 IN Lbs of torque.