A rollcage is kind of like a fire extinguisher: You almost forget they’re there until you really need one. And when you need one, they really come in handy.
We should know; a rollcage made all the difference in us walking away from a Baja 500 prerunning crash many years ago. The car was thrashed (boy, we still miss that Bug), but with little more than a few chiropractor visits to show for it, we survived in remarkably good shape. That was a long time ago when it took a skilled fabricator to cut, bend, and weld in a custom ’cage. Thankfully, today things are different.
 A much sought-after Ford Bronco sits waiting for the Solo Motorsports crew to begin.
Solo Motorsports has a precut and bent ’cage ready to be installed. They are a full build shop, but they really seem to specialize in Ford Broncos and Rangers. They offer what they call W-I-Y (Weld-It-Yourself) ’cages for most Ford models. These are not some flimsy item, but a real serious ’cage. In fact, their Ranger ’cage is made to SCORE specs.
They also make a non-SCORE legal, but still formidable, ’cage for the ’80-’96 Bronco. They call it their Prerunner Cage and it easily fits together like a puzzle. This W-I-Y (Weld-It-Yourself) 6-Point Bronco Prerunner cage’s main section and the pontoons under the floor connecting to the frame are crafted from 1.75-inch x .120 wall DOM. All roof webbing is 1.75-inch x .120 wall DOM. Gussets are 1.25-inch x.120 wall DOM. All pieces are CNC-bent and laser-notched and each tube is laser-etched with its own part number for easy assembly.
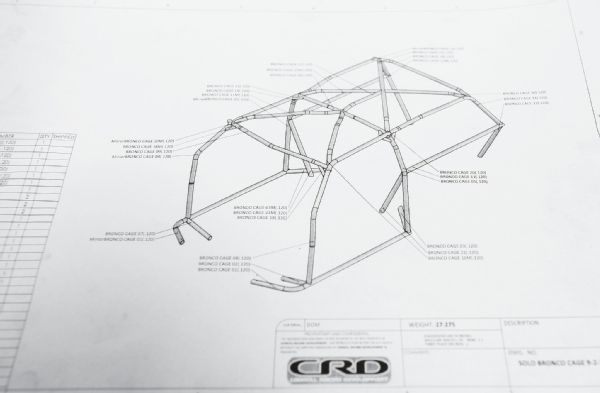 When you’re working on a jigsaw puzzle, it’s good to know what the finished product is supposed to look like. Solo provides this diagram as well as instructions.
The “pontoons” run along the frame rails and under the cab floor. These are the base of the unit and use existing frame holes, which make locating fool-proof. Once the pontoons are in place (and a few holes cut into the floor), the ’cage is then built upon them. Yes, it requires welding, but Solo has taken care of all the time-consuming bending, notching, and fitting. The ’cage is safe as it arrives, but it also serves as an excellent foundation for the person who wants to take things a step further and add other tubes like dash bar, door bars, mounts for harnesses, and more.
We followed along as Solo Motorsports installed one into this sweet Bronco (we want one). Honestly, we were a little skeptical about how the unit would go together but it actually fit very well; not only into the Bronco, but also how each part fit together.
 Here’s what 10 rollcages look like before assembly. The pieces are precut, pre-bent and marked to make assembly easy. OK, easier anyway.
For anyone who likes to drive off-road, having a ’cage used to be a luxury that only racers or those with deep pockets could afford. Not anymore. Now, anyone with a basic level of welding expertise can have one. Know that this is a two-day job, but as we have discovered the hard way, rollovers happen, and when they do you’ll be happy that you spent a few days making your rig survivable.
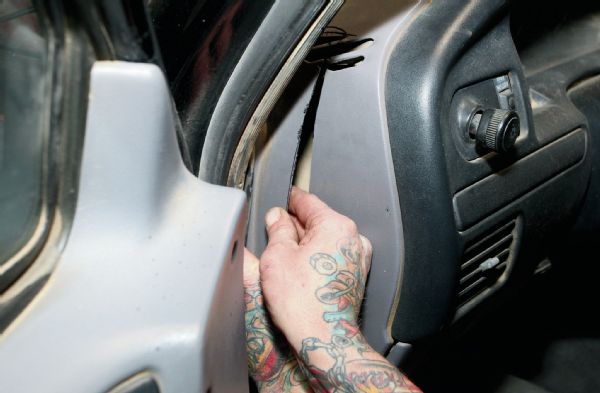 A section of the dash is removed to make room for the A-pillar tube.
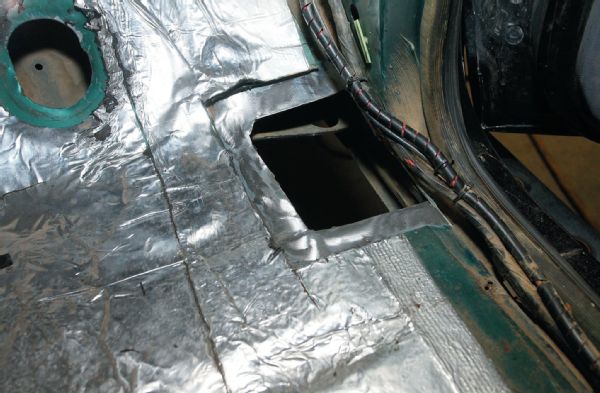 Access holes are cut into the floorpan.
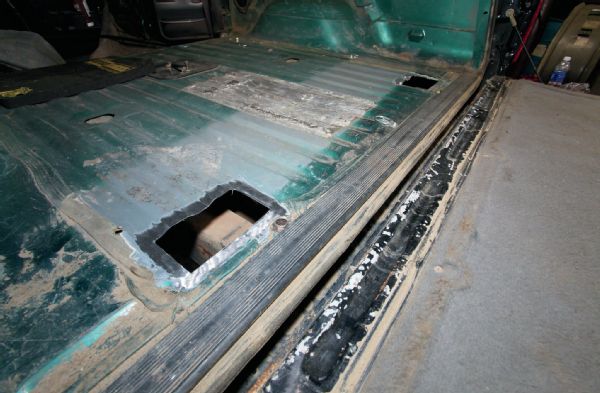 The access holes are directly over the frame members.
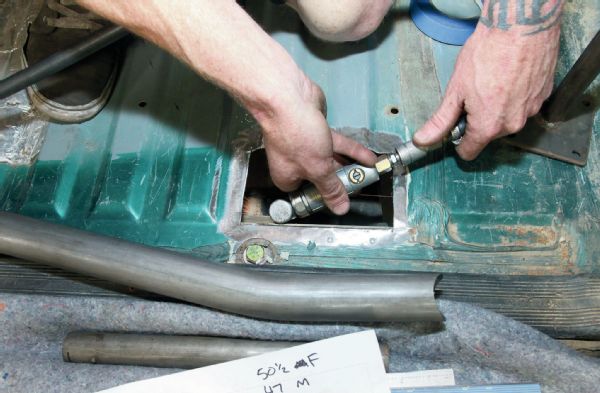
 Solo uses what they call “pontoons” as the base of their ’cage. It bolts to the frame beneath the body.
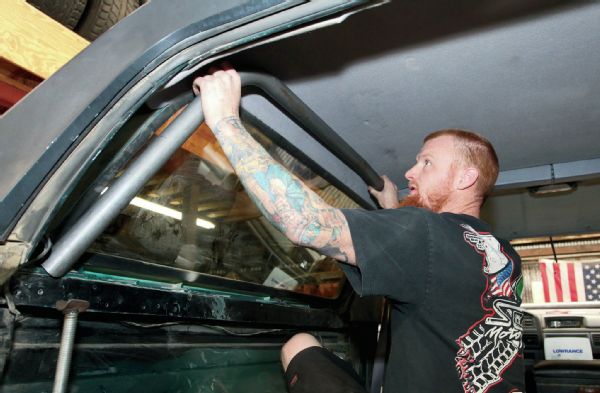
 Once the pontoons are in, the A-pillar piece is installed.
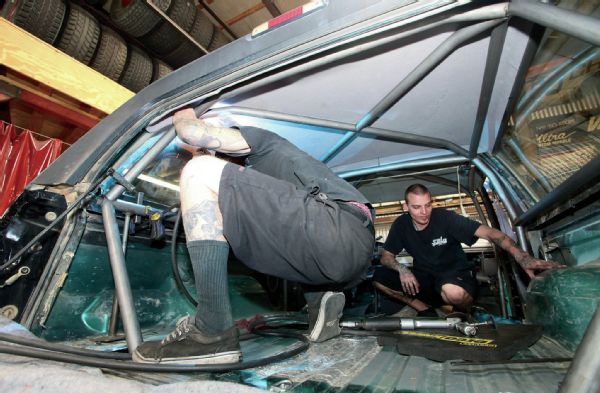
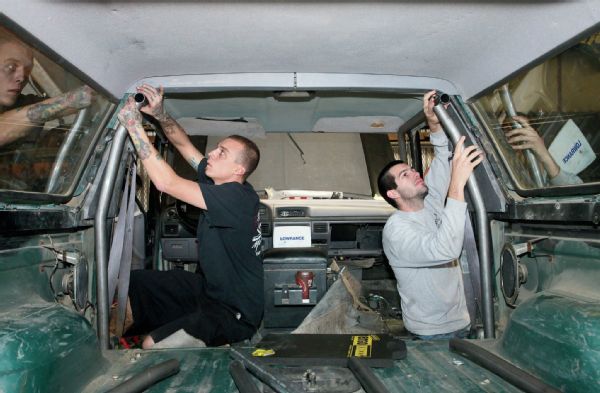 The side-pieces are next. Know that there will be liberal use of clamps and tie-down straps to keep the pieces in place and not falling over at this point.
 The rear pieces are installed.
 Once this crossmember is set in place, a tie-down strap is used to hold the pieces in place.
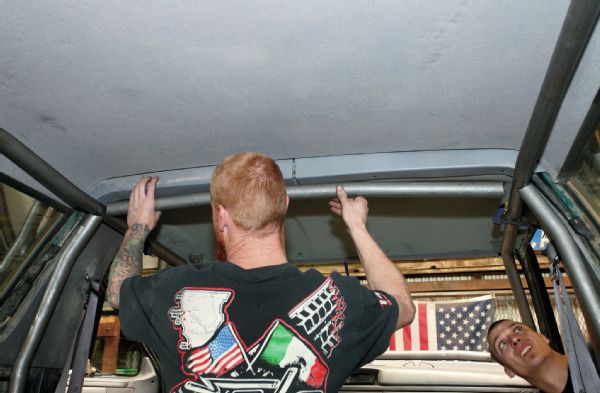
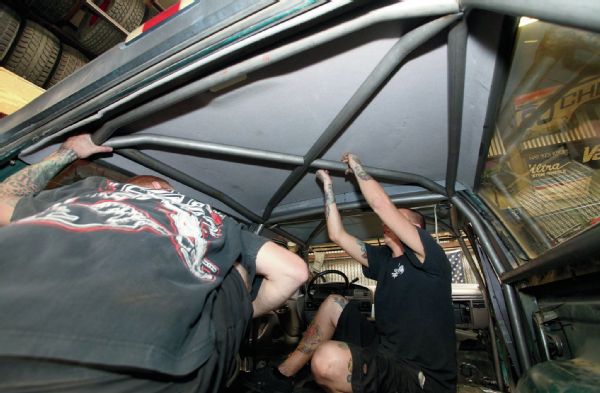
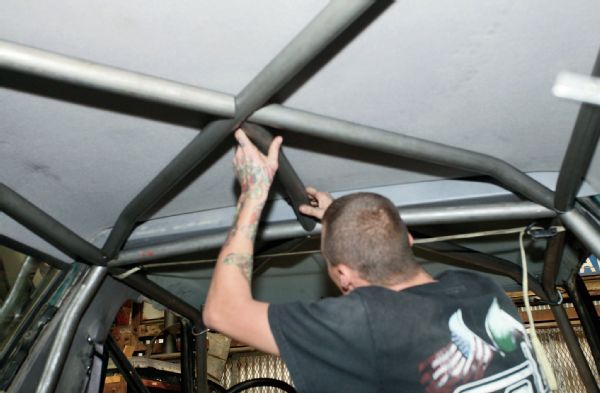
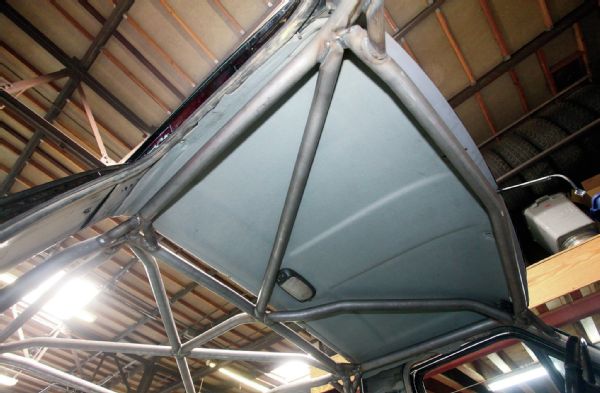
 The above cab pieces are put in place and straps are used to hold the cage together.
A sanding disc equipped die grinder is used to prep the framerails.
The above cab pieces are put in place and straps are used to hold the cage together.
A sanding disc equipped die grinder is used to prep the framerails.
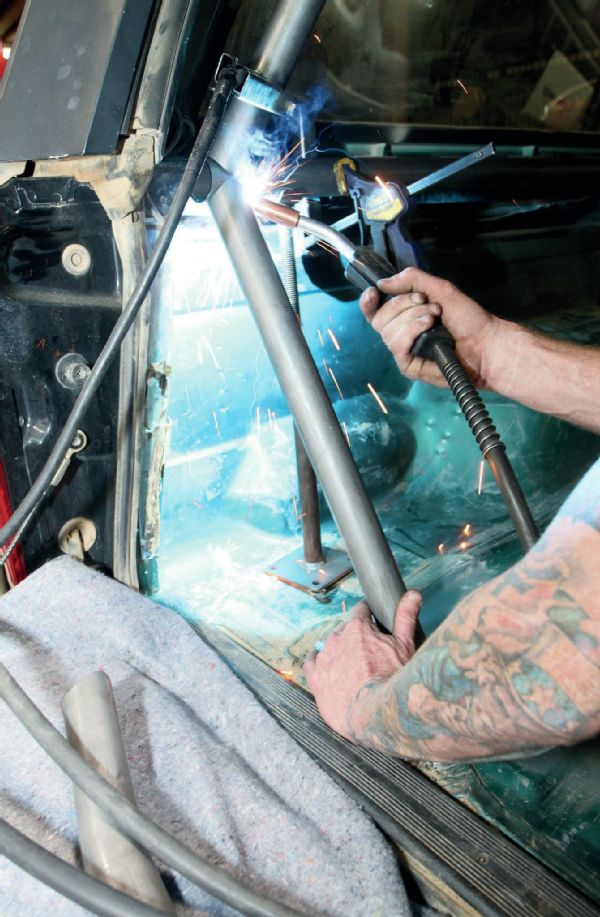
 With all the pieces in place, the tack-welding begins with tacking in the rear struts.
 More tacking is put in place. Not welded, mind you, but tack welded. That will come when all the pieces are in place.
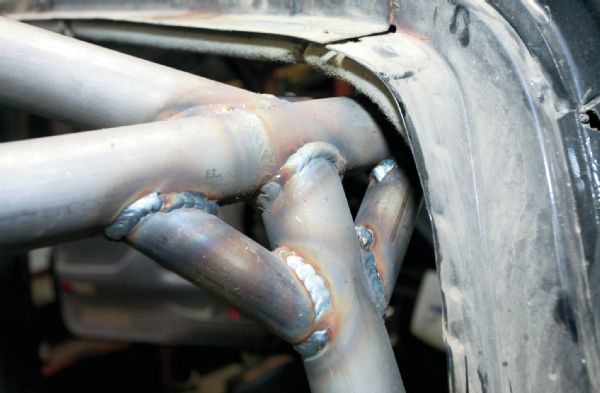
 The X system that connects the rear section is installed.
 A few more tacks are put in place.
 The final piece of the crossmembers runs from the X to the rear cab crossmember.
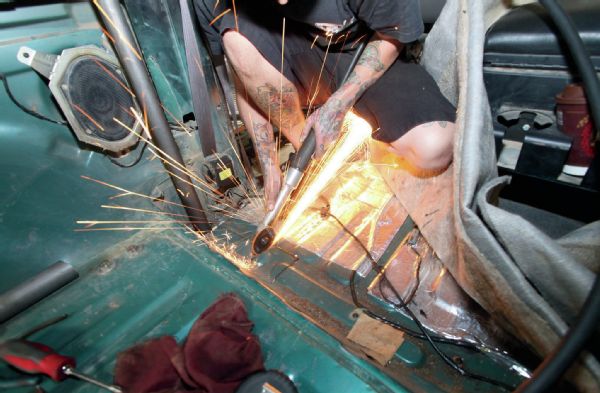 Another set of holes are cut into the floorpan, this time for the struts just aft of the front seats. These were left till after most of the ’cage was in to determine proper location in regards to the rear seats.
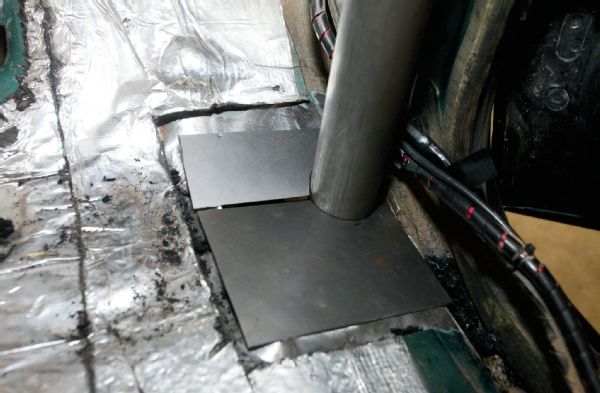 These plates will be welded in place to cover the openings.
 With all of the pieces tack welded in place, the entire ’cage is checked to ensure that the pieces are in alignment and that the ’cage is ready for the welding stage.
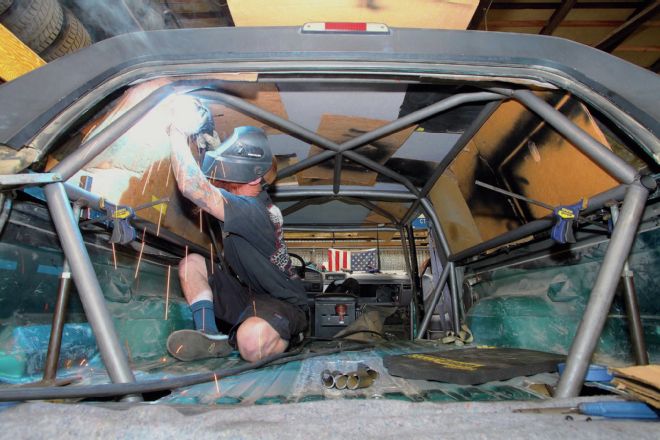
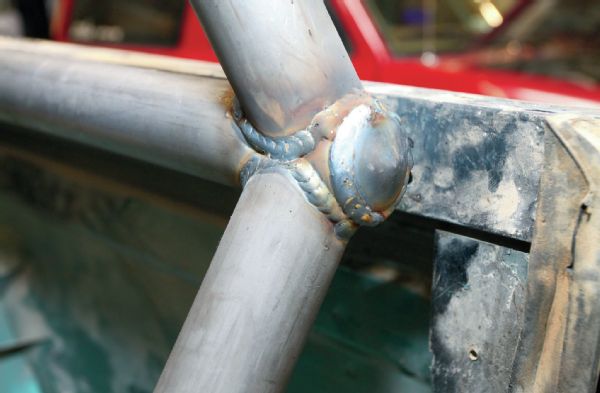 With it determined that the ’cage was oriented correctly, the final welding was performed.
 Gusset bars are added to certain points to increase rigidity.
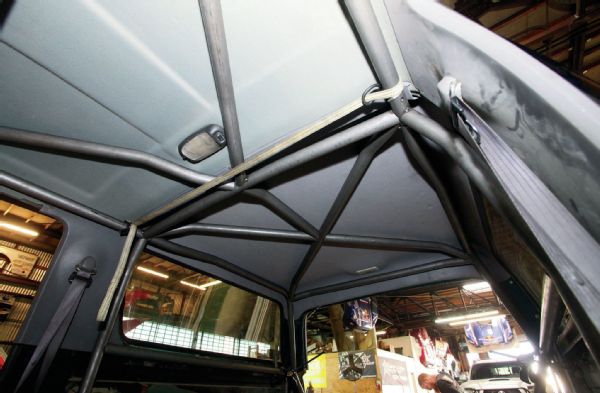
 This is a ’cage that will keep you and your passengers protected in case of a roll over.
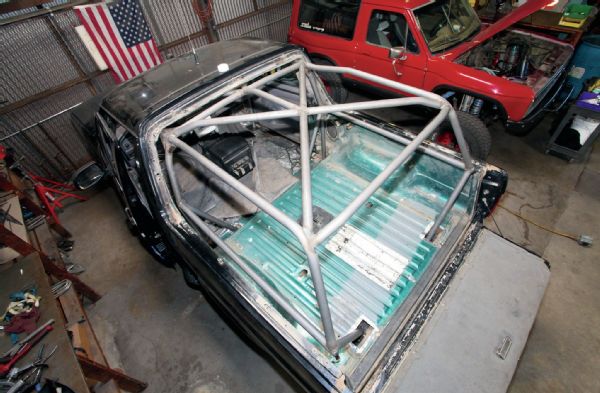 Note that the instructions say when welding to unbolt the pontoons from the frame and to let it down to reach above the connections. In this case, the top was also removed. It also makes for a good way to photograph the final assembly.