
 Pete Trasborg
Brand Manager, Jp
Pete Trasborg
Brand Manager, Jp
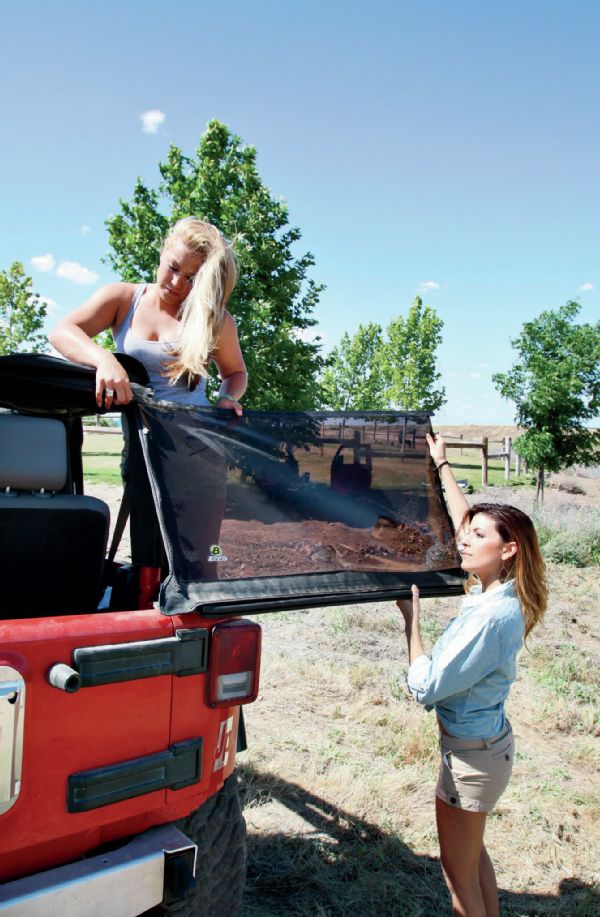
God’s honest truth, Trasborg had already installed this top before this photo shoot. He did it in the dark and was never quite happy with it. So, we got to talking about it with Michele and Angel over a couple of beers, and they bet they could do it better than he could. You might remember Michele from our Nov. ’08 cover and our Jeepers Jamboree coverage (she was the Jeep chick airing down the tire). Angel is her niece and has been playing off-road since she was knee-high to a grasshopper. It must run in the family. The only right response Trasborg could make to the challenge was, “OK, I’ll take that bet, and I’ll bring my camera.” And an installation photo shoot was born.
We put the top on our two-door ’07 JK, but the four-door top comes together much the same as what you see here. We dig it, because it gets rid of the bows, and while the side windows are removable, we hardly ever pull the side windows anyway. It is tight on the highway with normal or less-than-normal flapping, and it is still easy to make a Bluetooth-equipped phone call. Once we added the soft doors, deaf-old Trasborg had some issues hearing the other end of the call but still managed. The Sunrider feature, which is a quick-flip sunroof, is super easy to use, and the ladies seem to like it. Being in Southern California, we went with the tinted windows. So far, they have been holding their own against all kinds of abuse: trees, dirt, mud, tree sap, and so forth.
It turns out that when Michele and Angel team up on a top install, they make Trasborg look silly, and not just because he looks silly to begin with. They did it in half the time and came up with a couple of cool tricks on how to make the top tighter and fit better along the way. It turns out that their finesse is better than Trasborg’s gorilla-like tactics. Here’s how the top goes together.
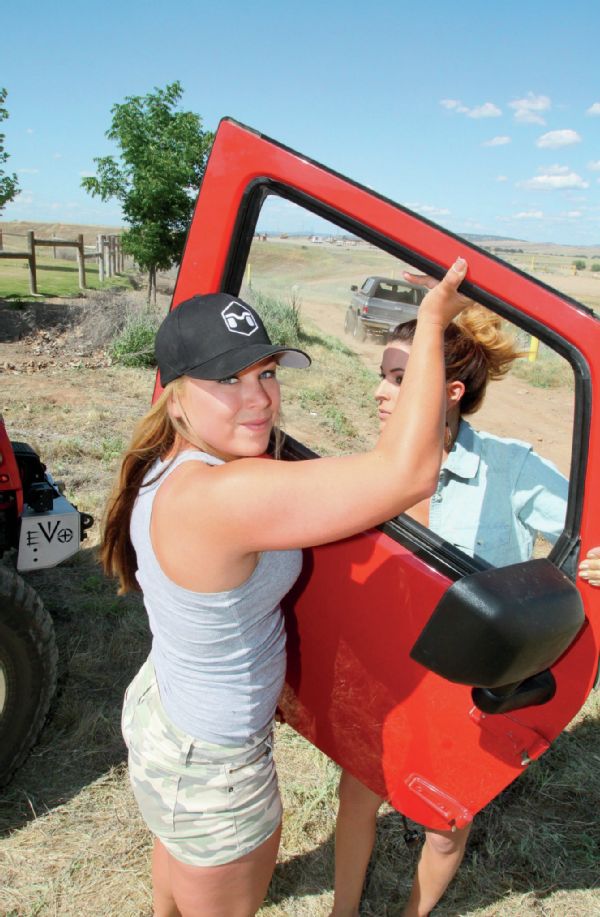 Since we were planning on leaving the doors home to run the Rubicon trail, the girls started with yanking those heavy full doors with power windows and locks off. While one of the girls could have done it on her own, it was safer for the paint to put both of them on it. The retaining Torx bolt/nuts come off with a T-50 socket. They used a 3⁄8-drive ratchet to do it.
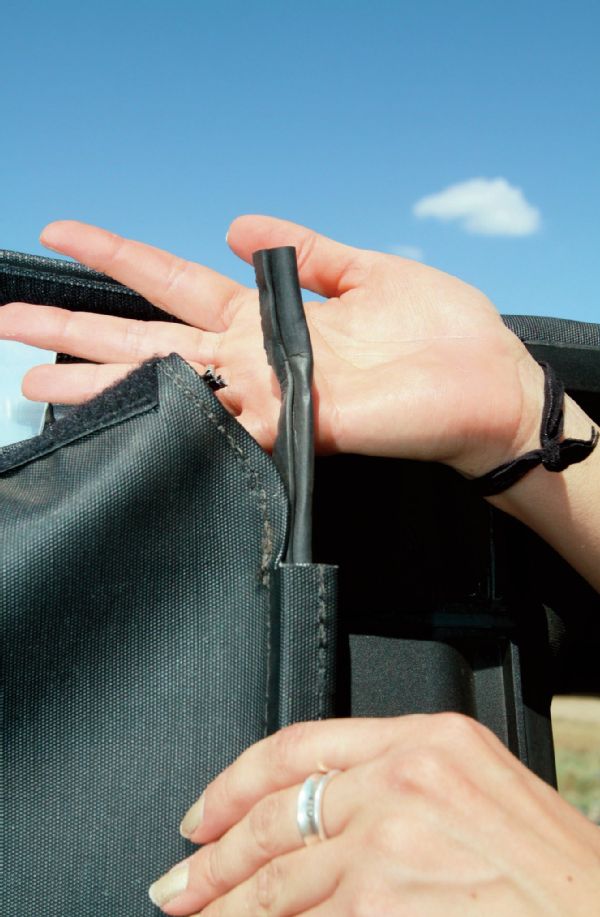
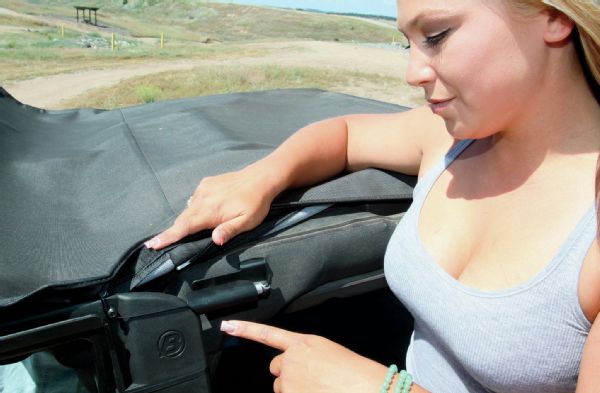 This is Angel’s “here’s how to do it, dummy” face. The picture in the instructions wasn’t quite clear enough for that gorilla Trasborg to figure out. So, when Angel and Michele pulled the top off for the pictures (the Jeep’s top, you pervs), Trasborg, ever the rocket doctor, mentioned how he thought he’d done it wrong. This cable needs to be routed as shown, and the bracket attached accordingly so that the Sunrider option of the top works correctly.
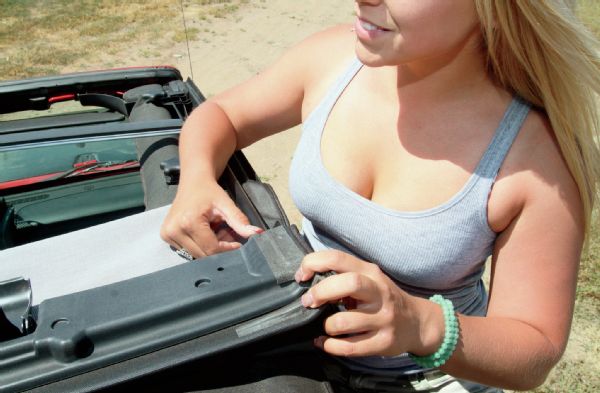 Since a 5-pound hammer wasn’t involved, Trasborg couldn’t figure this one out either. The Michele and Angel braintrust nailed it in seconds. We actually picked them up with this stick-on foam in the cupholder, gave them the instructions, and they were both like, “duh.” So, this stick-on foam weather stripping goes here to keep water from sneaking in around the corner of the windshield.
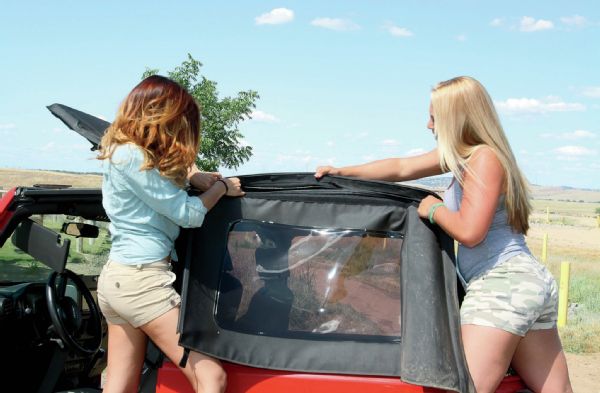 While Trasborg was able to get the side windows on the top in the dark, it’s so much easier to do with two people. After the top is on and the backstraps are kind of tight, it’s time to put in the side windows. Remember, the only “bow assembly” for this top is for the Sunrider, so getting these side windows in is kind of important—just don’t let a gorilla do it. Just zip the top zipper up most of the way until you can get the rest of the top together.
 That back window is a slippery little guy. It’s really hard to get in with only one person. It took Trasborg almost 30 minutes to do it. At first on his own and then with help, but Angel and Michele nailed it in 5 minutes or less. The trick is a sort of dual J-shaped channel that likes to come out if you don’t slide it in just right. We tried to squeeze it in, but the sort of barb-shaped plastic foiled us. Fortunately, the girls got it done quickly by working together and sliding it in.
 We figured out it was a good idea to go ahead and snap the front edge of the window into the Bestop-provided surround first. That’s before fastening the top zipper or putting the bottom rail in. Also note that the Sunrider isn’t latched down either. We found it was best to get this front edge in and centered before doing any of the other things.
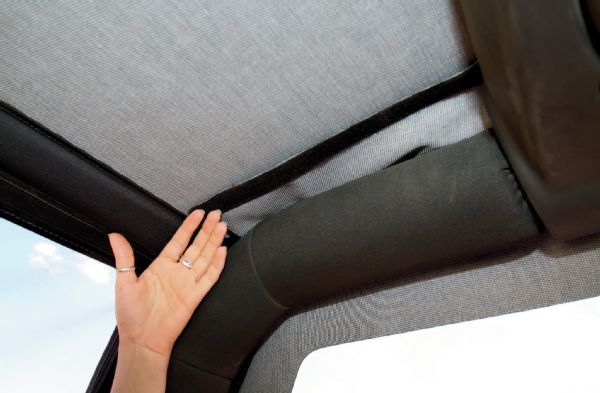
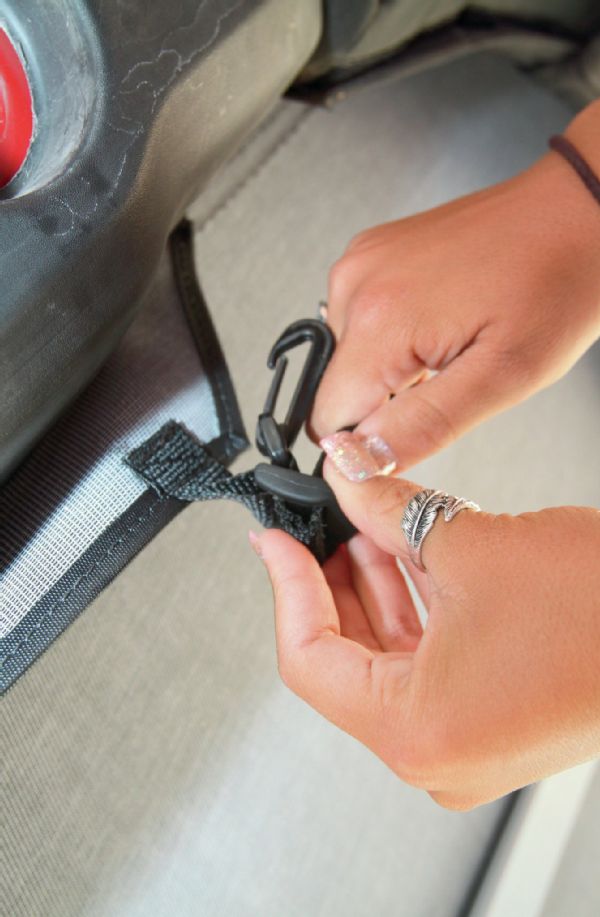
 Here, Angel shows us one of the reasons to not put the rear corners in before that front edge. Behind, you can see the strap that holds tension on the top, but the plastic piece in her hand does a good deal towards stiffening the top and keeping it from flapping. However, we found that leaving these corners off until the front and rest of the bottom of the side window is hooked up is the way to go.
 If you are swapping from a hardtop (as we were) you need to add these rear window bar retainers. The instructions state to snap them on, but we found it easier to slide them on from inside the tailgate opening. If you have a factory soft top, you can just reuse the retainers that you already have.
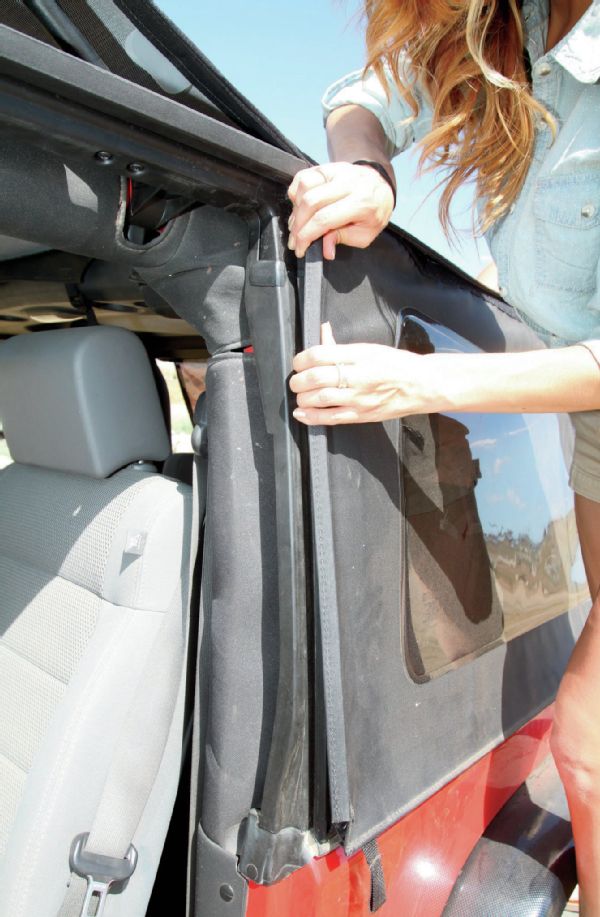
 It is both really cool and a little annoying the way that the rear window ties into that bracket above. Really cool because the tabs between the window and the top sort of interlock. The window needs to get latched in first and the top second. That means it is unlikely it will ever come loose, unlike older tops. But the kind of annoying part is that we need to pull the corner of the top before we can put the window up. On the balance, this setup gets our vote. It’s better than older tops, hands down.
 We had two issues with the corners of our top. One, the strap had to be half-turned so it would hook to the tub. The strap provides the primary source of tension for the top. Without pulling it really tight the first time, the corners won’t be able to hook to the tub. The other was it took both Angel and Michele to get the strap tight and the corner of the window in. Michele got in the Jeep and tightened it while Angel put the corner in the channel. Trasborg had just left it loose and forced it in, resulting in more sloppiness.
We think that this Velcro was put here to help with the installation of the side windows, but it didn’t line up quite right. It really took both girls to get it done easily. Even Trasborg had to call a neighbor over to help him get the windows in the first time. Also, the instructions didn’t mention this strip, so we are really just assuming. But, then again, there is a lot of information on Bestop’s You Tube channel that we didn’t find until we were done with both installations.
We had two issues with the corners of our top. One, the strap had to be half-turned so it would hook to the tub. The strap provides the primary source of tension for the top. Without pulling it really tight the first time, the corners won’t be able to hook to the tub. The other was it took both Angel and Michele to get the strap tight and the corner of the window in. Michele got in the Jeep and tightened it while Angel put the corner in the channel. Trasborg had just left it loose and forced it in, resulting in more sloppiness.
We think that this Velcro was put here to help with the installation of the side windows, but it didn’t line up quite right. It really took both girls to get it done easily. Even Trasborg had to call a neighbor over to help him get the windows in the first time. Also, the instructions didn’t mention this strip, so we are really just assuming. But, then again, there is a lot of information on Bestop’s You Tube channel that we didn’t find until we were done with both installations.
 And here is what happens when you let the Trasborg loose. He rips stuff apart. This was in one piece when he installed the top. This seal is at the front of the side windows and helps the Sunrider seal. If you aren’t a gorilla, you shouldn’t have a problem. However, if your arms are kinda long and hairy, be careful when you put this part together.
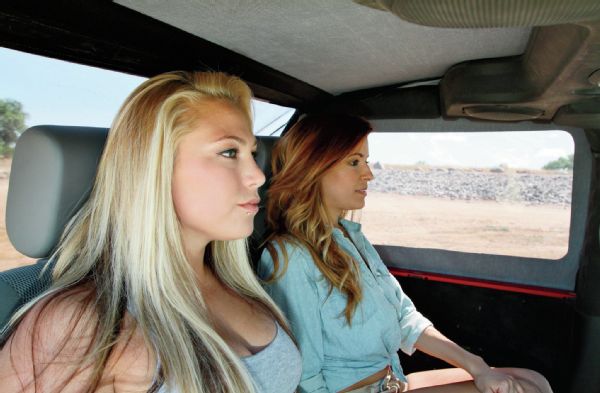 Both of these girls are 5 feet 3 inches tall. Trasborg is 6 feet 1 inches tall. His head is in the roof when he tries to sit in the back seat, but who wants to see a picture of that? We aren’t sure what the breaking point is for rear seat passengers in the factory rear seat, but its somewhere between the girls and Trasborg. So, if you plan to take taller people in the back of your Jeep, expect that they will have to slouch, or you might be better off with a soft top with bows, which would have more headroom.
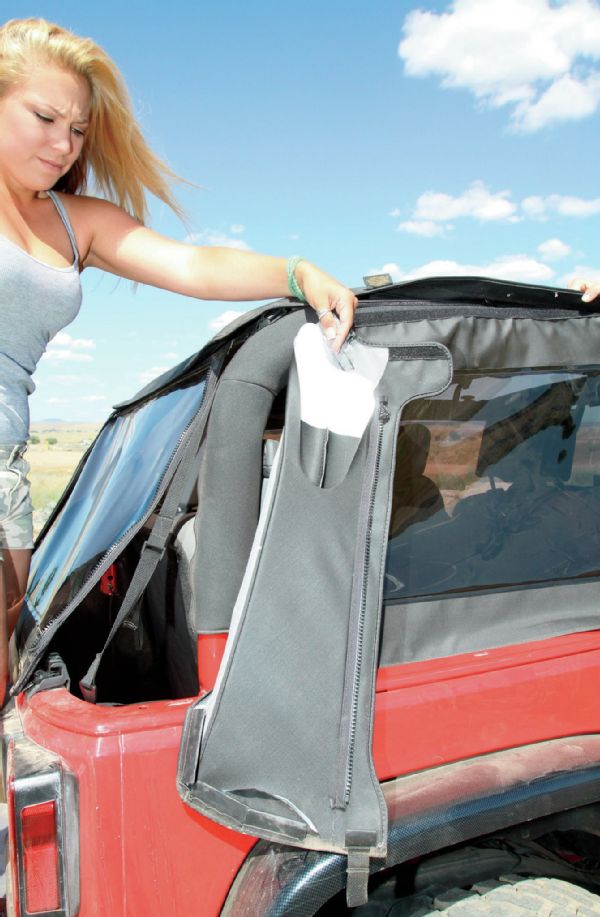
 It took a little bit of doing, but Angel’s fix for the top being too loose was pretty easy. As-delivered, we felt like the top was too loose when the Sunrider was open. But, by forcing the seam through the clip, using the tip of Trasborg’s knife and her fingernails, she was able to tighten it up. It made it a bit harder to attach, but we still managed. OK, really, it was Angel and Michele that managed to get it attached. We just shot pictures.
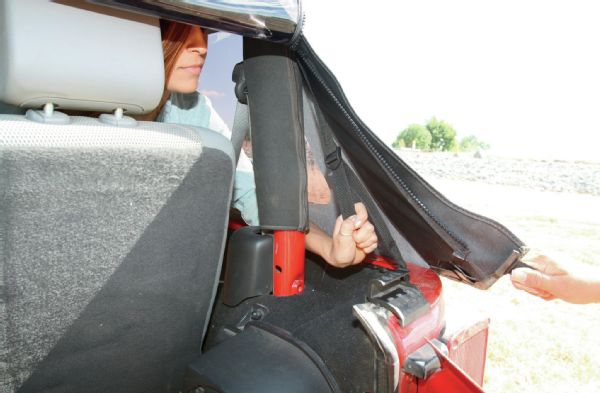
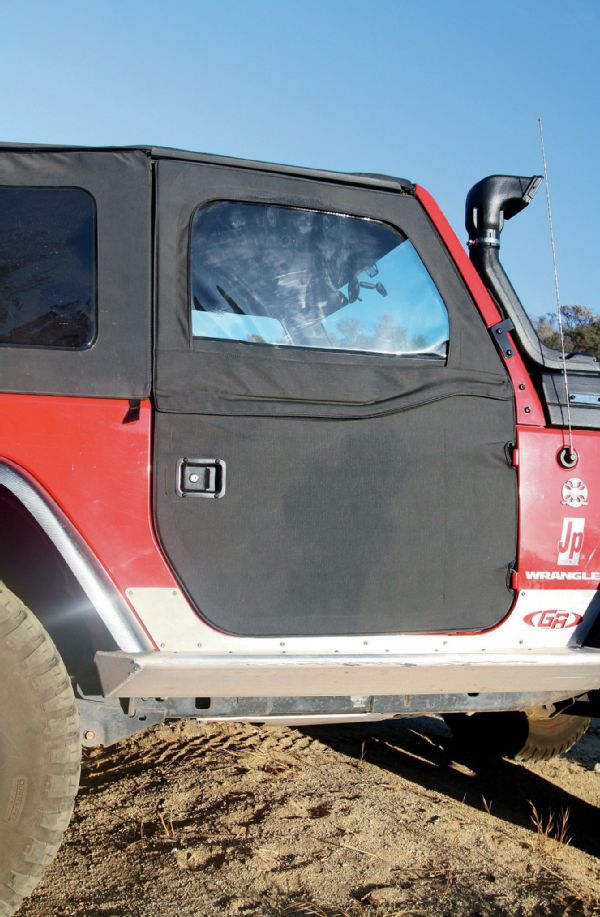 The last thing we did was to put these two-piece soft doors on it. Those goofy full hard doors are heavy, not to mention expensive to replace. So, we ran all summer with these on (or in the back of) the Jeep. We had problems with the tops of the doors pulling out around 80 mph, so if you live where there are higher speed limits and it rains, you might want to keep that in mind. But, if you use your Jeep like a Jeep is supposed to be used, as we do, you probably won’t care. The doors include locks, which many find funny on a soft top-equipped Jeep, but we like the locks. Like the old saying goes, “it keeps honest people honest.”